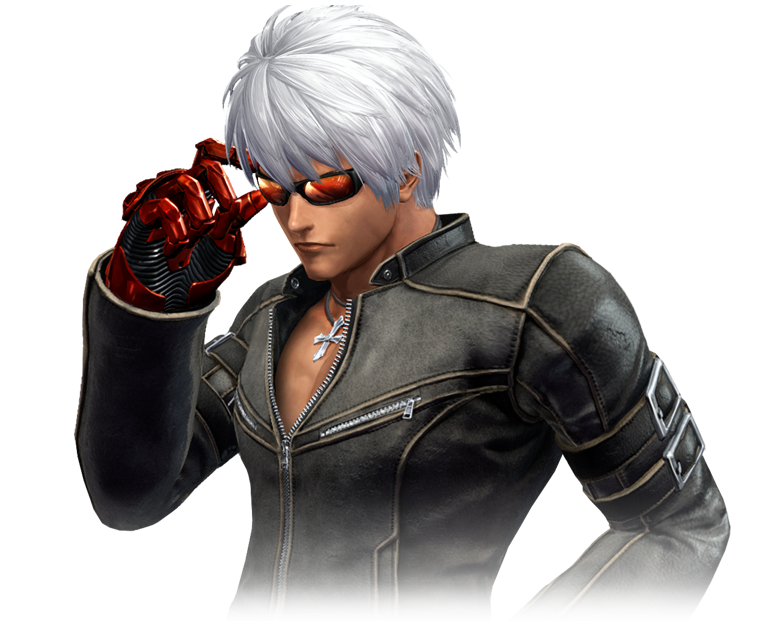
Difference between revisions of "The King of Fighters XIV/K'"
(→Combos) |
|||
| Line 252: | Line 252: | ||
=Combos= | =Combos= | ||
* (any special information about the character combos if needed) | |||
[http://dreamcancel.com/wiki/index.php?title=The_King_of_Fighters_XIV#Notation Notation] | |||
===Rush Auto Combo=== | |||
'''Meterless:''' description here | |||
'''1 Meter:''' description here | |||
'''EX:''' description here | |||
==0 meter== | ==0 meter== | ||
Revision as of 22:16, 16 September 2016
Movelist
(*) = EX OK
(!) = MAX OK
Throws
Command Normals
Special Moves
Super Special Moves
Climax Desperation Move
Quick Combo Reference
| 0 Meter |
Anywhere |
(Combo 1) = (damage number here) dmg |
| 1 Meter |
Corner |
(Combo 1) = (damage number here) dmg |
| 2 Meters | Anywhere | (Combo 1) = (damage number here) dmg |
Gameplay Overview
Normals
Standing
- st. A
- st. B
- st. C
- st. D
Close
- cl. A
- cl. B
- cl. C
- cl. D
Crouching
- cr. A
- cr. B
- cr. C
- cr. D
Jumping
- j. A
- j. B
- j. C
- j. D
Blowback
- st. CD
- j. CD
Throws
name of throw - (b/f+C) close
- (description)
- Can be broken
- (soft or hard knockdown)
name of throw - (b/f+D) close
- (description)
- Can be broken
- (soft or hard knockdown)
Command Moves
name of command normal - - (place motion here example f+A)
- (description here)
name of command normal - (motion here) (if in air)
- (description here)
Special Moves
name of special move - (place motion here example qcf + A/C)
- (description here)
- (description here)
- (description here)
EX: (description here)
name of special move - (place motion here)
- (description here)
- (description here)
- (description here)
EX: (description here)
name of move - (motion here)
- (description here)
- (description here)
- (description here)
EX: (description here)
- name of follow up move - (motion here)
- (description here)
- name of follow up move - (motion here)
- (description here)
- EX: (description here)
name of move here - (motion here)
- (description here)
- (description here)
- (description here)
EX: (description here)
name of move - (motion here)
- (description here)
- (description here)
- (description here)
EX: (description here)
Super Special Moves
name of move - (motion here)
- (description here)
- (description here)
- (description here)
Max:
Climax Super Special Moves
name of move - (motion here qcf, qcf + B+D)
- (description here)
- (description here)
- (description here)
Combos
- (any special information about the character combos if needed)
Rush Auto Combo
Meterless: description here
1 Meter: description here
EX: description here
0 meter
- (place combo here) = (place damage amount here)
(place combo description here)
1 meter
- (place combo here) = (place damage amount here)
(place combo description here)
2 meters
- (place combo here) = (place damage amount here)
(place combo description here)
3 meters
- (place combo here) = (place damage amount here)
(place combo description here)
4 meters
- (place combo here) = (place damage amount here)
(place combo description here)
5 meters
- (place combo here) = (place damage amount here)
(place combo description here)
Misc
Videos
KoF XIV for Dummies - Beginner's guide to playing K'
External Links
Discussion Threads
Discuss at Dream Cancel
