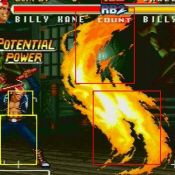
Gameplay Overview
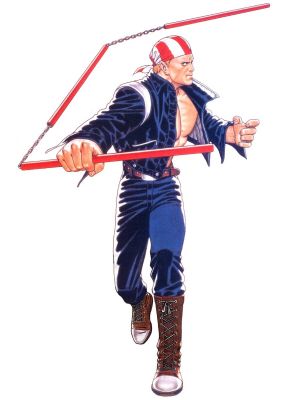
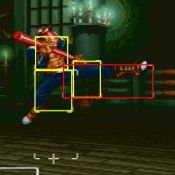
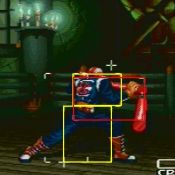
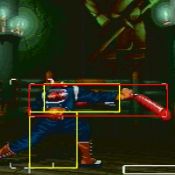
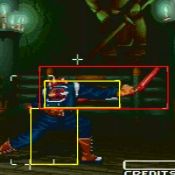
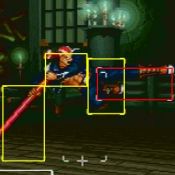
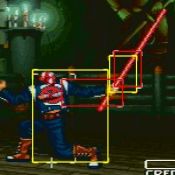
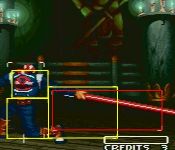
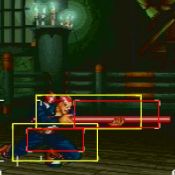
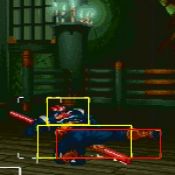
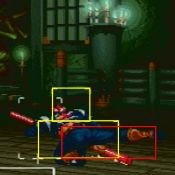
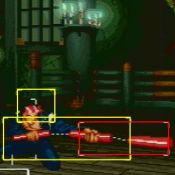
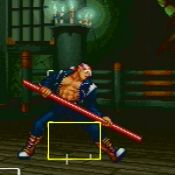
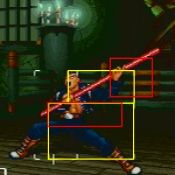
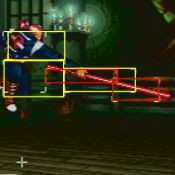
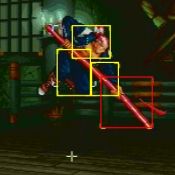
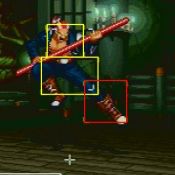
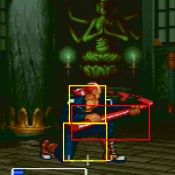
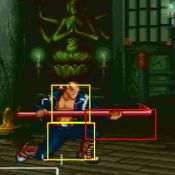
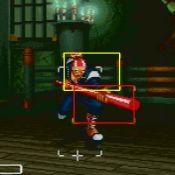
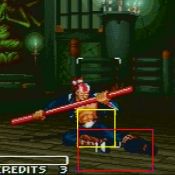
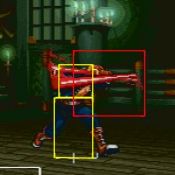
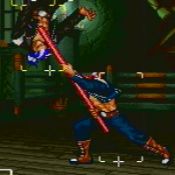
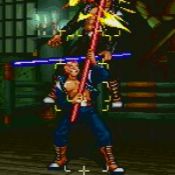
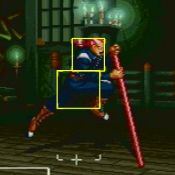
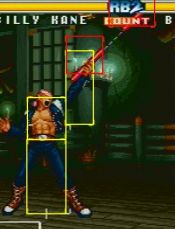
Billy is comparable to a schoolyard bully. If you're the new kid whose green or a current weaker kid, Billy can prove to be a powerhouse and beat most players. However, once you become more experienced and wise up to his tactics he starts to really slack and not show as much use. Great for beginners, not so good against a high level player using someone like Rick or Mary.
However, Billy is still capable of keeping up in this game so that's no reason to quit using him. He has good pokes and can combo off of a few things. His 632C S-Power isn't exactly the most damaging, but comes out quick and helps his game plan. If you plan to use Billy, you better figure out what's good to use where and what isn't not quickly, because he'll start showing less usefulness if you face a experienced player. Otherwise, he's kind of a scrub killer.
| Pros |
Cons
|
- Decent pokes and ranged game
|
- Not enough normals or Special Moves that cause knock down
- Hard pressed to do any high damaging combos with
|
Normals
Standing
| 5A
|
| Damage
|
Stun
|
Startup
|
Active
|
Recovery
|
Hit Advantage
|
Block Advantage
|
Guard
|
Cancel
|
BS
|
Juggle
|
| 9
|
-
|
9
|
5
|
16
|
-4
|
-8
|
HL
|
Y
|
-
|
-
|
|
n.5A
(within 80 px of opponent)
|
| Damage
|
Stun
|
Startup
|
Active
|
Recovery
|
Hit Advantage
|
Block Advantage
|
Guard
|
Cancel
|
BS
|
Juggle
|
| 9
|
-
|
5
|
2
|
10
|
+4
|
0
|
HL
|
Y
|
-
|
-
|
|
| 5B
|
| Damage
|
Stun
|
Startup
|
Active
|
Recovery
|
Hit Advantage
|
Block Advantage
|
Guard
|
Cancel
|
BS
|
Juggle
|
| 5,5
|
-
|
11
|
4(10)4
|
33
|
-21
|
-25
|
HL
|
N
|
-
|
-
|
|
n.5B
(within 112 px of opponent)
|
| Damage
|
Stun
|
Startup
|
Active
|
Recovery
|
Hit Advantage
|
Block Advantage
|
Guard
|
Cancel
|
BS
|
Juggle
|
| 4,4,4
|
-
|
7
|
2,2,2
|
12
|
+2
|
-2
|
HL
|
N
|
-
|
-
|
|
| 5C
|
| Damage
|
Stun
|
Startup
|
Active
|
Recovery
|
Hit Advantage
|
Block Advantage
|
Guard
|
Cancel
|
BS
|
Juggle
|
| 24
|
-
|
17
|
9
|
16
|
+1
|
-5
|
HL
|
N
|
-
|
-
|
|
n.5C
(within 100 px of opponent)
|
| Damage
|
Stun
|
Startup
|
Active
|
Recovery
|
Hit Advantage
|
Block Advantage
|
Guard
|
Cancel
|
BS
|
Juggle
|
| 24
|
-
|
9
|
2,5
|
23
|
-2
|
-8
|
HL,L
|
Y
|
-
|
-
|
|
Crouching
| 2A
|
| Damage
|
Stun
|
Startup
|
Active
|
Recovery
|
Hit Advantage
|
Block Advantage
|
Guard
|
Cancel
|
BS
|
Juggle
|
| 9
|
-
|
8
|
4
|
8
|
+4
|
0
|
HL
|
Y
|
-
|
-
|
|
| 2B
|
| Damage
|
Stun
|
Startup
|
Active
|
Recovery
|
Hit Advantage
|
Block Advantage
|
Guard
|
Cancel
|
BS
|
Juggle
|
| 11
|
-
|
7
|
3
|
12
|
+1
|
-3
|
L
|
Y
|
-
|
-
|
|
| 2C
|
| Damage
|
Stun
|
Startup
|
Active
|
Recovery
|
Hit Advantage
|
Block Advantage
|
Guard
|
Cancel
|
BS
|
Juggle
|
| 13,13
|
-
|
9
|
3(9)6
|
20
|
KD
|
-6
|
L
|
N
|
-
|
-
|
|
Command
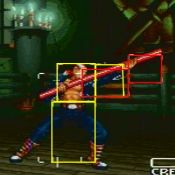
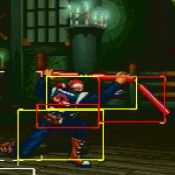
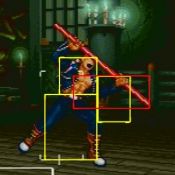
Leaning Pole Strike
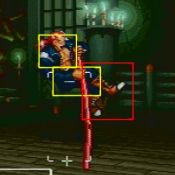
5AB
High Avoid Attack
|
| Damage
|
Stun
|
Startup
|
Active
|
Recovery
|
Hit Advantage
|
Block Advantage
|
Guard
|
Cancel
|
BS
|
Juggle
|
| 14
|
-
|
11
|
9
|
21
|
-4
|
-10
|
HL
|
Y
|
-
|
-
|
|
Jumping
| j.A
Neutral Hop/Jump Diagonal Hop/Jump
|
| Version
|
Damage
|
Stun
|
Startup
|
Active
|
Recovery
|
Hit Advantage
|
Block Advantage
|
Guard
|
Cancel
|
BS
|
Juggle
|
| Neutral Hop
|
9
|
-
|
6
|
9
|
6
|
+8
|
+4
|
H
|
N
|
-
|
-
|
- Good range to poke and keep away
|
| Diagonal Hop
|
9
|
-
|
5
|
till landing
|
6
|
+8
|
+4
|
H
|
N
|
-
|
-
|
| Neutral Jump
|
9
|
-
|
6
|
9
|
6
|
+8
|
+4
|
H
|
N
|
-
|
-
|
- Good range to poke and keep away
|
| Diagonal Jump
|
9
|
-
|
5
|
11
|
6
|
+8
|
+4
|
H
|
N
|
-
|
-
|
|
| j.B
|
| Version
|
Damage
|
Stun
|
Startup
|
Active
|
Recovery
|
Hit Advantage
|
Block Advantage
|
Guard
|
Cancel
|
BS
|
Juggle
|
| Neutral Hop
|
11
|
-
|
7
|
9
|
6
|
+8
|
+4
|
H
|
N
|
-
|
-
|
| Diagonal Hop
|
11
|
-
|
7
|
9
|
6
|
+8
|
+4
|
H
|
N
|
-
|
-
|
| Neutral Jump
|
11
|
-
|
7
|
7
|
6
|
+8
|
+4
|
H
|
N
|
-
|
-
|
| Diagonal Jump
|
11
|
-
|
7
|
9
|
6
|
+8
|
+4
|
H
|
N
|
-
|
-
|
|
| j.C
Neutral Hop/Diagonal Jump Diagonal Hop/Neutral Jump
|
| Version
|
Damage
|
Stun
|
Startup
|
Active
|
Recovery
|
Hit Advantage
|
Block Advantage
|
Guard
|
Cancel
|
BS
|
Juggle
|
| Neutral Hop
|
20
|
-
|
10
|
9
|
8
|
+15
|
+9
|
H
|
N
|
-
|
-
|
| Diagonal Hop
|
20
|
-
|
13
|
4
|
8
|
+15
|
+9
|
H
|
N
|
-
|
-
|
- It's decent as an anti-air
|
| Neutral Jump
|
20
|
-
|
12
|
7
|
8
|
+15
|
+9
|
H
|
N
|
-
|
-
|
| Diagonal Jump
|
20
|
-
|
9
|
9
|
8
|
+15
|
+9
|
H
|
N
|
-
|
-
|
|
Oversway Actions
5D
(opponent in oversway)
|
| Damage
|
Stun
|
Startup
|
Active
|
Recovery
|
Hit Advantage
|
Block Advantage
|
Guard
|
Cancel
|
BS
|
Juggle
|
| 20
|
-
|
9
|
3,4
|
20
|
+2
|
+4
|
H
|
Y
|
-
|
-
|
|
2D
(opponent in oversway)
|
| Damage
|
Stun
|
Startup
|
Active
|
Recovery
|
Hit Advantage
|
Block Advantage
|
Guard
|
Cancel
|
BS
|
Juggle
|
| 20
|
-
|
12
|
4,6
|
14
|
+2
|
-4
|
L
|
Y
|
-
|
-
|
|
A
(from oversway)
|
| Damage
|
Stun
|
Startup
|
Active
|
Recovery
|
Hit Advantage
|
Block Advantage
|
Guard
|
Cancel
|
BS
|
Juggle
|
| 11
|
-
|
25
|
4
|
12
|
+3
|
+1
|
H
|
-
|
-
|
-
|
|
B
(from oversway)
|
| Damage
|
Stun
|
Startup
|
Active
|
Recovery
|
Hit Advantage
|
Block Advantage
|
Guard
|
Cancel
|
BS
|
Juggle
|
| 11
|
-
|
24
|
4
|
12
|
+1
|
-1
|
L
|
-
|
-
|
-
|
|
C
(from oversway)
|
| Damage
|
Stun
|
Startup
|
Active
|
Recovery
|
Hit Advantage
|
Block Advantage
|
Guard
|
Cancel
|
BS
|
Juggle
|
| 11,11
|
-
|
26
|
4
|
12
|
+13
|
-1
|
HL
|
-
|
-
|
-
|
|
Throw
Rising Toss
4/6C
|
| Damage
|
Stun
|
Startup
|
Active
|
Recovery
|
Hit Advantage
|
Block Advantage
|
Guard
|
Cancel
|
BS
|
Juggle
|
| 26
|
-
|
-
|
-
|
-
|
-
|
-
|
-
|
-
|
-
|
-
|
|
Hell Drop Slam
3C
|
| Damage
|
Stun
|
Startup
|
Active
|
Recovery
|
Hit Advantage
|
Block Advantage
|
Guard
|
Cancel
|
BS
|
Juggle
|
| 8,8,8,8
|
-
|
-
|
-
|
-
|
-
|
-
|
-
|
-
|
-
|
-
|
- Can be followed up with Karyu Tsuigeki Kon (214B)
|
|
Feints
Feint Kyou Shuu Hishou Kon
4AC
|
| Damage
|
Stun
|
Startup
|
Active
|
Recovery
|
Hit Advantage
|
Block Advantage
|
Guard
|
Cancel
|
BS
|
Juggle
|
| -
|
-
|
-
|
-
|
42
|
-
|
-
|
-
|
-
|
-
|
-
|
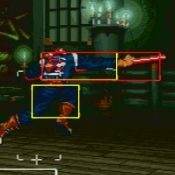
Good for dodging crouching attacks, as it has low body invul through 10-26f
|
|
Special Moves
Sansetsukon Chudan Uchi
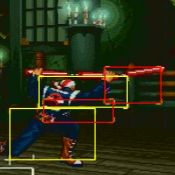
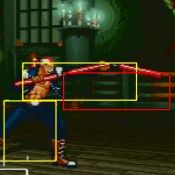
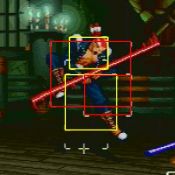
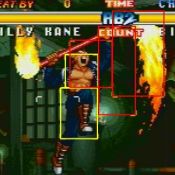
[4]6A(-46C)
Kaen Sansetsukon Chudan Tsuki
|
| Version
|
Damage
|
Stun
|
Startup
|
Active
|
Recovery
|
Hit Advantage
|
Block Advantage
|
Guard
|
Cancel
|
BS
|
Juggle
|
| [4]6A
|
32
|
-
|
17
|
20
|
20
|
-10
|
-12
|
HL
|
-
|
N
|
Y
|
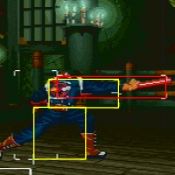
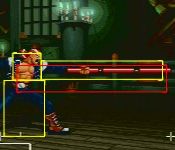
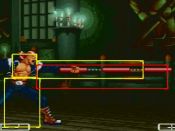
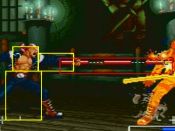
- Good as a long range poke
- Absorbs projectiles
|
| -46C
|
10
|
-
|
9
|
11
|
26
|
KD
|
-
|
-
|
-
|
-
|
Y
|
- Sansetsukon must connect in order to use this
|
|
Sepunkon
Mash A
|
| Version
|
Damage
|
Stun
|
Startup
|
Active
|
Recovery
|
Hit Advantage
|
Block Advantage
|
Guard
|
Cancel
|
BS
|
Juggle
|
| A
|
6*7
|
-
|
18
|
83
|
13
|
-
|
-
|
HL
|
-
|
N
|
Y
|
- It tends to stay out awhile, so it may not be safe even when it hits.
|
|
Suzume Otoshi
214A
|
| Damage
|
Stun
|
Startup
|
Active
|
Recovery
|
Hit Advantage
|
Block Advantage
|
Guard
|
Cancel
|
BS
|
Juggle
|
| 32
|
-
|
15
|
11
|
21
|
KD
|
-10
|
HL
|
-
|
Y
|
Y
|
- If used at the height of the opponent's jump, can follow up with Guren Sakkon (632C)
|
|
Karyu Tsuigeki Kon
214B
|
| Damage
|
Stun
|
Startup
|
Active
|
Recovery
|
Hit Advantage
|
Block Advantage
|
Guard
|
Cancel
|
BS
|
Juggle
|
| 8,8,16
|
-
|
9
|
2,4(7)5
|
22
|
+1
|
-5
|
HL
|
-
|
Y
|
Y
|
|
Kyou Shuu Hishou Kon
41236B (4/6 to move)
|
| Damage
|
Stun
|
Startup
|
Active
|
Recovery
|
Hit Advantage
|
Block Advantage
|
Guard
|
Cancel
|
BS
|
Juggle
|
| 12.14,14
|
-
|
17
|
7, till landing
|
20
|
+6
|
0
|
Y
|
-
|
Y
|
N
|
|
S-Power
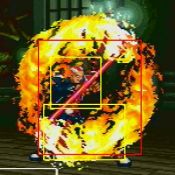
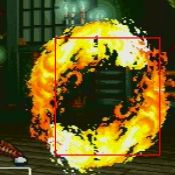
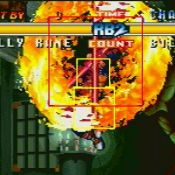
Cho Kaen Senpu Kon
641236BC
|
| Damage
|
Stun
|
Startup
|
Active
|
Recovery
|
Hit Advantage
|
Block Advantage
|
Guard
|
Cancel
|
BS
|
Juggle
|
| 76
|
-
|
24
|
54
|
22
|
KD
|
-58
|
HL
|
-
|
N
|
Y
|
- This can get you killed if it is blocked up close in the corner - the projectile will completely whiff, allowing opponents to do whatever they want.
|
|
Guren Sakkon
632C
|
| Damage
|
Stun
|
Startup
|
Active
|
Recovery
|
Hit Advantage
|
Block Advantage
|
Guard
|
Cancel
|
BS
|
Juggle
|
| 8,12,12,12,21(51)
|
-
|
8
|
5,2,4,9(2)18
|
42
|
KD
|
-53
|
HL
|
-
|
N
|
Y
|
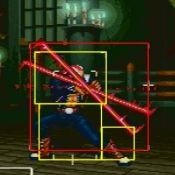
- Works well to use as an anti-air
- Billy's better choice for an S-Power and can combo into this more easily .
- Can be used to follow up Suzume Otoshi (214A) with if timed at the height of the enemy's jump
|
|
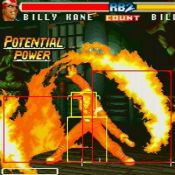
P-Power
641236C
|
| Damage
|
Stun
|
Startup
|
Active
|
Recovery
|
Hit Advantage
|
Block Advantage
|
Guard
|
Cancel
|
BS
|
Juggle
|
| 13*5,32(85)
|
-
|
1+16
|
21(18)16
|
21
|
KD
|
-5
|
HL
|
-
|
N
|
N
|
|
Chain Combos
Punch Starters
``````````````
n.5A (*)----> 5C (*, E)
                6C (*, ^, E)
5A two steps----> 5C (E)
 away (*)
2A (*)------> 2C (*, E)
j.A (O)---> j.C (1, H, O, E)
Kick Starters
`````````````
j.K (O)---> j.C (1, H, O, E)
Strong Starters
```````````````
2C (_)------> 5C (1)      -----> 236C (E)
Combos
Meterless
Metered
Strategy
Miscellaneous
