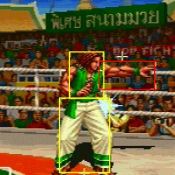
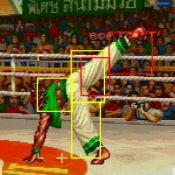
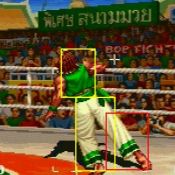
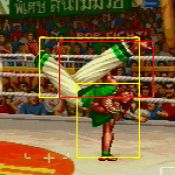
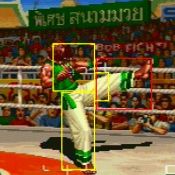
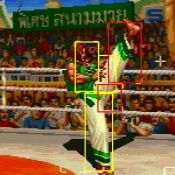
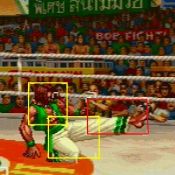
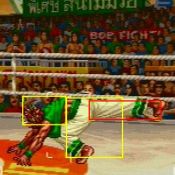
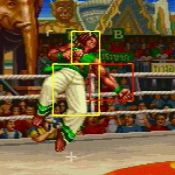
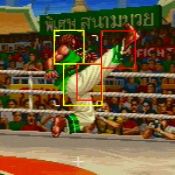
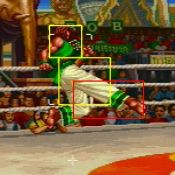
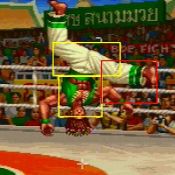
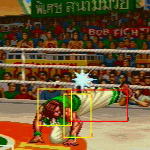
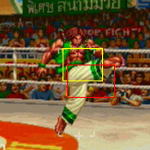
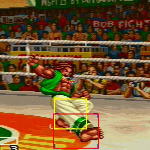
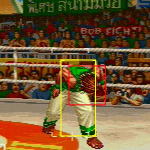
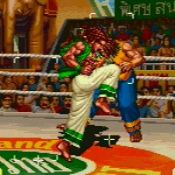
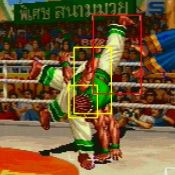
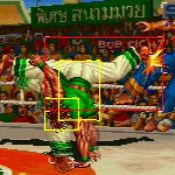
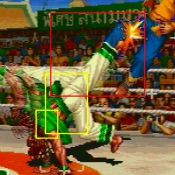
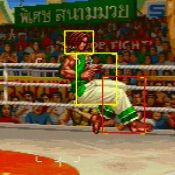
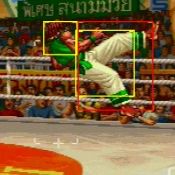
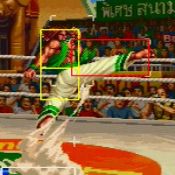
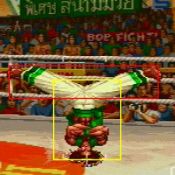
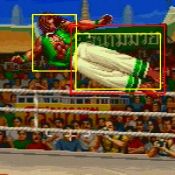
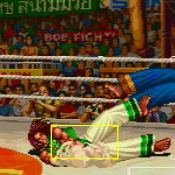
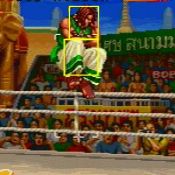
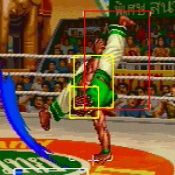
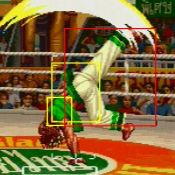
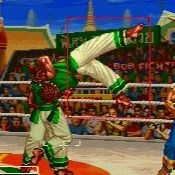
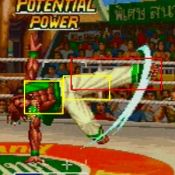
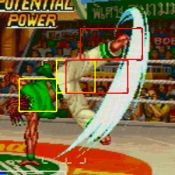
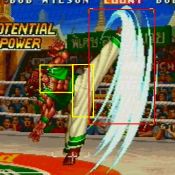
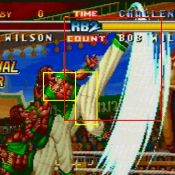
Real Bout Fatal Fury 2/Bob Wilson

From Dream Cancel Wiki
Jump to navigation Jump to search
RBFF2 Bob.jpg


Gameplay Overview

Gameplay Notes

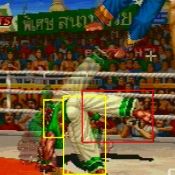
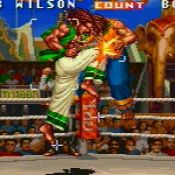
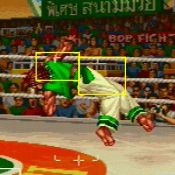
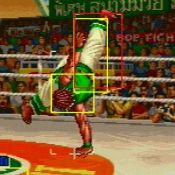
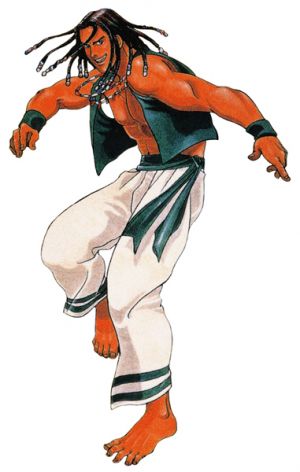
RB2's resident juggle-master and an ultimate example of high risk/high reward, whether Bob wins or loses can depend on the setup and execution of a single combo.


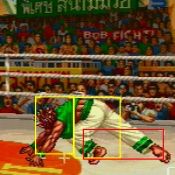
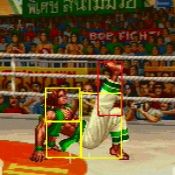
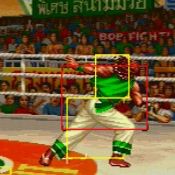
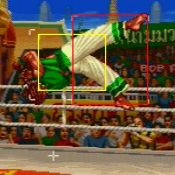
He has an excellent set of normals, decent pokes (though he no longer has the godly 5B poke he had in FF3), a nice set of specials, good S-Power/P-Power, a regular throw that sets up into juggles, a decent mind game, he's the only character in the game with both a rising attack and a pursuit and the crowning jewel of his strengths: not only does he have the easiest infinite in the game, but he has nearly half a dozen ways of setting it up (including from his regular throw)!


His downsides are positioning and recovery. He only has one safe special: the Rolling Turtle and even then, it's only safe if you land (hit or blocked) the last 5 hits of it. Used improperly, this move can leave you extremely unsafe even when it's fully connected! He has to very precise in both timing, execution and positioning in order to maximize his damage, and any slip-up can leave him served up on a sliver platter.


Strategies

You'd think Bob, being a practitioner of Capoeria, would have a ton of mind games. Sadly, he doesn't. This is due to two things: one is that he doesn't have any normals that are overheads, and the one special he has that's an overhead is a charge motion, which puts a serious limit on the ways he can use it. His mind games open up considerably once he is able to use his S-Power.


Bob excels at two things: his low strings and his juggles. His normals are fast, have great range, and have very little recovery. Though he has a huge list of specials, you'll likely be relying on his normals the vast majority of the time.


Something to note is that Bob is one of the few characters in the game that doesn't have any way of knocking someone into the back plane, which is a shame because it would add greatly to his mind games and ability to do damage.


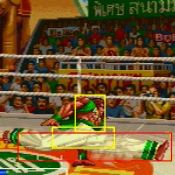
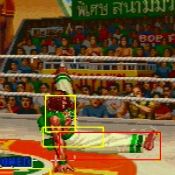
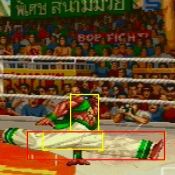
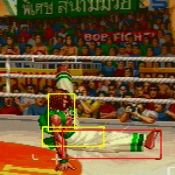
Bob has the luxury in that his j.C animation for the hop is the same as the one for his jump, which is awesome news because his j.C is one of the best in the game; enough so for it to be one of your main methods of closing range and applying pressure.


Bob has two optimal ranges: close and sweep range. Sweep range for applying pressure with his poking (preferably low ones) game and close for when he wants to go for big damage. While there are people with better ranged pokes, there are few (arguably none) that have his speed with them.


Though he has defensive tools, the main one being his Bison Horn to beat / trade attacks, and his speedy pokes to slip in an opponent's defense: he's much better suited for offense.

Pros Cons
  • Excellent normals


  • Decent Pokes


  • Good Specials


  • Good S-Power/P-Power


  • Regular throw that sets up into juggles


  • Decent mind games


  • Only character in the game with both a rising attack and a pursuit


  • Easiest infinite in the game with nearly half a dozen ways of setting it up
  • Positioning and recovery


  • Only one safe special but only safe if you land (hit or block) the last five fits of it


  • Must be very precise in timing, execution, and positioning


  • One slip-up can mean the end for Bob

Normals

Standing

5A
RBFF2 Bob 5a.jpg
Damage Stun Startup Active Recovery Hit Advantage Block Advantage Guard Cancel BS Juggle
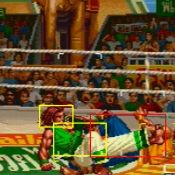
8 - 5 2 10 +4 0 HL Y - -
  • Has an okay reach on it
n.5A
(within 52 px of opponent)
RBFF2 Bob n5a.jpg
Damage Stun Startup Active Recovery Hit Advantage Block Advantage Guard Cancel BS Juggle
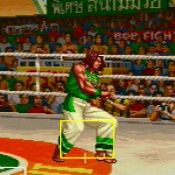
8 - 5 5 8 +4 0 HL Y - -
5B
RBFF2 Bob 5b.jpg
Damage Stun Startup Active Recovery Hit Advantage Block Advantage Guard Cancel BS Juggle
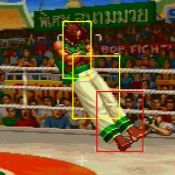
10 - 6 3 14 -1 -5 HL Y - -
n.5B
(within 61 px of opponent)
RBFF2 Bob n5b.jpg
Damage Stun Startup Active Recovery Hit Advantage Block Advantage Guard Cancel BS Juggle
10 - 6 3 12 +1 -3 HL Y - -
5C
RBFF2 Bob 5c.jpg
Damage Stun Startup Active Recovery Hit Advantage Block Advantage Guard Cancel BS Juggle
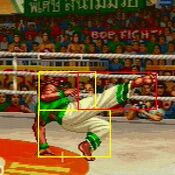
23 - 8 4 20 +2 -4 HL N - -
n.5C
(within 69 px of opponent)
RBFF2 Bob n5c.jpg
RBFF2 Bob n5c2.jpg
Damage Stun Startup Active Recovery Hit Advantage Block Advantage Guard Cancel BS Juggle
10,10 - 8 3,3 20 +3(+6) -3(0) HL Y - -

Crouching

2A
RBFF2 Bob 2a.jpg
Damage Stun Startup Active Recovery Hit Advantage Block Advantage Guard Cancel BS Juggle
8 - 5 2 10 +4 0 HL Y - -
2B
RBFF2 Bob 2b.jpg
Damage Stun Startup Active Recovery Hit Advantage Block Advantage Guard Cancel BS Juggle
10 - 6 3 12 +1 -3 L Y - -
  • Has good reach
  • A decent normal to avoid high attacks with
2C
RBFF2 Bob 2c.jpg
Damage Stun Startup Active Recovery Hit Advantage Block Advantage Guard Cancel BS Juggle
23 - 8 3 20 KD -3(0) L Y - -

Command

Elephant Tusk
3A
RBFF2 Bob 3a.jpg
Damage Stun Startup Active Recovery Hit Advantage Block Advantage Guard Cancel BS Juggle
19 - 8 9 20 -3(+6) -9(0) HL Y - -
H.Hedgehog
66C
RBFF2 Bob 66c.jpg
Damage Stun Startup Active Recovery Hit Advantage Block Advantage Guard Cancel BS Juggle
16 - 18 6 19 KD -5 HL N - -
  • Good speed
  • Decent priority
  • Can be done at any point during a dash
  • Good for getting someone into the corner
Flying Fish
Mash C after knockdown
RBFF2 Bob mashc.jpg
Damage Stun Startup Active Recovery Hit Advantage Block Advantage Guard Cancel BS Juggle
10 - 13 4 60 - - H N - -
  • Just a slower, weaker, version of Bob's Bison Horn with less priority and more recovery
Lynx Fang
8C while the opponent is knocked down
RBFF2 Bob pursuit.jpg
Damage Stun Startup Active Recovery Hit Advantage Block Advantage Guard Cancel BS Juggle
19 - 18 10 23 - - - N - -
  • Guaranteed after a throw or a S-Power
  • Can leave Bob open if the opponent can do a fall recover
  • Even when it misses, most people won't react fast enough to hit Bob while he recovers
Eagle Stomp
j.2B from a full jump
RBFF2 Bob j2b.jpg
Damage Stun Startup Active Recovery Hit Advantage Block Advantage Guard Cancel BS Juggle
19 - 9 7 - +23 +9 H N - -
  • Good for avoiding attacks
  • Rather unsafe on hit/block
  • Cannot be done from a short jump
Low Fang
5AB
RBFF2 Bob ab.jpg
RBFF2 Bob ab2.jpg
High Avoid Attack
Damage Stun Startup Active Recovery Hit Advantage Block Advantage Guard Cancel BS Juggle
14 - 8 6 20 -10(-4) -10(-4) HL Y - -
  • Long amount of invincibility
  • Is bufferable
  • Makes for a decent poke
  • Low enough to avoid some attacks

Jumping

j.A
RBFF2 Bob ja.jpg
Version Damage Stun Startup Active Recovery Hit Advantage Block Advantage Guard Cancel BS Juggle
Neutral Hop 8 - 5 9 6 +8 +4 H N - -
Diagonal Hop 8 - 5 10 6 +8 +4 H N - -
Neutral Jump 8 - 5 8 6 +8 +4 H N - -
Diagonal Jump 8 - 5 10 6 +8 +4 H N - -
j.B
RBFF2 Bob jb.jpg
Neutral Hop/Jump, Diagonal Hop
RBFF2 Bob jb2.jpg
Diagonal Jump
Version Damage Stun Startup Active Recovery Hit Advantage Block Advantage Guard Cancel BS Juggle
Neutral Hop 10 - 6 8 6 +8 +4 H N - -
Diagonal Hop 10 - 6 8 6 +8 +4 H N - -
Neutral Jump 10 - 6 6 6 +8 +4 H N - -
Diagonal Jump 10 - 6 8 6 +8 +4 H N - -
j.C
RBFF2 Bob jc.jpg
RBFF2 Bob jc2.jpg
Neutral Hop/Jump
RBFF2 Bob jc3.jpg
Diagonal Hop/Jump
Version Damage Stun Startup Active Recovery Hit Advantage Block Advantage Guard Cancel BS Juggle
Neutral Hop 23 - 12 4,4 8 +15 +9 H N - -
Diagonal Hop 23 - 8 8 8 +15 +9 H N - -
Neutral Jump 23 - 6 4,4 8 +15 +9 H N - -
Diagonal Jump 23 - 8 6 8 +15 +9 H N - -

Oversway Actions

5D
(opponent in oversway)
RBFF2 Bob 5d.jpg
RBFF2 Bob 5d2.jpg
Damage Stun Startup Active Recovery Hit Advantage Block Advantage Guard Cancel BS Juggle
19 - 5 3,3 19 +1(+6) -5(0) H Y - -
2D
(opponent in oversway)
RBFF2 Bob 2d.jpg
Damage Stun Startup Active Recovery Hit Advantage Block Advantage Guard Cancel BS Juggle
19 - 6 10 10 +6 0 L Y - -
A
(from oversway)
RBFF2 Bob SA.jpg
Damage Stun Startup Active Recovery Hit Advantage Block Advantage Guard Cancel BS Juggle
10 - 24 4 12 +3 +1 H - - -
B
(from oversway)
RBFF2 Bob SB.jpg
Damage Stun Startup Active Recovery Hit Advantage Block Advantage Guard Cancel BS Juggle
10 - 24 4 12 +1 -1 L - - -
C
(from oversway)
RBFF2 Bob SC.jpg
Damage Stun Startup Active Recovery Hit Advantage Block Advantage Guard Cancel BS Juggle
19 - 26 4 11 +12 -3 HL - - -

Throw

Falcon
4/6C
RBFF2 Bob throw.jpg
Damage Stun Startup Active Recovery Hit Advantage Block Advantage Guard Cancel BS Juggle
26 - - - - - - - - - -
Hornet Attack
33C after Falcon
RBFF2 Bob throw2.jpg
RBFF2 Bob throw3.jpg
RBFF2 Bob throw4.jpg
RBFF2 Bob throw5.jpg
Damage Stun Startup Active Recovery Hit Advantage Block Advantage Guard Cancel BS Juggle
9,9,9 - - - - - - - - - -
  • Can be followed up with ANY of Bob's moves that contain juggle properties
  • Has a lack of good range
  • Hornet Attack requires some speed to pull off
  • Has potential for incredible damage
Eagle Catch
1/3C in the air
RBFF2 Bob airthrow.jpg
Damage Stun Startup Active Recovery Hit Advantage Block Advantage Guard Cancel BS Juggle
26 - - - - - - - - - -
  • Not much reason to use this
  • Will probably shock you more than the opponent when it actually comes out

Feints

Feint Dancing Bison
2BC
RBFF2 Bob 2bc.jpg
Damage Stun Startup Active Recovery Hit Advantage Block Advantage Guard Cancel BS Juggle
- - - - 19 - - - - - -

Special Moves

Wild Wolf
[4]6B
RBFF2 Bob 46b.jpg
RBFF2 Bob 46b2.jpg
RBFF2 Bob 46b3.jpg
RBFF2 Bob 46b4.jpg
Damage Stun Startup Active Recovery Hit Advantage Block Advantage Guard Cancel BS Juggle
12,16,16(38) - 19 5,4(10)4,5 17 +6 0 HL,H - Y N
  • Effective anti-air
  • First hit isn't an overhead but the last two are
  • If the last hit connects just right, you can connect his S-Power/P-Power but its very risky
  • This move is comboable, but Bob has many better options
Bison Horn
[2]8C
RBFF2 Bob 28c.jpg
RBFF2 Bob 28c2.jpg
RBFF2 Bob 28c3.jpg
Damage Stun Startup Active Recovery Hit Advantage Block Advantage Guard Cancel BS Juggle
12,26(34) - 3 2,2,3 72 KD -46 HL - N Y
  • Practically zero invincibility
  • Incredible speed and priority
  • Very few moves can beat out this one
  • Bob's main combo/juggle ender
  • Has some bad recovery, so it can be punished by characters with projectiles/long reach/speed
Monkey Dance
623B
RBFF2 Bob 623b.jpg
Damage Stun Startup Active Recovery Hit Advantage Block Advantage Guard Cancel BS Juggle
12,12,12(31) - 13 7(6)3(6)3 44 KD -34 HL - Y -
  • Bob's secondary anti-air and juggle extender
  • Great range, speed, and priority
  • Main uses are setting up combos/juggles, zoning, and setting up Bison Horn and Dancing Bison
  • If the last hit of this move misses or barely hits, you cannot juggle either Bison from it
  • This move can make or break the match when it lands
Rolling Turtle
214B (4/6 to move)
RBFF2 Bob 214b.jpg
Damage Stun Startup Active Recovery Hit Advantage Block Advantage Guard Cancel BS Juggle
7*5 - 8 5,4,5,4,5,4,5,4 - -16 -22 HL - Y y
  • Can control where Bob moves with 4 and 6
  • Kicks 8-10 times but only 5 of these will connect on hit/block
  • Best to not land the first few hits outside of a juggle to prevent being open from the missing hits
  • Possible to miss the first few hits within a combo
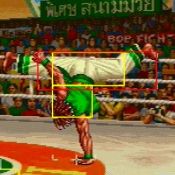
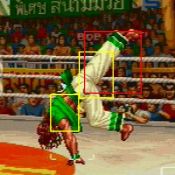
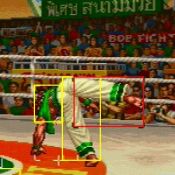
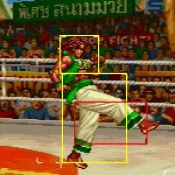
  • Can do the infinite with this move
  • Can juggle Bison Horn and Dancing Bison after this
Sidewinder
214C
RBFF2 Bob 214c.jpg
RBFF2 Bob 214c2.jpg
RBFF2 Bob 214c3.jpg
RBFF2 Bob 214c4.jpg
Damage Stun Startup Active Recovery Hit Advantage Block Advantage Guard Cancel BS Juggle
11,11,11,11((36) - 19 3(3)2(14)4(4)4 36 KD -18 L - Y N
  • Decent damage
  • Has VERY poor recovery on whiff/block
Frog Hunting
466BC
RBFF2 Bob 466bc.jpg
RBFF2 Bob 466bc2.jpg
RBFF2 Bob 466bc3.jpg
Damage Stun Startup Active Recovery Hit Advantage Block Advantage Guard Cancel BS Juggle
23 - 15 4 29 KD -46 HL - N Y
  • Good surprise move
  • Bob is sent flying down to the ground whether it's hit or blocked.
  • Little recovery on whiff
  • Goes through all but the highest fireballs
  • Extremely unsafe on block DO NOT use unless you know it will hit

S-Power

Dangerous Wolf
641236BC
RBFF2 Bob 641236bc.jpg
RBFF2 Bob 641236bc2.jpg
RBFF2 Bob 641236bc3.jpg
Damage Stun Startup Active Recovery Hit Advantage Block Advantage Guard Cancel BS Juggle
6*12,13(60) - 18 [2(2)]*12 - KD -64 HL,H - N N
  • Very fast and comboable
  • Does less damage than every other S-Power in the game
  • Does not become an overhead until two hits connect (hit/block)
  • Crouching opponent can stand and block the entire S-Power because of this
  • Very bad for Bob if this is blocked, whiffed, or even hits an airborne opponent
  • Best used to combo into or use low pokes/strings to set it up
  • Always follow up with his pursuit because it is inescapable following S-Powers

P-Power

Dancing Bison
641236C
RBFF2 Bob 641236c.jpg
RBFF2 Bob 641236c2.jpg
RBFF2 Bob 641236c3.jpg
RBFF2 Bob 641236c4.jpg
Damage Stun Startup Active Recovery Hit Advantage Block Advantage Guard Cancel BS Juggle
18,20,32,9*5(89) - 1+3 3(8)3(8)3(8)14 43 KD -34 HL - N Y
  • Very fast
  • Combos off of practically everything: pokes, low attack, the Falcon/Hornet Attack, Wolf Tail, Wild Wolf, Monkey Dance...
  • Has decent invincibility at start-up
  • Does a ton of damage
  • Fair amount of recovery if blocked/whiffed
  • Unreliable as an anti-air
  • In rare instances, whether its anti-air or not, the first kick in this move has been known to pass completely through the opponent
  • If Bob so much as lands any bufferable attack that isn't a sweep with the very tip of his fingernail, you can land this attack
  • Can be followed up with the pursuit for extra damage

Combos

Meterless

Metered

Chain Combos

Punch Starters
``````````````
5A (*)  --------> 5B (*)      -----> 5C (E)       
          |       5C (*, E)          3C (*, A, E)
          |
          |
          |
          ----> 2B (*, _)----> 2C (_, E)
          :
          :
          :
          :
          ----> 5A (*)      -----> 5B (*)     -----> 5C (E)
                                   5C (*, E)
                             
                 
n.5A (*)----> 5B (*)      -----> 5C (E)       
          |      5C (*, E)          3C (*, A, E)
          |
          |
          |
          ----> 2B (*, _)----> 2C (_, E)
          :
          :
          :
          :
          ----> 5A (*)      -----> 5B (*)     -----> 5C (E)
          :                  :     5C (*, E)         2C (*, A, E)
          :                  :
          :                  :
          :                  :
          :                  : 
          :                  ---> 2B (*, _)---> 2C (_, E)
          :                  :
          :                  :
          :                  :
          :                  :
          :                  ---> 5A (*)     -----> 5B (*)   -----> 5C (E)
          :                                         5C (*, E)
          :
          :
          ----> 2A (*)  -----> 5B (*)     -----> 5C (E) 
                             :                     3C (*, A, E)
                             :
                             :
                             :
                             ---> 2B (*, _)---> 2C (_, E)
                             :
                             :
                             :
                             :
                             ---> 5A (*)     -----> 5B (*)   -----> 5C (E)
                                                    5C (*, E)  

                                              
2A (*)------> 5B (*)      -----> 5C (E) 
           |                       3C (*, A, E)
           |
           |
           |
           ---> 2B (*, _)----> 2C (_, E)
           :
           :
           :
           :
           ---> 5A (*)      -----> 5B (*)     -----> 5C (E) 
           :                 :     5C (*, E)         3C (*, A, E)
           :                 :
           :                 :
           :                 :
           :                 ---> 2B (*, _)---> 2C (_, E)
           :                 :
           :                 :
           :                 :
           :                 :
           :                 ---> 5A (*)     -----> 5B (*)   -----> 5C (E)
           :                                        5C (*, E)
           :
           :
           ---> 2A (*)  -----> 5B (*)     -----> 5C (E)
                             :                     3C (*, A, E)
                             :
                             :
                             :
                             ---> 2B (*, _)---> 2C (_, E)
                             :
                             :
                             :
                             :
                             ---> 5A (*)     -----> 5B (*)   -----> 5C (E)
                                                    5C (*, E)

3A (*)----->  2B  -----> 2C (*, _, E)

j.A (O)---> j.C (1, H, O, E)


Kick Starters
`````````````
5B (*)  --------> 5B (*) ----->     5C (E)       
n.5B (*)|         5C (*, E)         3C (*, A, E)
          |
          |
          |
          ----> 2B (*, _)---->   2C (_, E)
2B (_, *)---->  5B (*)     ----> 5C (E) 
           |                     3C (*, A, E)
           |
           |
           |
           ---> 2B (*, _)----> 2C (_, E)
j.B (O)---> j.C (1, H, O, E)
                
Strong Starters
```````````````
5C (*)  --------> 5C          -----> 6C (E)  
n.5C (*)                          8C (O, E)


Though Bob doesn't have the flexibility of his chains that Bash does (but then, who does?) he does have a great mashable A and a very long-ranged low B that's also bufferable into specials / supers. Also, Bob can do his chains without them hitting the opponent. Unless otherwise noted, you can begin any combo that starts with A with 3-4 of them.


Falcon + Hornet Attack xx S/S (Throw, Launcher, Infinite Setup)

5A + 5B xx S/S

2A, 5B, 5C

2A, 5B, 3C (launcher) xx S/S (Infinite Setup)

2A, 2B (low) 2C (low)

3A, 2B, 2C (low, launcher) xx S/S (Infinite Setup)

3A xx S/S

5A, 5C xx S/S

2B, 5B, 5C

2B, 5B, 3C (launcher) xx S/S (Infinite Setup)

2B, 2B, 2C

5C, 5C, 6C (knockdown)

5C, 5C, 5A, 5C xx S/S

5C, 5C, 2A, 5B, 5C

5C, 5C, 2A, 5B 3C (launcher) xx S/S (Infinite Setup)

5C, 5C, 2A, 2B (low) 2C (low)

Miscellaneous

Strategy

Notes

Infinite

Bob's infinite can start from anything that is a launcher, and involves juggling the first and last hit of the Rolling Turtle into itself. Depending on which starter you use, you may have to delay the first Rolling Turtle to properly land the first hit.

Generally, after the 2nd Rolling Turtle, there's a very slight shift in timing where you have to perform the 3rd instantly after the 2nd one ends. After that it becomes easier to maintain the infinite. Also, after any Rolling Turtle, you can juggle any special / super with the Juggle property (except for the Monkey Dance and Frog Hunting).
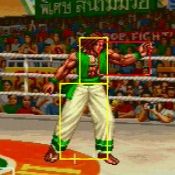
Real Bout Fatal Fury 2
General

ControlsFAQSystem

Characters

Andy BogardBilly KaneBlue MaryBob WilsonCheng SinzanDuck KingFranco BashGeese HowardHon FuJin ChonreiJin ChonshuJoe HigashiKim KaphwanLaurence BloodLi XiangfeiMai ShiranuiRick StrowdRyuji YamazakiSokaku MochizukiTerry BogardTung Fu RueWolfgang Krauser