Introduction
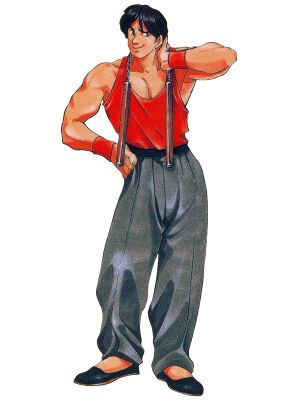
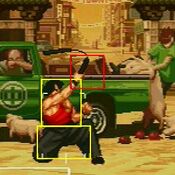
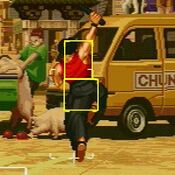
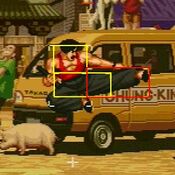
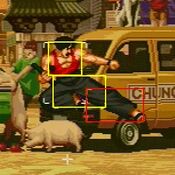
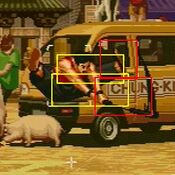
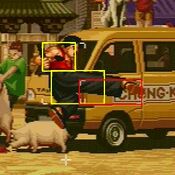
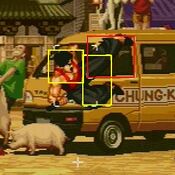
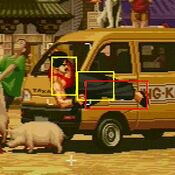
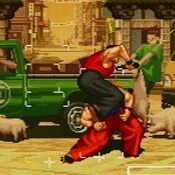
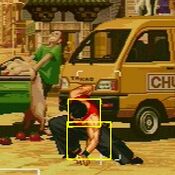
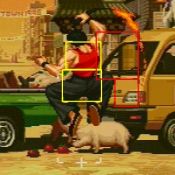
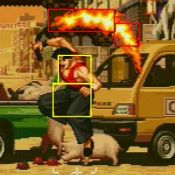
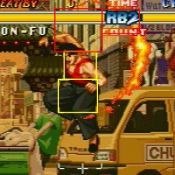
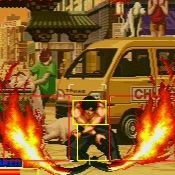
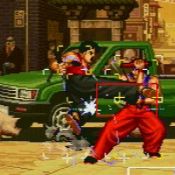
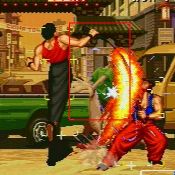
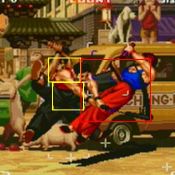
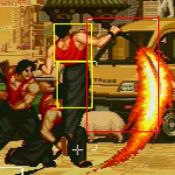
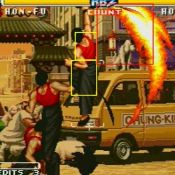
Spam Sky of Fire A. That's it, that's the character.
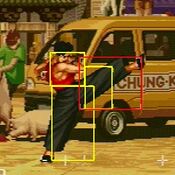
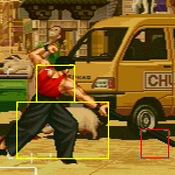
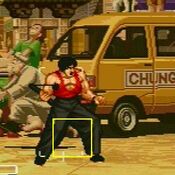
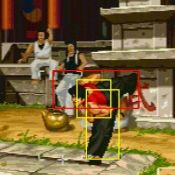
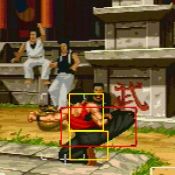
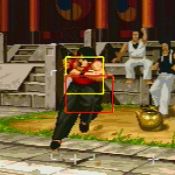
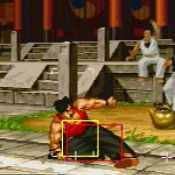
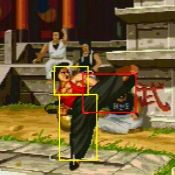
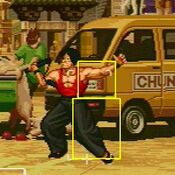
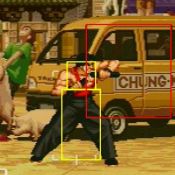
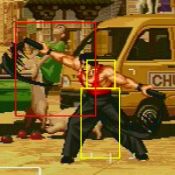
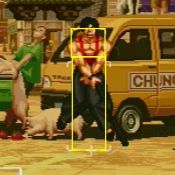
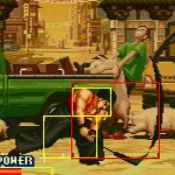
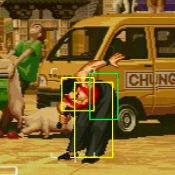
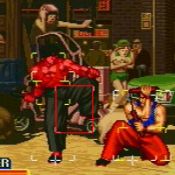
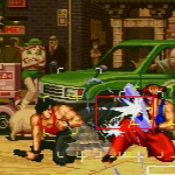
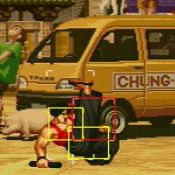
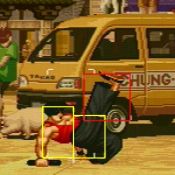
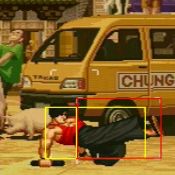
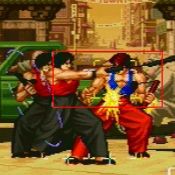
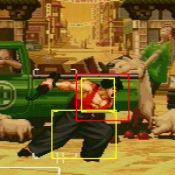
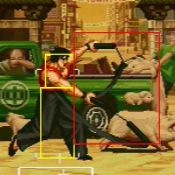
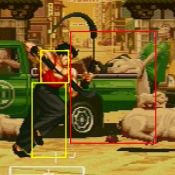
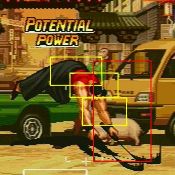
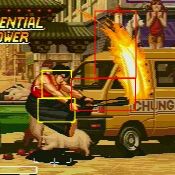
Okay seriously, Hon Fu is just kind of okay. He does have some good buttons, decently damaging chains, and a relatively consistent pursuit attack but he doesn't particularly excel in either of those regards. Actually, he doesn't really excel at anything outside of having arguably the best DP in the game with his light Sky of Fire(623A). Thankfully, Sky of Fire is good enough that you can center your gameplan around it, because the rest of his moves are designed to be gimmicky and annoying rather than good. There aren't many things Hon Fu can do that others can't do better so he has to work a bit harder than most, but if you really like Jackie Chan or just like spamming DP you'll have a good time.
| Pros |
Cons
|
- Sky of Fire is just that good
- Good chaining ability and combo damage
- Can generally get in if he wants
- Sometimes people just don't know how to deal with him
|
- Lame mixups
- Slow and bad P-Power, despite being a Breakshot
- All sorts of unsafe stuff, including Sky of Fire
- It's easy to Breakshot his offense
|
Normal Moves
Standing
| 5A
|
| Damage
|
Stun
|
Startup
|
Active
|
Recovery
|
Hit Advantage
|
Block Advantage
|
Guard
|
Cancel
|
BS
|
Juggle
|
| 8
|
3/11
|
4
|
4
|
8
|
4
|
0
|
HL
|
Y
|
-
|
-
|
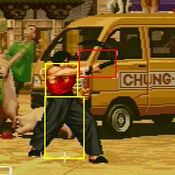
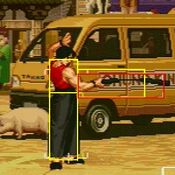
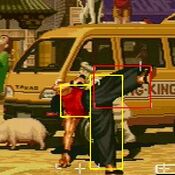
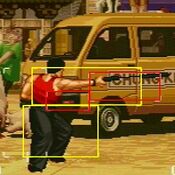
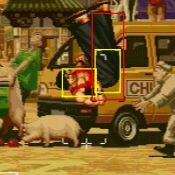
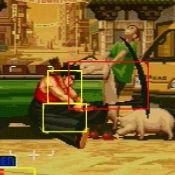
- Excellent range for a far jab. Chains into 5A>C for decent damage but the latter hit can whiff at father ranges. Hitbox is pretty high so it's likely to whiff on smaller characters and those crouching (which is a common issue with Hon Fu).
|
|
| 5B
|
| Damage
|
Stun
|
Startup
|
Active
|
Recovery
|
Hit Advantage
|
Block Advantage
|
Guard
|
Cancel
|
BS
|
Juggle
|
| 10
|
3/10
|
6
|
5
|
13
|
-2
|
-6
|
HL
|
Y
|
-
|
-
|
- Decent poke that doubles as a starter on hit, block, or whiff for his 5B>B>C chain; which sends him airborne and ends in an overhead with good blockstun which can be input late for mixup shenanigans. That's assuming your opponent is respecting your offense, however.
- You can shave a frame off the recovery with an FC.
|
|
| 5C
|
| Damage
|
Stun
|
Startup
|
Active
|
Recovery
|
Hit Advantage
|
Block Advantage
|
Guard
|
Cancel
|
BS
|
Juggle
|
| 23
|
6/21
|
8
|
3
|
28
|
-5
|
-10
|
HL
|
N
|
-
|
-
|
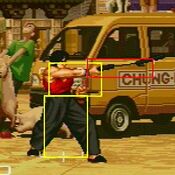
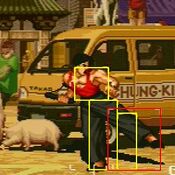
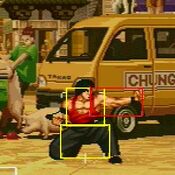
- Decent range and damage, but the hitbox ends just before the tip of the nunchaku. Narrows much of his hitbox aside from his extended arm, making this a decent footsie tool.
|
|
| n.5A
|
| Damage
|
Stun
|
Startup
|
Active
|
Recovery
|
Hit Advantage
|
Block Advantage
|
Guard
|
Cancel
|
BS
|
Juggle
|
| 8
|
3/10
|
5
|
3
|
9
|
4
|
0
|
HL
|
Y
|
-
|
-
|
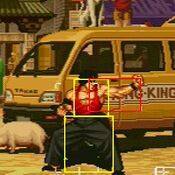
- Hon Fu's fastest standing starter which goes into the majority of his chains, though the hitbox is somewhat high. You'll want to mind the spacing, as Hon Fu's chains can have problems when you're too far out.
|
|
| n.5B
|
| Damage
|
Stun
|
Startup
|
Active
|
Recovery
|
Hit Advantage
|
Block Advantage
|
Guard
|
Cancel
|
BS
|
Juggle
|
| 10
|
3/10
|
7
|
4
|
12
|
0
|
-4
|
HL
|
Y
|
-
|
-
|
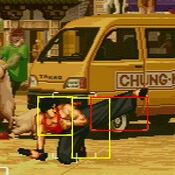
- Looks like a low but it definitely isn't. Has a significantly lower hitbox than n.5A and goes into all the same chains aside from n.5A>C>C so it can be seen as an alternate combo starter.
|
|
| n.5C
|
| Damage
|
Stun
|
Startup
|
Active
|
Recovery
|
Hit Advantage
|
Block Advantage
|
Guard
|
Cancel
|
BS
|
Juggle
|
| 10*2
|
4/10*2
|
8
|
7
|
16
|
3
|
-3
|
HL
|
Y
|
-
|
-
|
- Hits twice with a slightly upward hitbox, but it's quite safe and can be made +3 on block and +9 on hit with a feint cancel.
- Unfortunately due to its upward hitbox, it can whiff easily on smaller characters.
|
|
Crouching
| 2A
|
| Damage
|
Stun
|
Startup
|
Active
|
Recovery
|
Hit Advantage
|
Block Advantage
|
Guard
|
Cancel
|
BS
|
Juggle
|
| 8
|
3/10
|
5
|
4
|
7
|
4
|
0
|
HL
|
Y
|
-
|
N
|
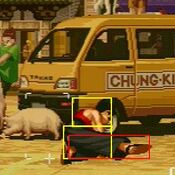
- Not a low, sadly. Basically a crouching version of n.5A with slightly better recovery that shrinks your hurtbox and can link into itself, n.5A and 5A.
- It's also an alternate starter for all the n.5A chains aside from n.5A>C>C.
|
|
| 2B
|
| Damage
|
Stun
|
Startup
|
Active
|
Recovery
|
Hit Advantage
|
Block Advantage
|
Guard
|
Cancel
|
BS
|
Juggle
|
| 10
|
3/10
|
6
|
6
|
9
|
1
|
-3
|
L
|
Y
|
-
|
N
|
- Hon Fu's fastest low despite appearances, with pretty good startup.
- The tip of his foot has no hurtbox as well. Another alternate n.5A chain starter aside from n.5A>C>C.
|
|
| 2C
|
| Damage
|
Stun
|
Startup
|
Active
|
Recovery
|
Hit Advantage
|
Block Advantage
|
Guard
|
Cancel
|
BS
|
Juggle
|
| 23
|
6/26
|
8
|
3
|
20
|
-
|
-6
|
L
|
Y
|
-
|
N
|
- A cancellable sweep. Hon Fu's most threatening low. The range isn't the best but since it can be made +1 on block with a Feint Cancel this is actually a pretty great tool for Hon Fu.
|
|
Command
High Nunchaku Hit
3A
|
| Damage
|
Stun
|
Startup
|
Active
|
Recovery
|
Hit Advantage
|
Block Advantage
|
Guard
|
Cancel
|
BS
|
Juggle
|
| 19
|
4/4
|
6
|
2,9
|
20
|
-5
|
-11
|
HL
|
Y
|
-
|
Y
|
- May look like an anti-air, but it's not a very good one as Hon Fu's hurtbox is extended to his nunchaku.
- Despite appearances, this can be made +3 on block and +9 on hit with a feint cancel on the initial hitbox.
- 3C has two unique chains with 3A>C>C which is an easily hit comfirmable launcher which can end in 623C, and 3A>2C which ends in a safe low sweep.
- The issue with these chains is at max range the follow ups can whiff, so be careful with your spacing on this move. Thankfully you have what feels like a century to confirm 3A into 3A>C and you should take that time because mashing out the chain means it's possible for the 623C follow up to whiff at midscreen.
|
|
Fumi Komi Sokukeri
6B
Low inv. on frames 7~14.
|
| Damage
|
Stun
|
Startup
|
Active
|
Recovery
|
Hit Advantage
|
Block Advantage
|
Guard
|
Cancel
|
BS
|
Juggle
|
| 19
|
6/6
|
14
|
3
|
20
|
3
|
-3
|
HL
|
Kinda?
|
-
|
N
|
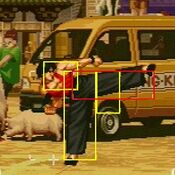
- Hon Fu momentarily gains low invulnerability leading into an advancing kick. The low invulnerability is active from frames 7 through 14 and isn't all that reliable especially against very active lows. It's completely safe though, making this a decent footsies tool.
- Interestingly enough, the kick itself is not cancellable but the startup is.
|
|
Coup de Grace Nunchakus
2C while the opponent is knocked down
|
| Damage
|
Stun
|
Startup
|
Active
|
Recovery
|
Hit Advantage
|
Block Advantage
|
Guard
|
Cancel
|
BS
|
Juggle
|
| 11
|
6/6
|
9
|
12
|
26
|
-
|
-
|
-
|
N
|
-
|
N
|
Hon Fu's pursuit. Can be avoided with quick recovery, allowing you to play oki mind games. It's extremely consistent and the timing is more important than aiming it, though in some instances you will need to space it especially in the corner (usually with a single backdash).
|
|
Side Nunchaku
5AB
High Avoid Attack
|
| Damage
|
Stun
|
Startup
|
Active
|
Recovery
|
Hit Advantage
|
Block Advantage
|
Guard
|
Cancel
|
BS
|
Juggle
|
| 14
|
5/27
|
13
|
6
|
12
|
-2
|
-2
|
HL
|
Y
|
-
|
N
|
- Hon Fu's evasive move, which shrinks his hurtbox a decent amount and has excellent range. It's cancellable but you're not likely to connect with anything at the spacing you'll be using it.
|
|
Jumping
| j.A
|
| Version
|
Damage
|
Stun
|
Startup
|
Active
|
Recovery
|
Hit Advantage
|
Block Advantage
|
Guard
|
Cancel
|
BS
|
Juggle
|
| Neutral Hop
|
9
|
3/10
|
8
|
till landing
|
6
|
+8
|
+4
|
H
|
N
|
-
|
-
|
- A version of j.8A that stays active, but the startup is worse. Not much use. For brevity's sake, none of Hon-Fu's hop normals are chainable.
|
| Diagonal Hop
|
9
|
3/10
|
5
|
till landing
|
6
|
+8
|
+4
|
H
|
N
|
-
|
-
|
- A version of j.7/9A that stays active, and crosses up just as well.
|
| Neutral Jump
|
9
|
3/10
|
5
|
8
|
6
|
+8
|
+4
|
H
|
N
|
-
|
-
|
- Basically an aerial jab. C Goes into a chain with j.8A>C that you will never land unless someone picks Krauser. This can also be said for his other air chains.
|
| Diagonal Jump
|
9
|
3/10
|
5
|
10
|
6
|
+8
|
+4
|
H
|
N
|
-
|
-
|
- Slightly better than j.8A and can work as a deep jump in. Hon Fu's only viable crossup without using mid-air turn. Has a similarly useless chain into C.
|
|
| j.B
|
| Version
|
Damage
|
Stun
|
Startup
|
Active
|
Recovery
|
Hit Advantage
|
Block Advantage
|
Guard
|
Cancel
|
BS
|
Juggle
|
| Neutral Hop
|
10
|
3/10
|
6
|
till landing
|
6
|
+8
|
+4
|
H
|
N
|
-
|
-
|
- Similar to j.8B but since it stays active it is arguably better as a defensive air-to air.
|
| Diagonal Hop
|
10
|
3/10
|
4
|
8
|
6
|
+8
|
+4
|
H
|
N
|
-
|
-
|
- Quite literally a copy of j.7/9B but with a slightly faster startup.
|
| Neutral Jump
|
10
|
3/10
|
6
|
6
|
6
|
+8
|
+4
|
H
|
N
|
-
|
-
|
- Speedy aerial poke and probably his most reliable air-to-air normal. It's too bad this is locked to his neutral jump. Has another useless aerial chain into j.C. Seeing a pattern yet?
|
| Diagonal Jump
|
10
|
3/10
|
6
|
8
|
6
|
+8
|
+4
|
H
|
N
|
-
|
-
|
- Decent jump in, and its downward hitbox ensures that's what you'll be using it for but good luck converting off this. And yes, this one also chains into a j.C.
|
|
| j.C
Neutral/Diagonal Hop Normal Jump Diagonal Jump
|
| Version
|
Damage
|
Stun
|
Startup
|
Active
|
Recovery
|
Hit Advantage
|
Block Advantage
|
Guard
|
Cancel
|
BS
|
Juggle
|
| Neutral Hop
|
19
|
6/21
|
12
|
4
|
8
|
+15
|
+9
|
H
|
N
|
-
|
-
|
- A nice, chunky jump-in that usually just means a knockdown with a feint cancelled 2C in most cases for oki. Not as active as it looks, and it's quite likely to trade but the hitbox does cover quite a bit of space.
|
| Diagonal Hop
|
19
|
6/21
|
12
|
4
|
8
|
+15
|
+9
|
H
|
N
|
-
|
-
|
- Same stuff that applies for neutral hop applies to this.
|
| Neutral Jump
|
19
|
6/21
|
8
|
6
|
8
|
+15
|
+9
|
H
|
N
|
-
|
-
|
- A decent, chunky air normal. You can confirm off this one but it can be quite difficult with anything but 5A>C depending on the pushback.
|
| Diagonal Jump
|
19
|
6/21
|
6
|
2,8
|
8
|
+15
|
+9
|
H
|
N
|
-
|
-
|
- A fast air normal with both an upward and downward hitbox depending on the active frames.
- While it can technically crossup on its own in extemely rare cases, this is actually pretty great in combination with mid-air turn as it provides Hon Fu's best cross up as a result.
- It's visually deceptive and quite fast, so it can be very tricky to block well. On top of all this you can confirm quite easily off a hit, though 5A>C is your best bet.
|
|
Oversway Actions
5D
(opponent in oversway)
|
| Damage
|
Stun
|
Startup
|
Active
|
Recovery
|
Hit Advantage
|
Block Advantage
|
Guard
|
Cancel
|
BS
|
Juggle
|
| 19
|
-
|
7
|
3
|
14
|
+7
|
+3
|
H
|
Y
|
-
|
-
|
|
2D
(opponent in oversway)
|
| Damage
|
Stun
|
Startup
|
Active
|
Recovery
|
Hit Advantage
|
Block Advantage
|
Guard
|
Cancel
|
BS
|
Juggle
|
| 19
|
-
|
11
|
3
|
14
|
+7
|
+4
|
L
|
Y
|
-
|
-
|
|
A
(from oversway)
|
| Damage
|
Stun
|
Startup
|
Active
|
Recovery
|
Hit Advantage
|
Block Advantage
|
Guard
|
Cancel
|
BS
|
Juggle
|
| 10
|
-
|
23
|
3
|
12
|
+3
|
+1
|
H
|
-
|
-
|
-
|
|
B
(from oversway)
|
| Damage
|
Stun
|
Startup
|
Active
|
Recovery
|
Hit Advantage
|
Block Advantage
|
Guard
|
Cancel
|
BS
|
Juggle
|
| 10
|
-
|
23
|
4
|
12
|
+1
|
-1
|
L
|
-
|
-
|
-
|
|
C
(from oversway)
|
| Damage
|
Stun
|
Startup
|
Active
|
Recovery
|
Hit Advantage
|
Block Advantage
|
Guard
|
Cancel
|
BS
|
Juggle
|
| 19
|
-
|
25
|
4
|
11
|
+12
|
-3
|
HL
|
-
|
-
|
-
|
|
Throws
Back Flip
4/6C
|
| Damage
|
Stun
|
Startup
|
Active
|
Recovery
|
Hit Advantage
|
Block Advantage
|
Guard
|
Cancel
|
BS
|
Juggle
|
| 26
|
-
|
-
|
-
|
-
|
-
|
-
|
-
|
-
|
-
|
-
|
- Standard throw. Will always switch sides, no matter which direction you hold.
- Thanks to Hon Fu's pursuit attack, you can get a bit more damage afterwards.
|
|
Keiraku Randa
3C
|
| Damage
|
Stun
|
Startup
|
Active
|
Recovery
|
Hit Advantage
|
Block Advantage
|
Guard
|
Cancel
|
BS
|
Juggle
|
| 7*4
|
-
|
-
|
-
|
-
|
-
|
-
|
-
|
-
|
-
|
-
|
- Standard throw. Much better when you have the opponent cornered as this version does not switch sides.
- Like the previous throw you can use Hon Fu's pursuit afterwards for a bit more damage.
|
|
Feints
Feint Sky of Fire
4AC
|
| Damage
|
Stun
|
Startup
|
Active
|
Recovery
|
Hit Advantage
|
Block Advantage
|
Guard
|
Cancel
|
BS
|
Juggle
|
| -
|
-
|
-
|
-
|
15
|
-
|
-
|
-
|
-
|
-
|
-
|
- A feint of Hon Fu's DP that would be phenomenal if Hon Fu's normals had better range. As it stands while you can use it with chains at zero range, its best use is to shave frames off your normals and for stagger pressure.
- As far as feint cancels go, it's one of the best on paper and you should use it quite often as it can make some of your normals quite scarier.
|
|
Special Moves
Sky of Fire
623A/C
Light Sky of Fire Heavy Sky of Fire
|
| Version
|
Damage
|
Stun
|
Startup
|
Active
|
Recovery
|
Hit Advantage
|
Block Advantage
|
Guard
|
Cancel
|
BS
|
Juggle
|
| A
|
28
|
5
|
12
|
2,2
|
23
|
-1
|
-7
|
HL
|
N
|
Y
|
Y
|
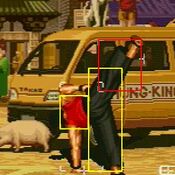
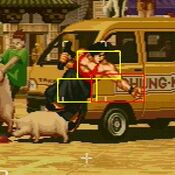
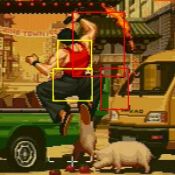
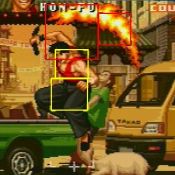
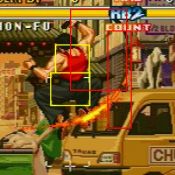
- Hon Fu swipes up with his nunchaku, lighting them on fire. The move that makes Hon Fu shine and his most general purpose combo ender. Sky of Fire A (623A from here on) is a move with many aspects, so we'll approach threefold as a reversal, anti-air, and as a footsies tool.
- As a basic reversal 623A gets the job done. It has what feels like an infinite amount of invulnerability frames and pretty great block recovery for a reversal as it's only -7 on block which is hardly safe but it's very good recovery for a DP (for comparison, Kim's flash kick which is considered one of the best reversals is -32 on block). The downside is 623A does not knock down unless it connects with an airborne opponent, but as you'll read later this isn't necessarily an issue.
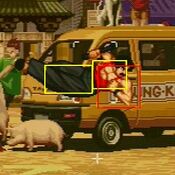
- As an anti-air 623A is easily the best DP in the entire game for that purpose and will beat pretty much any aerial approach an opponent can offer thanks to its disjointed hitbox. Allowing you to follow up with a pursuit or punish a ground tech is just the cherry on top. Proper use of 623A on jump-in attempts will just force your opponents to stay grounded, which is another area where 623A shines.
- Though it may seem risky to use a DP as a footsies tool, 623A actually excels in this regard. 623A has a ton of invulnerability, stays close to the ground, advances forward, recovers very quickly (making it difficult to whiff punish), and is only -7 on block and -1 on hit. But it doesn't knock down! Well... This is in fact a good thing. A well-timed 623A will stuff just about any poke an opponent will throw thanks to both the invuln and forward movement usually leaving Hon Fu at -1. This leads to a unique and rewarding RPS scenario for Hon Fu.
- What makes this an RPS are two important factors that work in tandem; 623A's invulnerability and the hit frames being at -1. Simply put, if you hit an opponent in neutral with 623A they are faced with 3 possibilities from Hon Fu; attack/block/Sky of Fire. Hon Fu being -1 means the opponent is technically in their turn though only by one frame. A fast enough button will establish their turn but they risk eating another 623A, which has so much invulnerability that it will typically beat whatever button they start their turn with. In fact, if the opponent keeps trying to take their turn Hon Fu can just keep hitting 623A until they respect it. The opponent can ultimately "win" this exchange by simply letting their turn go and blocking so they can punish the 623A which is now -7. But this now means that Hon Fu has mental frame advantage, as the opponent has given up their turn to punish 623A which allows him to treat this -1 as a plus situation. This basically means that any raw neutral hit of 623A is never set in stone and your opponent is effectively going to have to guess correctly if they want their turn, or just play it safe and give it up. If Hon Fu wants to forego the RPS scenario completely, he can simply backdash immediately after 623A and go right back to neutral, which is a smart choice for seeing what the opponent will do.
- Lastly, 623A (along with 623C) is a break shot but it actually doesn't do well in this regard. It's best ignored in this capacity outside of dealing with airborne moves, as certain attacking hitboxes just don't mesh well when up close with 623A. Still, in a pinch it's nice to have.
|
| C
|
38*2
|
2*2
|
12
|
1,3
|
29
|
BAD DAY
|
VERY BAD DAY
|
HL
|
N
|
Y
|
Y
|
- Unlike 623A, this version swipes twice (though will only hit once in a juggle, to hit twice it has to connect on a tall standing opponent) and rises substantially higher.
- Outside of chain combos you will never use this. It functions similarly to 623A and technically has more upward hitboxes, but 623C sends Hon Fu flying to what is certain death on recovery as the invulnerability is nowhere near as good.
- It's death even on hit as it still doesn't knock down and most opponents recover while you're up in the sky. The added height doesn't even help with anti-airs so just stick to 623A which is way more reliable in every conceivable manner. If you somehow use this as a breakshot I'm so sorry.
|
|
Blazing Steed
214A-Mash A
Good day! Bad day!
|
| Damage
|
Stun
|
Startup
|
Active
|
Recovery
|
Hit Advantage
|
Block Advantage
|
Guard
|
Cancel
|
BS
|
Juggle
|
| 5*8+22(43)
|
1*8+1
|
15
|
~
|
23
|
KD/?
|
-13/lol
|
HL
|
N
|
N
|
N
|
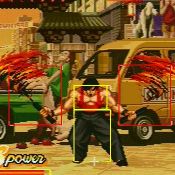
- Hon Fu swings his nunchaku wildly, either whacking himself in the chonies and hopping up and down like an idiot or swiping the burning nunchaku down if you mash A. It's a very easy confirm but it's an unfortunately inconsistent move. With each swing Hon Fu switches sides but this is much easier to block than you'd imagine thanks to the RB2 block system. Unfortunately even on hit sometimes the move will drop because each hitbox is individual and not guaranteed (this seems size dependent).
- You should ALWAYS mash A on block, hit or whiff and it's not too difficult(11 presses required). Technically the move is -13 on block but the swipe pushes back unless you're right in the opponent's face or in the corner.
|
|
Heavenly Lightning
214B
|
| Damage
|
Stun
|
Startup
|
Active
|
Recovery
|
Hit Advantage
|
Block Advantage
|
Guard
|
Cancel
|
BS
|
Juggle
|
| 14*3(36)
|
1*3
|
27
|
4
|
18
|
+7
|
+1
|
HL
|
N
|
Y
|
N
|
- Hon Fu leaps significantly forward swinging his nunchaku straight down. Beats lows clean but not an overhead sadly. While it has a significant amount of startup, it's actually quite low risk as not only is it +1 on block, but since he's airborne during the startup he'll generally land on his feet if he's hit. It's +7 on hit but you really can't confirm into anything afterward due to the pushback. It also functions as a breakshot, but it's probably his worst outside of a good read on a low.
- Heavenly Lightning might not seem all that great, but like much of Hon's arsenal it really shines in the right scenario.
|
|
Assured Victory Retaliation
214C
|
| Version
|
Damage
|
Stun
|
Startup
|
Active
|
Recovery
|
Hit Advantage
|
Block Advantage
|
Guard
|
Cancel
|
BS
|
Juggle
|
| Counter
|
-
|
-
|
4
|
52
|
25
|
-
|
-
|
-
|
-
|
N
|
N
|
| Version
|
Damage
|
Stun
|
Startup
|
Active
|
Recovery
|
Hit Advantage
|
Block Advantage
|
Guard
|
Cancel
|
BS
|
Juggle
|
| Attack
|
0,6*9,11*3(61)
|
-
|
15
|
64
|
68
|
KD
|
-43
|
HL
|
-
|
N
|
N
|
- On the first two successful attempts Hon Fu pats his butt and counters any attack that isn't a low or a projectile, retreating and creating a decent amount of space.
- The second successful attempt always retreats further.
- On the third successful counter, Hon Fu rushes forward with an strike invulnerable ranbu attack for good damage and resetting the counter.
- The ranbu itself can be countered, making this move way less effective against any character with a counter of their own, especially throw counters which will just grab him out of it. A normal counter will simply nullify the ranbu.
|
|
Kyu Ryu no Yomi
41236C
|
| Version
|
Damage
|
Stun
|
Startup
|
Active
|
Recovery
|
Hit Advantage
|
Block Advantage
|
Guard
|
Cancel
|
BS
|
Juggle
|
| 1st Hit
|
-
|
-
|
6
|
2,3,4
|
16
|
goes into follow-up
|
-3
|
HL
|
-
|
N
|
N
|
| Version
|
Damage
|
Stun
|
Startup
|
Active
|
Recovery
|
Hit Advantage
|
Block Advantage
|
Guard
|
Cancel
|
BS
|
Juggle
|
| Ground Version
|
0,11,11,11,11(33)
|
-
|
-
|
-
|
-
|
KD
|
-
|
-
|
-
|
-
|
N
|
| Version
|
Damage
|
Stun
|
Startup
|
Active
|
Recovery
|
Hit Advantage
|
Block Advantage
|
Guard
|
Cancel
|
BS
|
Juggle
|
| Air Version
|
0,13,13,13,13,2(38)
|
-
|
-
|
-
|
-
|
KD
|
-
|
HL
|
-
|
-
|
Y
|
- A pretty decent hit throw that is actually a very safe and effective neutral tool thanks to its shrinking hitbox and frames on block.
- On hit Hon Fu goes into one of two animations depending on whether the opponent was standing or airborne, both of which knock down.
- On block the move is only -3 and can be spaced to pester the opponent.
- The move really shines in neutral as it has only 6 frame startup and does very well at catching opponents walking towards you.
- The ground version can be comboed into off certain chains but pushback must be considered.
- Can certainly function as an anti-air and gets good damage for it, but it has no invuln so it's heavily outclassed by Sky of Fire in this regard.
|
|
Earthly Lightning
[1]6B~B
Denkou Pachiki
|
| Damage
|
Stun
|
Startup
|
Active
|
Recovery
|
Hit Advantage
|
Block Advantage
|
Guard
|
Cancel
|
BS
|
Juggle
|
| 9*3(22),7
|
1*3
|
8
|
23(38)
|
26(23)
|
KD
|
-17
|
L
|
-
|
Y
|
N
|
- Another highly specialized move. Hon Fu rolls straight forward, under typical non-grounded projectiles and hits up to three times ending in a headbutt that knocks down if you mash B (always mash on hit).
- Must be blocked low, but it travels extremely fast so it will catch opponents who aren't considering it.
- Can be seen as the polar opposite of heavenly lightning as it goes under a lot of moves and travels extremely quickly, but is highly unsafe on block in just about any capacity. If you don't mash at all he just keeps rolling for a ton of frames, but you could turn this into a frame trap as the headbutt starts up in 4 frames (this is not recommended).
- Works quite well as a mobility option as well; when cornered you can use this against jumping opponents to just roll right on out of the corner (this works way better than it should).
- It's arguably his best breakshot and really shines in most defensive situations.
|
|
S-Power
Explosion Goro
21416BC
|
| Damage
|
Stun
|
Startup
|
Active
|
Recovery
|
Hit Advantage
|
Block Advantage
|
Guard
|
Cancel
|
BS
|
Juggle
|
| 7*8,13,18(65)
|
-
|
14
|
46(6)6,8
|
47
|
KD
|
-34
|
HL
|
-
|
N
|
N
|
- It's a solid S-Power but not a great one. Typically you'll confirm into this move off combos.
- Unfortunately it has the same problem as blazing steed where each hit is independent of the rest. As a result sometimes it can just stop working halfway in. This risk is reduced in the corner, but not entirely.
|
|
P-Power
Yokaton Hammer
21416C
|
| Damage
|
Stun
|
Startup
|
Active
|
Recovery
|
Hit Advantage
|
Block Advantage
|
Guard
|
Cancel
|
BS
|
Juggle
|
| 24,63(87), 54 (blast)
|
-
|
1+26
|
6(20)2(2)21
|
77
|
KD
|
-56
|
H
|
-
|
Y
|
N
|
- It's not good at all! Terrible startup, and you can't even confirm into it. Just save your meter for breakshots.
- Well... it does have slgiht use, mainly as a surprise breakshot. But they have to have done something really minus so this is still pretty bad.
- If you land this you're a god.
|
|
Combos
Meterless
Metered
Strategy
