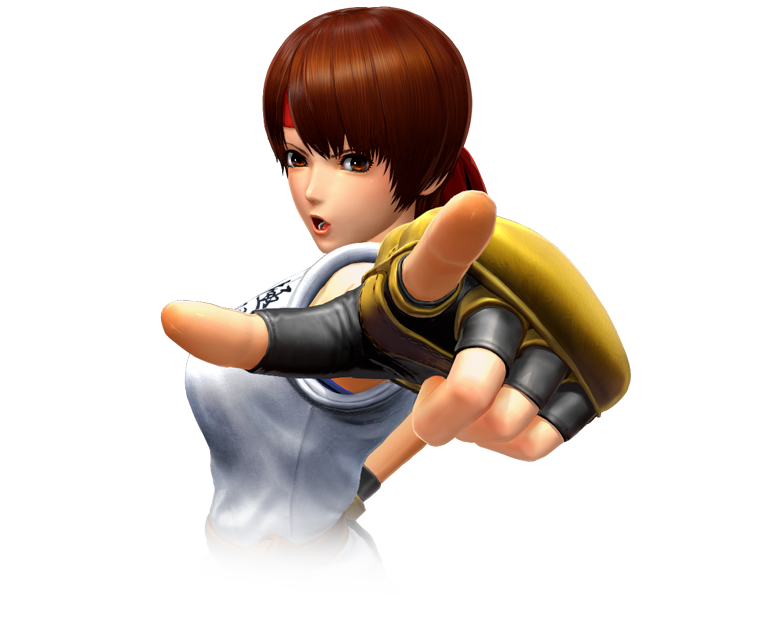
The King of Fighters XIV/Yuri Sakazaki
Movelist
(*) = EX OK
(!) = MAX OK
Throws
Command Normals
Special Moves
Kuuga (Yuri Chou Upper) - ![]() +
+ ![]() /
/ ![]() (*)
(*)
Hyakuretsu Binta - close, ![]() +
+ ![]() /
/ ![]() (*)
(*)
Super Special Moves
Chou Saiha (Kyokugenryu • Raiha) - ![]()
![]() +
+ ![]() /
/ ![]() (!)
(!)
Climax Super Special Moves
Quick Combo Reference
| 0 Meter |
Anywhere |
(Combo 1) = (damage number here) dmg |
| 1 Meter |
Corner |
(Combo 1) = (damage number here) dmg |
| 2 Meters | Anywhere | (Combo 1) = (damage number here) dmg |
Gameplay Overview
Yuri, akin to her appearance in The King of Fighters XIII, is a rather unique character whose tool-set has a little bit of everything. Ko-Ou Ken is a short ranged projectile that is useful as a long ranged poke and combo tool. Houyoku is a ‘Demon Flip’ with a number of follow ups that are great for combos, mixups and pressure. Her iconic Yuri Chou Upper is both a reversal and a combo tool. Saiha, meanwhile, can assist her with zoning characters. Raiou Ken can help her play a keep away game or cover her approach. If all that weren’t enough, she has an excellent punish, mixup and combo tool in Hyakuretsu Binta, a 1-frame or running command throw depending on the version.
Her other advantage is that she is a mixup machine. Besides the aforementioned Hyakuretsu Binta and Houyoku, her j.D cross up is one of the best in the game and very easy to land on either standing or crouching opponents. Her dive kick, while not as strong as it was in KOF XIII, is also a useful mixup tool. Her overhead is a bit unorthodox compared to the rest of the cast but still very useful and can lead to damaging MAX Mode combos with the proper spacing. Pressure normals such as st.A, cr.A and cr.B also help to open up the opponent up. She is also one of the few characters to possess a 3-frame normal (cr.C), which is ideal for combos and frame-trapping.
Yuri, due to her damage output and ability to build meter, can realistically be used at any position. Her flaws include short ranged normals and a slight execution barrier, but she is a solid addition to anyone’s team.
Normals
Standing
- st. A
- st. B
- st. C
- st. D
Close
- cl. A
- cl. B
- cl. C
- cl. D
Crouching
- cr. A
- cr. B
- cr. C
- cr. D
Jumping
- j. A
- j. B
- j. C
- j. D
Blowback
- st. CD
- j. CD
Throws
- (Throw description)
- (Throw description)
Command Moves
Special Moves
Notation Key (*) = EX OK
(!) = MAX OK
Super Special Moves
Climax Super Special Moves
Combos
0 meter
- (place combo here) = (place damage amount here)
(place combo description here)
1 meter
- cr.B, cr.B, st.B [BC] cl.C, qcb+AC, hop D, dp+BD~AC
(easier midscreen 1-bar route)
- cr.B, cr.B, st.B [BC] cl.C, qcb+AC, dash dp+A, cr.C, dp+BD~AC
(harder midscreen 1-bar route)
- cr.B, cr. B, st. B/cl. C [BC} cl.C, qcb+AC, tk qcf+B, qcf+AC, cl.C, dp+K~AC
(corner 1-bar)
- f+A, st.C [BC] into midscreen/corner combo
(correct spacing is from blocked cl.C or meaty overhead)
2 meters
- cr. B, cr. B, st. B [BC] cl.C, qcb+AC, tk qcf+B, qcf+AC, dp+A, qcf~hcb+K or f,hcf+P
(corner 2-bar)
3 meters
- (place combo here) = (place damage amount here)
(place combo description here)
4 meters
- (place combo here) = (place damage amount here)
(place combo description here)
5 meters
- (place combo here) = (place damage amount here)
(place combo description here)
Misc
Videos
Yuri Combos and Tech
External Links
Discussion Threads
Discuss at Dream Cancel
