-Happy New Year 2025!
Real Bout Fatal Fury 2/Jin Chonshu: Difference between revisions
| (11 intermediate revisions by 2 users not shown) | |||
| Line 2: | Line 2: | ||
==Gameplay Overview== | ==Gameplay Overview== | ||
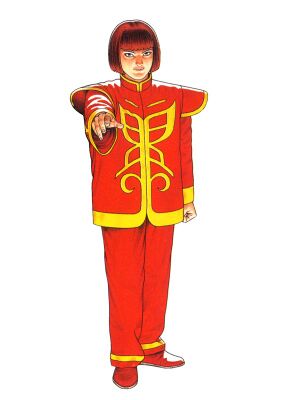
Tiny shoto child #2 | Tiny shoto child #2 and one of Real Bout 2's infamous top tiers. He's impossible to keep out and impossible to block. He has a projectile S-Power that can be used in the air and heals him, the ability to vortex off of any knockdown, plus frames for days and a bunch of teleports for some reason. His scant weaknesses are mostly that he's stuck with lame small normals and a poor midrange game. This is further exacerbated by his ground movement not being quite quick enough to let him force his way in at that awkward spacing, but that's a very minor set of weaknesses when one touch can guarantee his offense and likely win him the round. | ||
{| | {| | ||
| Line 23: | Line 23: | ||
==Normals== | ==Normals== | ||
All grounded A/B normals uniquely have 2f less hitstop and blockstop than equivalent attacks from other characters. | All grounded A/B normals uniquely have 2f less hitstop and blockstop than equivalent attacks from other characters. This renders his A/B normals and subsequent chains harder to Breakshot, but also harder to hitconfirm. | ||
===Standing=== | ===Standing=== | ||
{{MoveData | {{MoveData | ||
| Line 46: | Line 46: | ||
If they get pushed out too far for the second hit to connect, you're +4 on hit and even on block. | If they get pushed out too far for the second hit to connect, you're +4 on hit and even on block. | ||
}} | |||
}} | |||
{{MoveData | |||
|image=RBFF2_Chonshu_n5a.jpg | |||
|image2=RBFF2_Chonshu_n5a2.jpg | |||
|caption= | |||
|input=(within 48px of opponent) | |||
|name=n.5A | |||
|data= | |||
{{AttackData-RBFF2 | |||
|damage=4x2 | |||
|stun=2/5x2 | |||
|startup=4 | |||
|active=1,1 | |||
|recovery=10 | |||
|hitAdv=5 | |||
|blockAdv=1 | |||
|guard=HL | |||
|cancel=N | |||
|bs= | |||
|juggle= | |||
|description=5A but close. At this distance you'll be able to get a proper combo chain going, so be ready to confirm the hit. The existence of 6A continues to be the bane of this move's usefulness in pressure. | |||
}} | }} | ||
}} | }} | ||
| Line 72: | Line 94: | ||
}} | }} | ||
{{MoveData | {{MoveData | ||
|image= | |image=RBFF2_Chonshu_n5b.jpg | ||
|image2= | |image2=RBFF2_Chonshu_n5b2.jpg | ||
|caption= | |caption= | ||
|name= | |input=(within 42px of opponent) | ||
|name=n.5B | |||
|data= | |data= | ||
{{AttackData-RBFF2 | {{AttackData-RBFF2 | ||
|damage= | |damage=4x2 | ||
|stun= | |stun=2/5x2 | ||
|startup= | |startup=5 | ||
|active= | |active=2,1 | ||
|recovery= | |recovery=12 | ||
|hitAdv=3 | |hitAdv=3 | ||
|blockAdv=- | |blockAdv=-1 | ||
|guard=HL | |guard=HL | ||
|cancel=N | |cancel=N | ||
|bs= | |bs= | ||
|juggle= | |juggle= | ||
|description= | |description=It's your 5B but close. Quick scramble combo starter and mash button that can be confirmed, like you'd expect. | ||
}} | }} | ||
}} | }} | ||
{{MoveData | {{MoveData | ||
|image= | |image=RBFF2_Chonshu_5c.jpg | ||
|image2= | |image2=RBFF2_Chonshu_5c2.jpg | ||
|caption= | |caption= | ||
|name=5C | |||
|name= | |||
|data= | |data= | ||
{{AttackData-RBFF2 | {{AttackData-RBFF2 | ||
|damage= | |damage=11x2 | ||
|stun= | |stun=3/9x2 | ||
|startup= | |startup=7 | ||
|active= | |active=3,3 | ||
|recovery= | |recovery=20 | ||
|hitAdv=3 | |hitAdv=3 | ||
|blockAdv=- | |blockAdv=-3 | ||
|guard=HL | |guard=HL | ||
|cancel=N | |cancel=N | ||
|bs= | |bs= | ||
|juggle= | |juggle= | ||
|description= | |description=Advancing two-hitter axe kick. This goes over some low attacks and lets you press your offense. There's no cancel window on it, though, so what you see here is what you get. | ||
}} | }} | ||
}} | }} | ||
{{MoveData | {{MoveData | ||
|image=RBFF2_Chonshu_n5c.jpg | |image=RBFF2_Chonshu_n5c.jpg | ||
| Line 253: | Line 253: | ||
|image=RBFF2_Chonshu_ab.jpg | |image=RBFF2_Chonshu_ab.jpg | ||
|image2=RBFF2_Chonshu_ab2.jpg | |image2=RBFF2_Chonshu_ab2.jpg | ||
| | |caption2=High Avoid Attack | ||
|input=5AB | |input=5AB | ||
|name= | |name=Quick Poke | ||
|data= | |data= | ||
{{AttackData-RBFF2 | {{AttackData-RBFF2 | ||
| Line 776: | Line 776: | ||
|bs=N | |bs=N | ||
|juggle=N | |juggle=N | ||
|description= | |description=Slow short ranged move that's nothing special by itself, but has a damaging followup in Teleport Attack. | ||
}} | }} | ||
}} | }} | ||
| Line 803: | Line 803: | ||
}} | }} | ||
== | ==S-Power== | ||
{{MoveData | {{MoveData | ||
|image=RBFF2_Chonshu_632146bc.jpg | |image=RBFF2_Chonshu_632146bc.jpg | ||
| Line 850: | Line 850: | ||
}} | }} | ||
== | ==P-Power== | ||
{{MoveData | {{MoveData | ||
|image=RBFF2_Chonshu_632146c.jpg | |image=RBFF2_Chonshu_632146c.jpg | ||
|image2=RBFF2_Chonshu_632146c3.jpg | |image2=RBFF2_Chonshu_632146c3.jpg | ||
|caption2=4f invincible | |caption2=4f invincible | ||
|input= | |input=641236C | ||
|name=Leviathan's Strain | |name=Leviathan's Strain | ||
|data= | |data= | ||
| Line 870: | Line 870: | ||
|bs=N | |bs=N | ||
|juggle=Y | |juggle=Y | ||
|description=Big dick damage cashout P-Power. This move gives Chonshu ridiculous damage off of his most reliable combo tools and his vortex. It's safe to say Chonshu at red health, with the | |description=Big dick damage cashout P-Power. This move gives Chonshu ridiculous damage off of his most reliable combo tools and his vortex. It's safe to say Chonshu at red health, with the combination of Emperor Drain and Leviathan's Strain, becomes ridiculously threatening. The only problem is that this can be finicky to land in juggles. It's almost impossible to juggle into if you're all the way into the corner, and if used too early the opponent won't fall into every hit and will come out relatively unscathed. But don't be fooled, Chonshu has countless opportunities to land this and erase lifebars. | ||
}} | }} | ||
}} | }} | ||
| Line 876: | Line 876: | ||
==Chain Attacks== | ==Chain Attacks== | ||
===Punch Starters=== | ===Punch Starters=== | ||
5A --------> 5A (*, 1) -----> 5C (E) | |||
n.5A 5B (*, 1) 6C (^, E) | |||
2B (*, 1, _) 2C (_, E) | |||
3C (*, A, E) | |||
2A --------> 5A (*, 1) -----> C (E) | |||
5B (*, 1) 6C (^, E) | |||
2B (*, _) 2C (_, E) | |||
5C (1, _, E) 3C (*, A, E) | |||
A | j.A (O)---> j.B (1, H, O, E) | ||
j.C (1, H, O, E) | |||
===Kick Starters=== | ===Kick Starters=== | ||
5B --------> 5B (*, 1) -----> 5C (E) | |||
n.5B 2B (*, 1, _) 6C (^, E) | |||
2C (_, E) | |||
3C (*, A, E) | |||
2B (_)------> 5A (*, 1) -----> 5C (E) | |||
5B (*, 1) 6C (^, E) | |||
2B (*, _) 2C (_, E) | |||
5C (1, _, E) 3C (*, A, E) | |||
B | j.B (O)---> j.C (1, H, O, E) | ||
* Chonshu's grounded A/B starters all hit twice, and can only be chained out of on the second hit. | * Chonshu's grounded A/B starters all hit twice, and can only be chained out of on the second hit. | ||
* 5C ender is a reset that leaves Chonshu at the advantage on hit, and is safe on block. | * 5C ender is a reset that leaves Chonshu at the advantage on hit, and is safe on block. | ||
* 6C ender sends the opponent into the sway plane, but Chonshu is slightly minus, limiting his ability to keep the initiative if not used sparingly. | * 6C ender sends the opponent into the sway plane, but Chonshu is slightly minus, limiting his ability to keep the initiative if not used sparingly. | ||
* 2C ender is a sweep. Your most reliable knockdown if you aren't in range for a 3C ender, but you don't get much off of it. | * 2C ender is a sweep. Your most reliable knockdown if you aren't in range for a 3C ender, but you don't get much off of it. | ||
* 3C ender is a launcher that is safe on block and combos into all of his best juggle enders (i.e. 623C and P-Power). | |||
* 2A/2B into 2C is a unique chain that ends with a low-hitting roll sporting a hurtbox matching the evasive properties of a High Avoid. This has some anti-air capability if spaced right. | * 2A/2B into 2C is a unique chain that ends with a low-hitting roll sporting a hurtbox matching the evasive properties of a High Avoid. This has some anti-air capability if spaced right. | ||
===Strong Starters=== | ===Strong Starters=== | ||
n.5C (*)----> 5C -----> 5C -----> 64C (*, A, >, E) | |||
* Your most powerful and important chain. The fourth hit has an invincible teleport that goes behind the opponent and launches them for a juggle, and is additionally plus on block. It also is the lynchpin of your left/right oki. | * Your most powerful and important chain. The fourth hit has an invincible teleport that goes behind the opponent and launches them for a juggle, and is additionally plus on block. It also is the lynchpin of your left/right oki. | ||
| Line 922: | Line 923: | ||
====Metered==== | ====Metered==== | ||
* 5AB3C xx | * 5AB3C xx 641236C | ||
: Basic P-Power combo. Does a lot more damage than a basic jab combo probably should. The super won't connect properly if you're too close to the corner or don't delay the cancel when launching them. | : Basic P-Power combo. Does a lot more damage than a basic jab combo probably should. The super won't connect properly if you're too close to the corner or don't delay the cancel when launching them. | ||
* n.5CCC64C | * n.5CCC64C 641236C | ||
: Like with the other P-Power combo, you want to not be too close to the corner and delay the P-Power so it fully connects. | : Like with the other P-Power combo, you want to not be too close to the corner and delay the P-Power so it fully connects. | ||
Latest revision as of 19:52, 9 November 2023
Gameplay Overview
Tiny shoto child #2 and one of Real Bout 2's infamous top tiers. He's impossible to keep out and impossible to block. He has a projectile S-Power that can be used in the air and heals him, the ability to vortex off of any knockdown, plus frames for days and a bunch of teleports for some reason. His scant weaknesses are mostly that he's stuck with lame small normals and a poor midrange game. This is further exacerbated by his ground movement not being quite quick enough to let him force his way in at that awkward spacing, but that's a very minor set of weaknesses when one touch can guarantee his offense and likely win him the round.
| Pros | Cons |
|---|---|
|
|
Normals
All grounded A/B normals uniquely have 2f less hitstop and blockstop than equivalent attacks from other characters. This renders his A/B normals and subsequent chains harder to Breakshot, but also harder to hitconfirm.
Standing
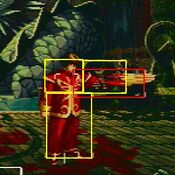
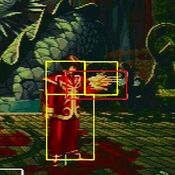
5A
  |
|---|
| n.5A (within 48px of opponent) 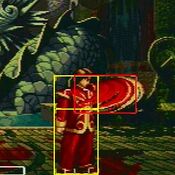 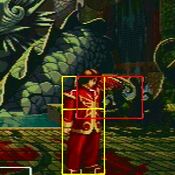 |
|---|
5B
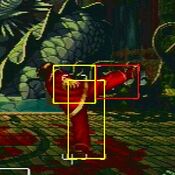 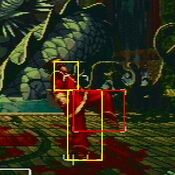 |
|---|
| n.5B (within 42px of opponent) 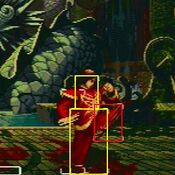 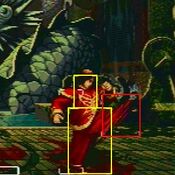 |
|---|
5C
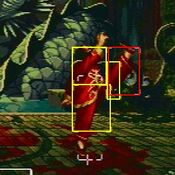 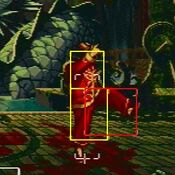 |
|---|
| n.5C (within 54px of opponent) 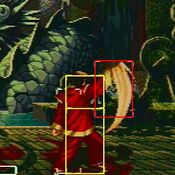 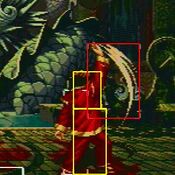 |
|---|
Crouching
2A
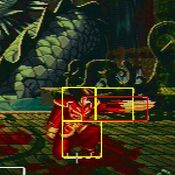 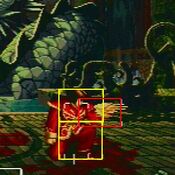 |
|---|
2B
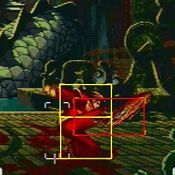 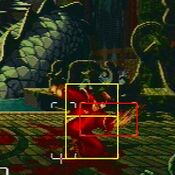 |
|---|
2C
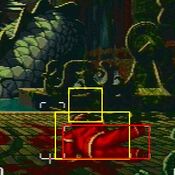 |
|---|
Command
| Falling Slap 6A 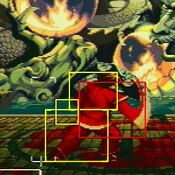 |
|---|
| Quick Poke 5AB 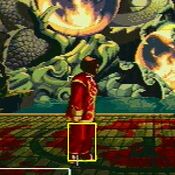 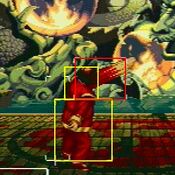 |
|---|
Jumping
j.A
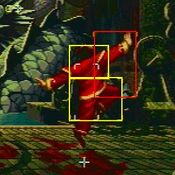 |
|---|
j.B
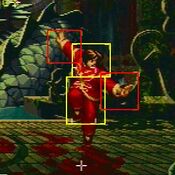 |
|---|
j.C
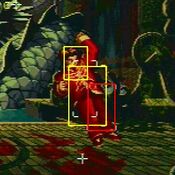 |
|---|
Oversway Actions
| 5D (opponent in oversway) 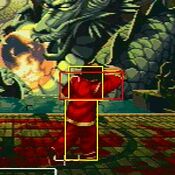 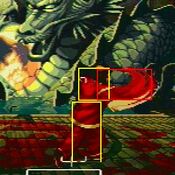 |
|---|
| 2D (opponent in oversway) 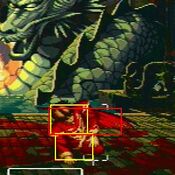 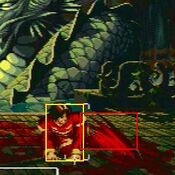 |
|---|
| A (from oversway)  |
|---|
| B (from oversway)  |
|---|
| C (from oversway)  |
|---|
Throw
| Blast Away 4/6C  |
|---|
Feints
| Leviathan's Strain Feint 2BC 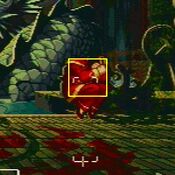 |
|---|
Special Moves
| Sight of Heaven 236A/C 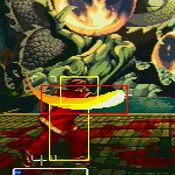 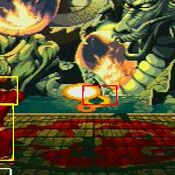 |
|---|
| Empire Heaven Smash 623A/C 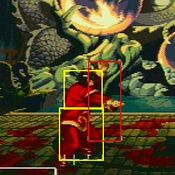 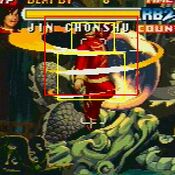 |
|---|
| Emperor God Bop 66A 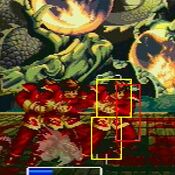 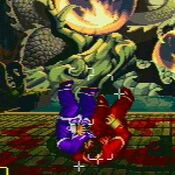 |
|---|
| Emperor's God Eye 63214A/B/C 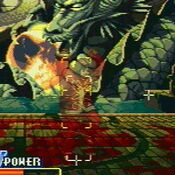 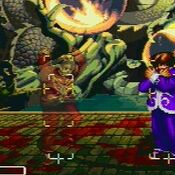 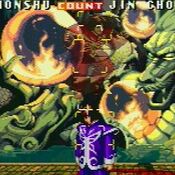 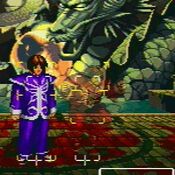 |
|---|
| Rolling Dive A/B/C during B Emperor's God Eye 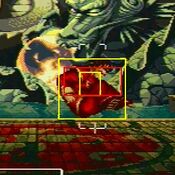 |
|---|
| Imperial Exterminator j.214B 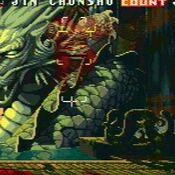 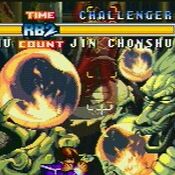 |
|---|
| Dragon's Light 236B 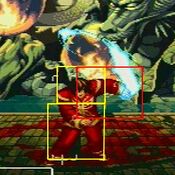 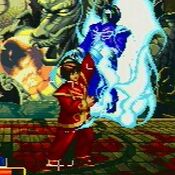 |
|---|
| Teleport Attack 63214B during Dragon's Light 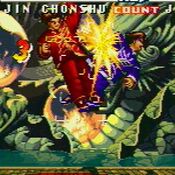 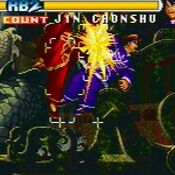 |
|---|
S-Power
| Emperor Drain 641236BC 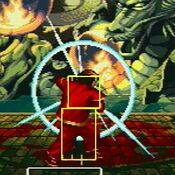 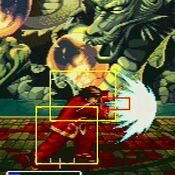 |
|---|
| Air Emperor Drain j.2146BC 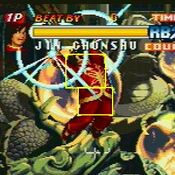 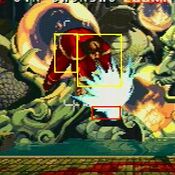 |
|---|
P-Power
| Leviathan's Strain 641236C 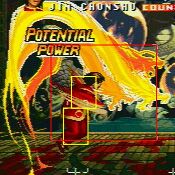 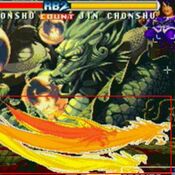 |
|---|
Chain Attacks
Punch Starters
5A      --------> 5A (*, 1)   -----> 5C (E)
n.5A              5B (*, 1)          6C (^, E)
                  2B (*, 1, _)     2C (_, E)
                                   3C (*, A, E)


2A  --------> 5A (*, 1)   -----> C (E)
                 5B (*, 1)          6C (^, E)
                 2B (*, _)      2C (_, E)
                 5C (1, _, E)       3C (*, A, E)

j.A (O)---> j.B (1, H, O, E)
            j.C (1, H, O, E)
Kick Starters
5B      --------> 5B (*, 1)   -----> 5C (E)
n.5B              2B (*, 1, _)       6C (^, E)
                                     2C (_, E)
                                     3C (*, A, E)


2B (_)------> 5A (*, 1)   -----> 5C (E)
                 5B (*, 1)          6C (^, E)
                 2B (*, _)      2C (_, E)
                 5C (1, _, E)       3C (*, A, E)

j.B (O)---> j.C (1, H, O, E)
- Chonshu's grounded A/B starters all hit twice, and can only be chained out of on the second hit.
- 5C ender is a reset that leaves Chonshu at the advantage on hit, and is safe on block.
- 6C ender sends the opponent into the sway plane, but Chonshu is slightly minus, limiting his ability to keep the initiative if not used sparingly.
- 2C ender is a sweep. Your most reliable knockdown if you aren't in range for a 3C ender, but you don't get much off of it.
- 3C ender is a launcher that is safe on block and combos into all of his best juggle enders (i.e. 623C and P-Power).
- 2A/2B into 2C is a unique chain that ends with a low-hitting roll sporting a hurtbox matching the evasive properties of a High Avoid. This has some anti-air capability if spaced right.
Strong Starters
n.5C (*)----> 5C -----> 5C -----> 64C (*, A, >, E)
- Your most powerful and important chain. The fourth hit has an invincible teleport that goes behind the opponent and launches them for a juggle, and is additionally plus on block. It also is the lynchpin of your left/right oki.
Combos
Meterless
- 5AB3C xx 236C/66A/623c
- Fireball juggles for a reset far away, 66A inflicts a low-damage knockdown far away, 623C keeps them close and does the most damage. Poor spacing can and will make the wrong followup miss completely.
- n.5CCC64C 66 623C
- You'll be doing this one a lot. Against some characters and at some spacings you can just go straight into 623C, but the dash is always safer to put in there to ensure it hits.
- n.5C xx 236B xx 63214B
- Max damage point blank punish. Mostly exists to make people cry for missing their DPs.
Metered
- 5AB3C xx 641236C
- Basic P-Power combo. Does a lot more damage than a basic jab combo probably should. The super won't connect properly if you're too close to the corner or don't delay the cancel when launching them.
- n.5CCC64C 641236C
- Like with the other P-Power combo, you want to not be too close to the corner and delay the P-Power so it fully connects.