-Happy New Year 2025!
The Last Blade 2/Shinnosuke Kagami: Difference between revisions
Felsen 2020 (talk | contribs) |
|||
| (One intermediate revision by one other user not shown) | |||
| Line 4: | Line 4: | ||
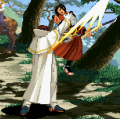
Originally the boss character of the first Last Blade, Kagami has been heavily redesigned for his proper playable debut. Kagami is a character who is most notable for his incredible mobility and potent high/low mixup options while sporting a number of solid pokes and one of the best normals in the game in his 2C. Unfortunately, making the most of his kit comes at a heavy price, that being a consistent reliance on 1f links no matter which mode is used for him. In the meta Kagami occupies a weird place being under high tiers like Lee and Amano but above upper mid tier contenders like Akari and Washizuka, most lists generally rank him as the sixth strongest character. Because of the constant challenge of his execution Kagami doesn't quite see the level of play or success the five characters above him do, despite this though he's a strong character and a great challenge as one of Last Blade 2's most technical characters. | Originally the boss character of the first Last Blade, Kagami has been heavily redesigned for his proper playable debut. Kagami is a character who is most notable for his incredible mobility and potent high/low mixup options while sporting a number of solid pokes and one of the best normals in the game in his 2C. Unfortunately, making the most of his kit comes at a heavy price, that being a consistent reliance on 1f links no matter which mode is used for him. In the meta Kagami occupies a weird place being under high tiers like Lee and Amano but above upper mid tier contenders like Akari and Washizuka, most lists generally rank him as the sixth strongest character. Because of the constant challenge of his execution Kagami doesn't quite see the level of play or success the five characters above him do, despite this though he's a strong character and a great challenge as one of Last Blade 2's most technical characters. | ||
<br> | |||
| | <div class="movelist-toggles"> | ||
<div id="movelist-toggle-1" class="movelist-toggle-button"> [[File:Power_Icon.png|50px|link=]]</div> | |||
<div id="movelist-toggle-2" class="movelist-toggle-button"> [[File:Speed_Icon.png|50px|link=]]</div> | |||
<div id="movelist-toggle-3" class="movelist-toggle-button"> [[File:EX_Icon.png|50px|link=]]</div> | |||
</div> | |||
! | <div id="movelist-1" class="movelist"><!-- Power --> | ||
| | {{ProConTable | ||
|pros= | |||
* Excellent meter build, allows him to often have a super or guard cancel on hand when necessary | * Excellent meter build, allows him to often have a super or guard cancel on hand when necessary | ||
* Most stable and straightforward of all three modes, emphasizing his super confirm for huge damage | * Most stable and straightforward of all three modes, emphasizing his super confirm for huge damage | ||
| | |cons= | ||
* Limited combo game, often has to choose between low damage or the risk of missing the 1f link | * Limited combo game, often has to choose between low damage or the risk of missing the 1f link | ||
* Dependent on super confirms, which can be prone to drops or awkward juggles that severely lower the damage | * Dependent on super confirms, which can be prone to drops or awkward juggles that severely lower the damage | ||
}}</div> | |||
! | <div id="movelist-2" class="movelist"><!-- Speed--> | ||
| | {{ProConTable | ||
|pros= | |||
* Much stronger combo game thanks to chains, doesn't need to rely on 1f links for basic combos | * Much stronger combo game thanks to chains, doesn't need to rely on 1f links for basic combos | ||
* Makes good use of fandango, having confirms outside of parries and corner juggle extensions off of it | * Makes good use of fandango, having confirms outside of parries and corner juggle extensions off of it | ||
| | |cons= | ||
* Loses his super confirm off of 623B, limiting his threat factor | * Loses his super confirm off of 623B, limiting his threat factor | ||
* Even more reliant on 1f links in order to do loops and make the most of his combo game | * Even more reliant on 1f links in order to do loops and make the most of his combo game | ||
}}</div> | |||
! | <div id="movelist-3" class="movelist"><!-- EX --> | ||
| | {{ProConTable | ||
|pros= | |||
* Allows him to keep his speed chains and super confirm, which he can even chain into | * Allows him to keep his speed chains and super confirm, which he can even chain into | ||
* Some of the biggest damage potential in the game when able to access to meter and desperation | * Some of the biggest damage potential in the game when able to access to meter and desperation | ||
* 2C 623B 41236AB as a dm confirm is a huge threat to opponents from an amazing normal | * 2C 623B 41236AB as a dm confirm is a huge threat to opponents from an amazing normal | ||
| | |cons= | ||
* Takes 1.3x damage, making missed 1f links even more punishing then they usually are | * Takes 1.3x damage, making missed 1f links even more punishing then they usually are | ||
* EX takes a penalty to meter build as blocked normals give no meter, severely limiting his use of his super confirm and guard cancels that Power allows | * EX takes a penalty to meter build as blocked normals give no meter, severely limiting his use of his super confirm and guard cancels that Power allows}} | ||
</div> | |||
==Normals== | ==Normals== | ||
| Line 969: | Line 972: | ||
|recovery= 23 | |recovery= 23 | ||
|state=Any | |state=Any | ||
|frame advantage= -9 to - | |frame advantage= -9 to -19 | ||
|meter gain= | |meter gain= | ||
|guard=H | |guard=H | ||
Latest revision as of 04:41, 17 April 2024
Overview
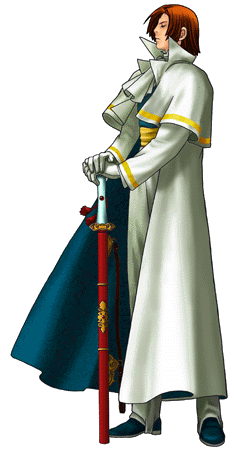
Originally the boss character of the first Last Blade, Kagami has been heavily redesigned for his proper playable debut. Kagami is a character who is most notable for his incredible mobility and potent high/low mixup options while sporting a number of solid pokes and one of the best normals in the game in his 2C. Unfortunately, making the most of his kit comes at a heavy price, that being a consistent reliance on 1f links no matter which mode is used for him. In the meta Kagami occupies a weird place being under high tiers like Lee and Amano but above upper mid tier contenders like Akari and Washizuka, most lists generally rank him as the sixth strongest character. Because of the constant challenge of his execution Kagami doesn't quite see the level of play or success the five characters above him do, despite this though he's a strong character and a great challenge as one of Last Blade 2's most technical characters.
| Strengths | Weaknesses |
|---|---|
|
|
Normals
Standing
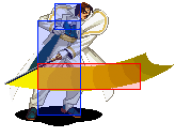
5A
 |
|---|
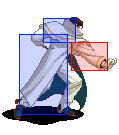
4A
 |
|---|
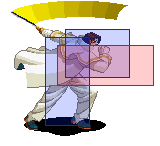
5B
 |
|---|
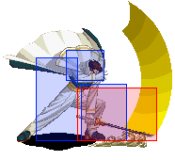
6B
 |
|---|
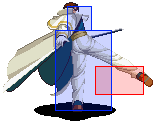
5C
 |
|---|
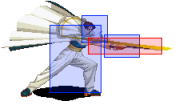
6C
 |
|---|
3B
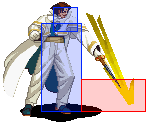 |
|---|
Dashing normals
Dashing High
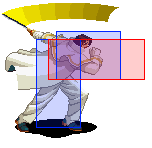 |
|---|
Dashing Low
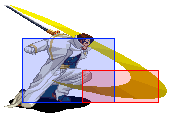 |
|---|
Crouching
2A
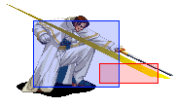 |
|---|
2B
 |
|---|
2C
 |
|---|
3C
 |
|---|
- All buttons are cancellable in Speed Mode minus 6B and 6C
Air
j.A
 |
|---|
j.B
 |
|---|
j.C
 |
|---|
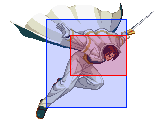
j.2C
 |
|---|
Speed chain
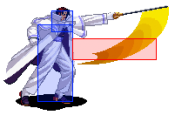
5A>A
 |
|---|
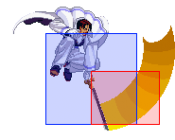
5A>B>C
 |
|---|
- All moves in this section are exclusive to speed/EX mode
Universal Mechanics
| Throw C+D 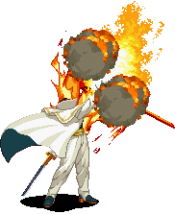 |
|---|
5B+C
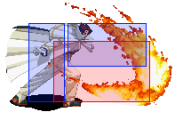 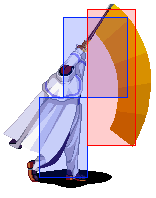 |
|---|
- A, B, and C can cancel in both Power Mode and Speed Mode
- forward + B (Power and Speed) is not cancellable
- forward + C in Speed Mode is not cancellable
Special Moves
| Hienyoku 236A 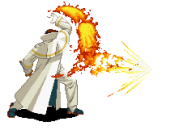 |
|---|
| Gouensou 236B 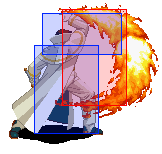 |
|---|
| Syouhoukou 623A/B 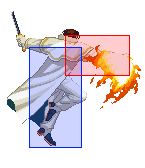 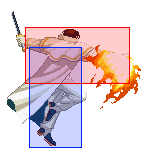 |
|---|
- Both versions are Super Cancelable. First hitbox of 623B is air unblockable
| Enhoukou 63214A/B(close) 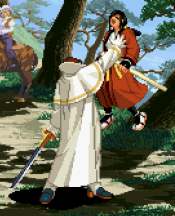 |
|---|
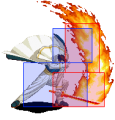
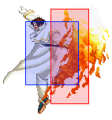
- Kagami grabs opponent, lifts them into the air, stabs them with his sword and explodes the opponent with fire
| Shizukanarukodou 214C  |
|---|
Desperation Moves
| Gurensuzaku 41236AB(in-air) 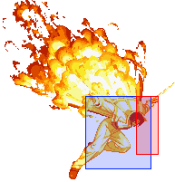 |
|---|
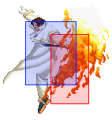
- From the air, Kagami dives down like he does in Like a Furnace, incased in fire and hits again making a V shape and taking the opponent on his flight path
| Seikairyougen 641236AB 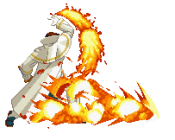 |
|---|
Super Desperation Moves
| Hououtensyou 41236B (in-air) 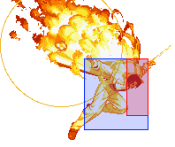 |
|---|
- Same motion as Sparrow of the Red Lotus Thrust, but deals more damage and creates a phoenix image during the attack
Combos
Any Mode
- J.2C 63214A
- J.2C j41236AB 3B
- 2Cx3/4
- J.2C 236Bx2 (vs airborne)
Power
- 2C(x2/3) 4AC 623B 41236AB
Not strictly power mode only but you want to learn this. Bnb combo into dm. How many 2C’s you use depends on how close you are to your opponent. 2C 4AC is a 1f link
- 6B 2C 4AC 623B 41236AB. Big damage flex punish combo. 2 1f links in a row
EX Mode
- 2Cx3 623B j41236AB
- See speed mode. Ex combos for kagami are the same as speed mode, anywhere you can put a 623B or 623A you add his DM when you have meter or are in desperation
Power and EX Mode
- j.2C 623B, 41236AB, 3B
- j.2C, j41236B
- jB, j41236B
Speed
- 4A 5A 2A 2B BC 623A (corner)
- Dash B 2B BC or any special
- 2Cx3, 4AC, 5A, 2A, 2B, BC dash otg 3BCD or hop forward B (catches a tech) 3B. Bnb in speed
- 2Cx3, 4AC, 5A, 2A, 2B, 6B, 2C 623B (difficult, optimal for damage without breaking any rules)
- 2Cx1-4, 623B
- [2C 4AC 6B]xN infinite. Very difficult to do consistently, 2 1F links in a row. May be limited in some rulesets. Usually one 6B, 2C link is allowed.
- J.B, 4A, 5A, 5A, 2B, 236B (x2), dash 3B. Do not use on a cornered opponent, they can air tech and get a free combo on you.
- j2C, 22A/B. Combo into fandango. If j2C hits vs an airborne opponent high enough this can work anywhere on screen
- 22A/B 5A 5B 5C 2C 2A 2C 6BC
After the launch you have several options depending on screen position and desperation status
- 1. dash j2C 236Bx2 dash 3B Most damaging option outside a corner
- 2. j2C 236B 623A 3B (corner)
- 3. 63214A (whiff) 623A works anywhere. Whiffing 63214A or doing 214C (release) immediately after the launch messes with gravity and causes the opponent to drop closer to you, making the 623A connect without requiring a dash
- 4. 214C(hold) use this to delay win pose and get meter back when it kills.
- 5. j41236AB. (corner in desperation) J.2C xx j41236AB can work here as well. Input the dm as 412369~AB (a slight pause between the 9 and the button inputs) To cancel dive into dm input the dm as quickly as possible.
Super Speed Combos
- A + B + C + A + B + C + A + B + 236C
- A + B + C + A + B + C + C + B + 236A easiest one for damage without extra followups
- A + B + C + d C + A + d C + 6BC Use this for damaging followups
- A + B + C + d C + A + BC + A + 236B
Guard Cancel
- 412D j.2C 236Bx2 3B. Best for damage outside of desperation. Delay the 2nd 236B slightly
- 412D 623B (41236AB in desperation)
- 412D j.2C 236B 623A (41236AB in desperation for power/ex) 3B. Corner
- 412D D 214C (hold) Use when you know it will kill to end a round and get meter back
