-Happy New Year 2025!
Real Bout Fatal Fury 2/Cheng Sinzan: Difference between revisions
| Line 50: | Line 50: | ||
|bs= | |bs= | ||
|juggle= | |juggle= | ||
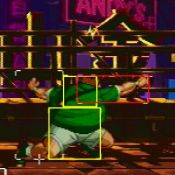
|description=*Quite average 5A. It's his fastest normal and it's cancellable so it's good to know what punishes you can only get with this, like Krauser's Leg Tomahawk. | |description=*Quite average 5A. It's his fastest normal and it's cancellable so it's good to know what punishes you can only get with this, like Krauser's Leg Tomahawk. | ||
*Has a chain into 5C which is what you should if you can get a punish with it, as it's also special cancellable and even let's you combo [4]6B without any previous charge. | |||
}} | }} | ||
}} | }} | ||
| Line 72: | Line 73: | ||
|bs= | |bs= | ||
|juggle= | |juggle= | ||
|description= | |description=*Average n.5A, learn the timing of chaining two of them to hit confirm 4[6]B. | ||
}} | }} | ||
}} | }} | ||
| Line 93: | Line 94: | ||
|bs= | |bs= | ||
|juggle= | |juggle= | ||
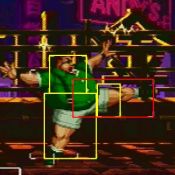
|description= | |description=*Pretty bad move on the ground, but has a decent anti-air hitbox. | ||
}} | }} | ||
}} | }} | ||
| Line 115: | Line 116: | ||
|bs= | |bs= | ||
|juggle= | |juggle= | ||
|description= | |description=*Comes out somewhat quick, so for some punishes, this is the optimal starter when you don't have time for n.5C | ||
}} | }} | ||
}} | }} | ||
| Line 136: | Line 137: | ||
|bs= | |bs= | ||
|juggle= | |juggle= | ||
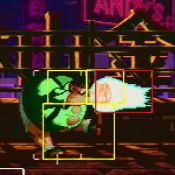
|description= | |description=*Pretty nice move, inputting 5C again will move Cheng backwards so it's a nice way to leave a hitbox while moving backwards. | ||
}} | }} | ||
}} | }} | ||
| Line 159: | Line 160: | ||
|bs= | |bs= | ||
|juggle= | |juggle= | ||
|description= | |description=*This is your most damaging starter, as you have time to cancel into [4]6B during the duration of the move. The activation range can be finicky so get used to it | ||
}} | }} | ||
}} | }} | ||
| Line 181: | Line 182: | ||
|bs= | |bs= | ||
|juggle= | |juggle= | ||
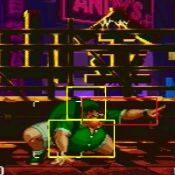
|description= | |description=*A very important move as you can confirm [4]6B with it (Seeing a pattern?) Get used to the chain timing. | ||
}} | }} | ||
}} | }} | ||
| Line 202: | Line 203: | ||
|bs= | |bs= | ||
|juggle= | |juggle= | ||
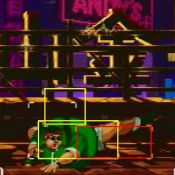
|description= | |description=*Your only non-sweep low. If you aren't completely sure they are gonna block high, cancel into 236A, as you are at least safe and still get a combo on hit. | ||
}} | }} | ||
}} | }} | ||
| Line 223: | Line 224: | ||
|bs= | |bs= | ||
|juggle= | |juggle= | ||
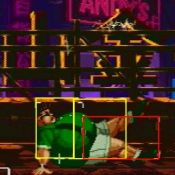
|description= | |description=*A very active sweep which is also cancellable. A good neutral tool. Cancel to 623A on hit for set-play. | ||
}} | }} | ||
}} | }} | ||
| Line 245: | Line 246: | ||
|bs= | |bs= | ||
|juggle= | |juggle= | ||
|description= | |description=*Slow overhead. Use them if they are sleeping. Has a good hitbox so it may be good to stop approaches. | ||
}} | }} | ||
}} | }} | ||
| Line 267: | Line 268: | ||
|bs= | |bs= | ||
|juggle= | |juggle= | ||
|description= | |description= *A really weird move. You have an in-built kara cancel with 1/3C which moves Cheng backwards/forward respectively without attacking. Can work as a ghetto grab set-up or to get away, but use with caution. | ||
}} | }} | ||
}} | }} | ||
| Line 336: | Line 337: | ||
|bs= | |bs= | ||
|juggle= | |juggle= | ||
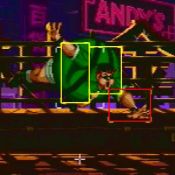
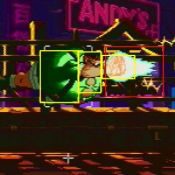
|description= | |description=Pretty quick Air-to-ground, can beat some anti-airs thanks to its hitbox. | ||
}} | }} | ||
}} | }} | ||
| Line 357: | Line 358: | ||
|bs= | |bs= | ||
|juggle= | |juggle= | ||
|description= | |description= | ||
}} | }} | ||
{{AttackData-RBFF2 | {{AttackData-RBFF2 | ||
| Line 405: | Line 406: | ||
|bs= | |bs= | ||
|juggle= | |juggle= | ||
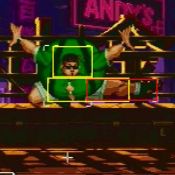
|description= | |description=*An average air-to-air. | ||
}} | }} | ||
}} | }} | ||
| Line 459: | Line 460: | ||
|bs= | |bs= | ||
|juggle= | |juggle= | ||
|description= | |description=*A strong air-to-air | ||
}} | }} | ||
{{AttackData-RBFF2 | {{AttackData-RBFF2 | ||
| Line 475: | Line 476: | ||
|bs= | |bs= | ||
|juggle= | |juggle= | ||
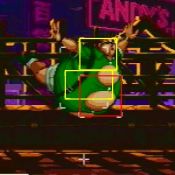
|description= | |description=*Your jump-in. Can hit cross-up. If you can learn how to hit confirm your P-Power after it, it will make your offense way better. | ||
}} | }} | ||
}} | }} | ||
Revision as of 16:41, 10 November 2021
Cheng Sinzan (RB2)
Introduction
A business man who loves eating and was considered part of the Big Three alongside Geese Howard and Jeff Bogard, can't say if that holds up currently.
Gameplay wise, Cheng is a very unorthodox, semi-joke character. He has many gimmicks with his command normals and even Sideline attacks, but that doesn't mean he is only tricks. He has genuinely good zoning and set-play with his energy balls, a good far reaching attack with his [4]6B/C that is also a great breakshot, and decent damage when the situation calls for it, He can be very hard to pin down, specially if the Cheng player knows how to trick their opponent. His P-Power can be hard to do in a combo, but it's safe if blocked and you are able to link afterwards
Sadly, Cheng has among the shortest range in the game, and doesn't have the rushdown capabilities to compensate, so an opponent with a lifelead can feasibly lame him out. His combos require you to have charge already, and his non-sweep low, 2B, can't be chained again, so cancelling into 4[6]B to get a low combo is a hard read rather than a confirm. He lacks any real mix-up and his buttons with + frames are short, so his pressure is lackluster. His S-Power is the worst in the game, so you are stuck with using meter for Breakshots and P-Power.
Cheng can easily keep the lead in a match just as easy as his opponent can keep theirs, so playing Cheng requires knowing to take advantage as possible and being as unpredictable as you can be. He is considered Bottom 1 in most tiers but that doesn't mean you can't make good use of him.
| Pros | Cons |
|---|---|
|
|
Normals
Standing
5A
 |
|---|
| n.5A (within 69 px of opponent) 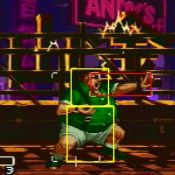 |
|---|
5B
 |
|---|
| n.5B (within 54 px of opponent) 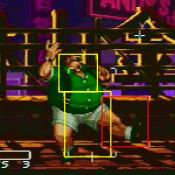 |
|---|
5C
 |
|---|
| n.5C (within 54 px of opponent) 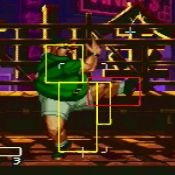 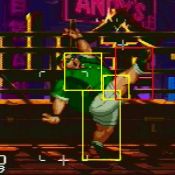 |
|---|
Crouching
2A
 |
|---|
2B
 |
|---|
2C
 |
|---|
Command
| Glowing Orb 4A 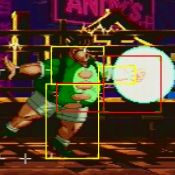 |
|---|
| Double Orb Attack 6A 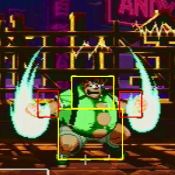 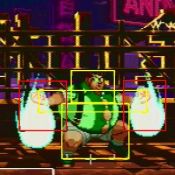 |
|---|
Jumping
j.A
 |
|---|
j.B
 |
|---|
j.C
  |
|---|
Oversway Actions
| 5D (opponent in oversway)   |
|---|
| 2D (opponent in oversway)  |
|---|
| A (A from oversway) 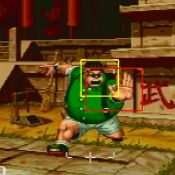 |
|---|
| B (B from oversway) 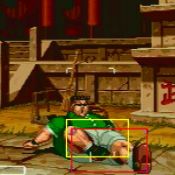 |
|---|
| C (C in oversway) 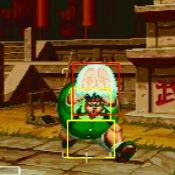 |
|---|
Throws
| Double Hand Toss 4/6C next to opponent  |
|---|
| Headbutts 3C next to opponent 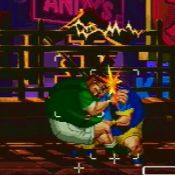 |
|---|
Feints
| Feint Avalanche Crunch 6AC 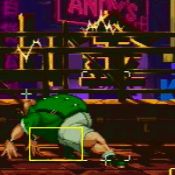 |
|---|
| Feint Fatty Bazooka 2AC 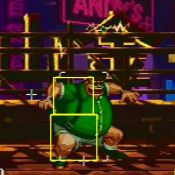 |
|---|
Specials
| Kiten Hinzan 236A 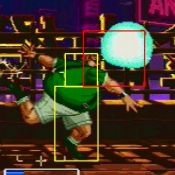 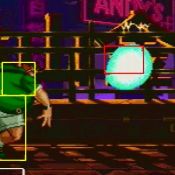 |
|---|
| High Kiten Hinzan 623A 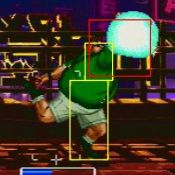 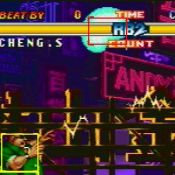 |
|---|
| Belly Drum Blast [2]8A 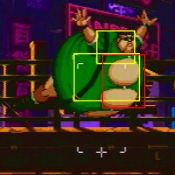 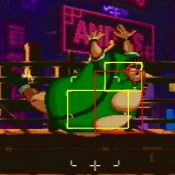 |
|---|
| Avalanche Crunch [4]B/C 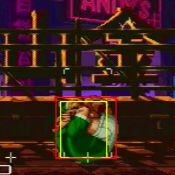 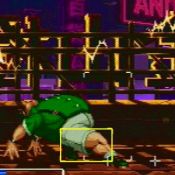 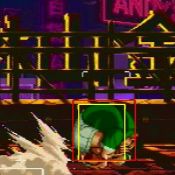 |
|---|
| Flexible Geezer 214B (Hold B to keep moving) 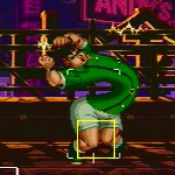 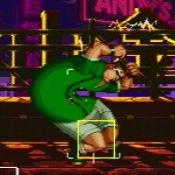 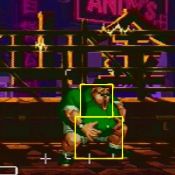 |
|---|
| Fatty Bazooka 214C 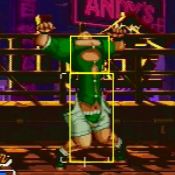  |
|---|
S-Power
| Bursting Heavens [1]26BC    |
|---|
P-Power
| Collapse of Creation j.41236C 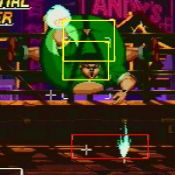 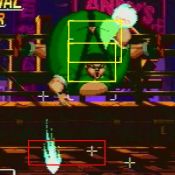 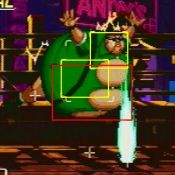 |
|---|