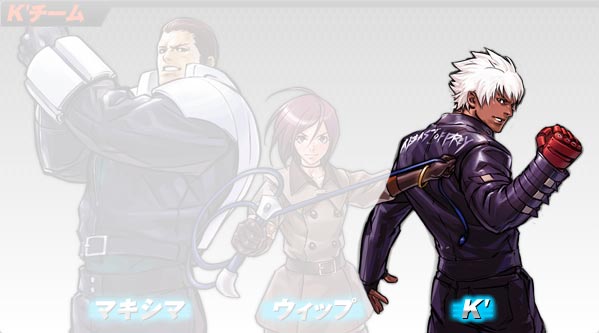
The King of Fighters 2002 UM/K'
Jump to navigation
Jump to search
Normals
Close
Stand
Crouch
Jump
Blowback Attack
Throw
Spot Pile - b/f + C
- Can be broken
- Regular knockdown
Knee Strike - b/f+D
- Can be broken
- Reverse knockdown
Command Moves
One Inch - f + A
- K' does a 1 inch punch which connects at about the same range as his far standing C. The main use for this move is to cancel it from K's close standing C as a combo starter. It's rather slow if used on it's own and is very frame disadvantageous on block whether it's cancelled into or not. But if cancelled into from another normal, it can be special cancelled out of which can make it very safe to use in block strings (i.e. Close C, Forward A, Eins Trigger). Overall it's not the greatest command normal in the game but it has good use sparingly in block strings and as a combo starter when cancelled into from the first hit of Close C.
Knee Assault - f + B
- This is an amazing command normal which can be normal cancelled into and can always be special cancelled out of with K's air Minutes Spike. It hits overhead and is insanely fast. It can be used after an opponent blocks a hop in to beat fuzzy guarding, or just on an opponent's wake up as part of okizeme. One thing to be wary of with this move though, is that it's punishable on block, even when cancelled into air Minutes Spike. So as long as it's used sparingly, it can be one of the scariest tools in K's arsenal.
Special Moves
Eins Trigger - qcf + A/C
- This is probably one of the best special moves in the game. The A version is used in most of K's best combos from normals, while the C version has slightly better hitboxes for space control. Covers the hop space in front of K' very well. It starts up very fast, and can be whiffed at pretty much any time with little to no risk, and builds meter in the process. It is also slightly frame advantageous if the opponent blocks it at the tip, so it can be used as a fairly strong and safe pressure tool against a cornered opponent at the right spacing. It's various follow-ups give it a lot of versatility as well.
┗Second Shoot - f + B
- K' kicks his Eins Trigger horizontally to form a projectile that travels all the way across the screen. The speed of the projectile is determined by whether the A version or the C version of Eins Trigger was used. The C version moves very quickly while the A version moves noticeably slower. This is a good long range zoning tool, but over using it is generally a bad idea because if an opponent jumps over it, you're most likely going to eat a combo.
┗Second Shell - f + D
- K' kicks his Eins Trigger vertically to cover the area above his head and slightly in front of him. This is a key juggle starter when K' is in close or has the opponent cornered. Also works well as an anti-air against full jumps, which he can almost always follow up with a jump CD or a Minutes Spike on hit. It is frame disadvantageous on block though, so using it too close to a blocking opponent is not recommended.
┗Blackout - b + B/D
- K' does an insanely fast command dash. The distance traveled is determined by whether the B or D version is used. The B version travels slighty less than half screen, while the D version travels almost full screen. This follow-up has various uses. It can be used to get out of the corner, to get in on a defensive opponent, or for left/right mixups up close. K' can be hit out of this move at any time during it's animation though, so don't get too predictabo with it.
┗Second Spike - qcb + B/D
- K' does a kick like move which sort of resembles his Minutes Spike, and it's active for a long time. A staple midscreen combo ender. Outside of that, there's not much use for this move. It's very unsafe on block, so it's best to stick to using this as a combo ender only.
Crow Bites - dp + A/C
- K' does a dragon punch like uppercut. The C version has full body invincibility, while the A version has upper body invincibility. The C version travels almost half screen, while the A version is almost stationary while slightly leaving the ground. The C version has more utility, but the A version is a little faster so it's a little easier to anti-air short hops with. This move can be used as an anti-air, reversal, and a corner combo ender. Can be super cancelled.
┗Secondary Bites - f + B/D
- Follow up to the C version of Crow Bites. Causes a hard knockdown
Minutes Spike - qcb + B/D
┗Narrow Spike - qcb + B/D
Desperation Moves
Heat Drive - qcf x 2 + A/C
Chain Drive - qcf hcb + A/C
Super Desperation Moves
Chain Drive - qcf hcb + AC
HDSM
Crimson Star Road - qcb + AC
Combos
- cl.D, f+A, qcf+P~qcb+D
- cl.D, qcf hcb+AC
- cr.B×1~3, qcf+P~qcb+D
- cr.Bx1~3, qcf+P~f+D, j.X/qcfx2+P
- f+B, qcb+B
- cl.C (1), f+A, qcf+P~f+D, j.X/DM
- Far C, qcb+D~qcb+K/qcfx2+A
- (CH) f+A, st.X/j.X/qcb+D~qcb+D [dp+C/qcfx2+A/qcf hcb+AC/qcb+C.A]
- (Corner) cr.B×1~2, qcf+A~f+D, qcf+A~f+B, st.X (dp+C/qcf hcb+P/qcb+C.A)
- cl.C (1), f+A, (BC) cl.C (1), f+A, [dp+A (2),(DC) qcb+D~qcb+D]×3, dp+C (1), (DC) qcfx2+P/qcf hcb+AC (Corner)
- (Corner) cr.B×1~2, qcf+A~f+D, (BC) [dp+A (2), (DC)qcb+D~qcb+D]×2~3, dp+C (1), (DC) qcf hcb+AC
Discussion Threads
Discuss at Dream Cancel
