-Happy New Year 2025!
The King of Fighters XV/Geese Howard: Difference between revisions
Awesomeguy42 (talk | contribs) |
|||
| (42 intermediate revisions by 4 users not shown) | |||
| Line 4: | Line 4: | ||
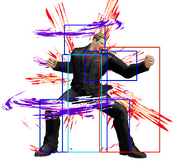
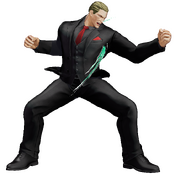
<big>'''Jump:''' 42f | <big>'''Jump:''' 42f | ||
<br>'''Hop:''' 33f | <br>'''Hop:''' 33f | ||
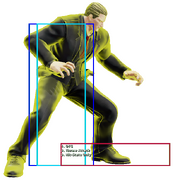
<br>'''Backdash:''' | <br>'''Backdash:''' 24f | ||
<br>'''Run Speed Ranking:''' 7 | <br>'''Run Speed Ranking:''' 7 | ||
</big></div>]]<section end="image"/> | </big></div>]]<section end="image"/> | ||
| Line 12: | Line 12: | ||
Notorious for his array of near-instant counter throws, Geese is not only capable of shutting down aggressive opponents but is also a master at dominating opponents with weak defense. | Notorious for his array of near-instant counter throws, Geese is not only capable of shutting down aggressive opponents but is also a master at dominating opponents with weak defense. | ||
Geese's normals on the ground as well as in the air are all excellent, with considerably long range. His grounded normals have great cancel options for when Geese goes on the offense; he even has a command cancellable st.B, a rare characteristic among the KoF cast. Having this option | Geese's normals on the ground as well as in the air are all excellent, with considerably long range. His grounded normals have great cancel options for when Geese goes on the offense; he even has a command cancellable st.B, a rare characteristic among the KoF cast. Having this option gives Geese extremely reliable and consistent hit confirms, as well as being able to end his blockstrings safely with 6B or 236A, or he can extend his damage output with his Raimei Gouha Nage (6246P) OTG throw. | ||
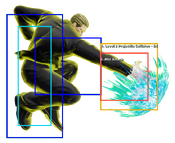
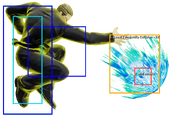
Should Geese find himself unable to find a way in on an opponent, | Should Geese find himself unable to find a way in on an opponent, his fireballs mitigate his difficulty in closing distance. His Reppuken (236P) comes in two forms: the '''A''' version is fast with quick recovery, and the '''C''' version hits twice and snuffs out other fireballs, allowing Geese to hold his own against zoners. His Shippuu Ken (j.214P) is an excellent aerial fireball that makes it even harder for opponents to approach Geese. | ||
If the opponent gets too ''predictable'' with their offense, Geese has a multitude of ways to shut them down. His Atemi counter throws (624B/D / 426D) have lengthy active windows, near-instant startup, and lead to hard knockdowns. If guessing which counter to use isn't your cup of tea, his Oni Hanmon (2624K) super special will counter '''any''' physical move without exception, all the while doing massive damage. Geese can spend even more meter to obliterate opponents with annoying pressure by using Rashoumon (2624CD), a frame-1, extremely damaging command grab that is sure to ruin the opponent's day if they happened to be in range. | If the opponent gets too ''predictable'' with their offense, Geese has a multitude of ways to shut them down. His Atemi counter throws (624B/D / 426D) have lengthy active windows, near-instant startup, and lead to hard knockdowns. If guessing which counter to use isn't your cup of tea, his Oni Hanmon (2624K) super special will counter '''any''' physical move without exception, all the while doing massive damage. Geese can spend even more meter to obliterate opponents with annoying pressure by using Rashoumon (2624CD), a frame-1, extremely damaging command grab that is sure to ruin the opponent's day if they happened to be in range. | ||
| Line 22: | Line 22: | ||
| intro = '''''{{SUBPAGENAME}} is a versatile character who excels at punishing predictable offense while also being a powerful zoner in his own right.''''' | | intro = '''''{{SUBPAGENAME}} is a versatile character who excels at punishing predictable offense while also being a powerful zoner in his own right.''''' | ||
| pros= * '''Ridiculous Defense:''' Geese is a defensive powerhouse. Armed with an array of frame 1 counters and counter supers that lead to combos, knockdowns, or tons of damage, he can keep the opponent guessing on their offense and change the flow of the match in an instant with a well placed counter. | | pros= * '''Ridiculous Defense:''' Geese is a defensive powerhouse. Armed with an array of frame 1 counters and counter supers that lead to combos, knockdowns, or tons of damage, he can keep the opponent guessing on their offense and change the flow of the match in an instant with a well placed counter. But this alone would only be powerful for hard reads, so of course Geese sports some of the best abare in the entire game. With gigantic, fast lights that convert from any connection range, an extremely vertical 2C, and strong hop checks, keeping Geese locked down can require persistent enforcement. | ||
* '''Fantastic All-Rounder:''' | * '''Fantastic All-Rounder:''' Geese can play any position and accommodate any playstyle extremely well. Despite him historically strong as a point character, he can play both other positions with great ease, fitting them very well. While he is a beast on defense and in neutral, he can press a deadly, menacing offense that the opponent must respect. Additionally, if played Mid or Anchor, Geese gains access to devastatingly powerful 4 and 5 bar combos, making his offense all the scarier and making attempting any attack he can mid counter all the more risky. | ||
* ''' | * '''Strong Neutral:''' Geese sports an strong neutral game that makes getting in on him very frustrating. First off, just about every button Geese has is useful or incredible. His standing D and crouching C make for VERY reliable anti-air pokes; his sweep is long-reaching and forward moving(if a little slow); his close C is fast and can even stuff hops; his lights are large and convert very easily; AND he does not possess a single aerial that doesn't have practical application: j.A is a fast normal that combos into EX Shippuken; j.B is a highly effective cross-up; j.C hits multiple times and guarantees a combo on landing, no real timing required; j.D is excellent as a jump-in, and j.CD is a fantastic air-to-air. Finally, 6B gives Geese a very long range, very active, high coverage max cancel option that is safe, sometimes even plus - and is also fantastic for maintaining offense after landing 2D. To accompany his buttons, Reppuken is fast, and the C version has the properties of an EX fireball without costing the meter for one, allowing him to counterzone. All of these tools give Geese a relatively safe and strong presence in neutral. | ||
* '''Anti-Safejump''': Geese has a selection of metered frame 1 counters to beat safejumps with, allowing him to jumpscare people with high, side-switching damage. | |||
| cons= * | | cons= * | ||
* ''' | * '''No Meterless Reversals:''' Though Geese's defense is incredible overall, his wakeup game is limited to metered options only which don't cover jumps or delayed oki. | ||
* ''' | * '''Average Mobility:''' Geese's movespeed is standard and leaves something to be desired, even if 6B mitigates this. | ||
}} | }} | ||
| Line 151: | Line 151: | ||
|input=f.C | |input=f.C | ||
|description= | |description= | ||
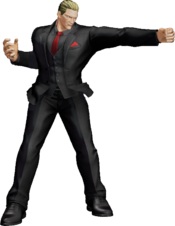
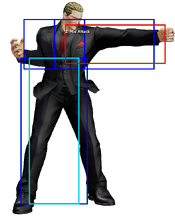
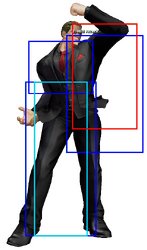
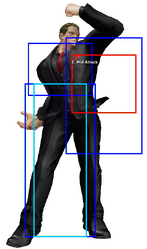
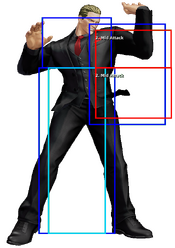
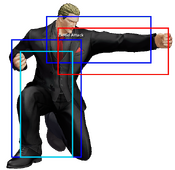
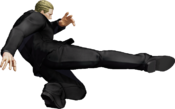
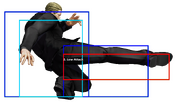
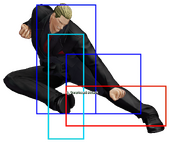
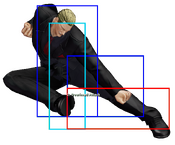
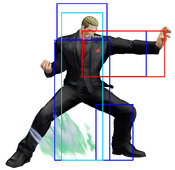
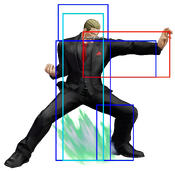
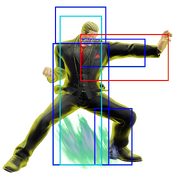
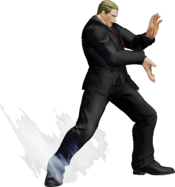
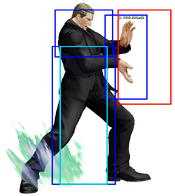
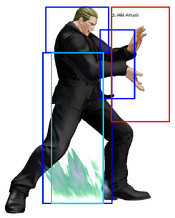
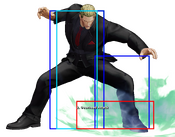
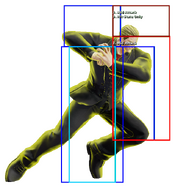
One of Geese's many horizontal pokes, a palm strike with no special-cancelability that is very minus on both hit and block, although the pushback makes it usually safe. Also strong at catching hops. | |||
}} | }} | ||
| Line 160: | Line 160: | ||
|input=f.D | |input=f.D | ||
|description= | |description= | ||
* | * Whiffs on crouching opponents. | ||
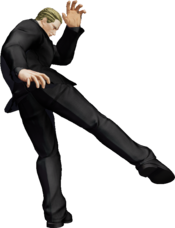
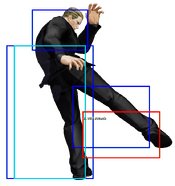
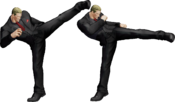
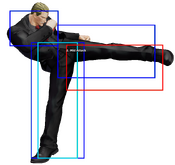
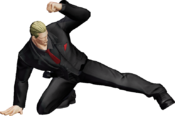
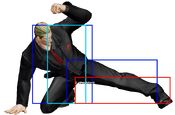
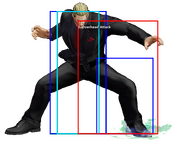
Excellent standing anti-air, though it's a bit difficult to use as a neutral poke. Has better horizontal range than 2C, so it can catch hops and jumps from further away. | |||
}} | }} | ||
| Line 172: | Line 172: | ||
|description= | |description= | ||
* Links into his close C, but not after a jump-in. | * Links into his close C, but not after a jump-in. | ||
Fast, very plus elbow strike. For some reason, the hitbox does not exactly match appearances, so it does not hit as high as it looks like it would. | |||
}} | }} | ||
====close B==== | ====close B==== | ||
{{FrameDataCargo-KOFXV | {{FrameDataCargo-KOFXV | ||
| Line 180: | Line 183: | ||
|description= | |description= | ||
* Whiff-cancelable. | * Whiff-cancelable. | ||
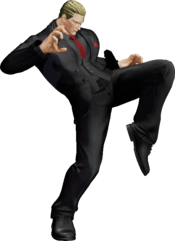
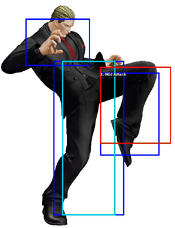
One of Geese's pressure options, a disjointed knee strike with great plus frames on block. The range also makes it preferable over cl.A for linking into cl.C. | |||
}} | }} | ||
| Line 227: | Line 232: | ||
|description= | |description= | ||
* Moves Geese forward slightly during startup. | * Moves Geese forward slightly during startup. | ||
Geese's key anti-airing normal that has excellent vertical range, hitting right above Geese's head. This is Geese's most reliable anti-air; use this if you're not sure if the opponent will attack during a jump-in. | Geese's key anti-airing normal that has excellent vertical range, hitting right above Geese's head. This is Geese's most reliable anti-air; use this if you're not sure if the opponent will attack during a jump-in. | ||
| Line 241: | Line 246: | ||
* Moves Geese forward slightly. | * Moves Geese forward slightly. | ||
A strong poke, 2D is a bit slow, but has excellent range. It also cancels into Geese's command normals and specials, so it also functions as a decent blockstring starter if you're out of range for st.B. | |||
}} | }} | ||
| Line 311: | Line 316: | ||
|input=CD | |input=CD | ||
|description= | |description= | ||
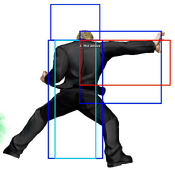
A backfist with a generous amount of forward movement, giving it decent range. As with most other CDs, it has a greatly disjointed hitbox, making it a useful counterpoke. The hit advantage allows Geese to perform an OTG throw afterwards from anywhere on screen. | |||
}} | }} | ||
| Line 342: | Line 346: | ||
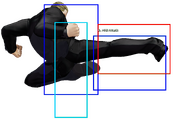
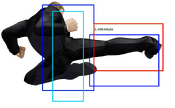
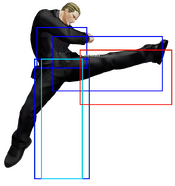
|hitboxCaptions= Hop Version, Jump Version | |hitboxCaptions= Hop Version, Jump Version | ||
|description2= | |description2= | ||
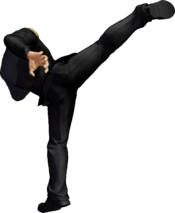
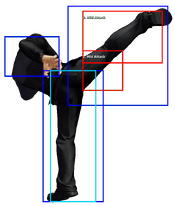
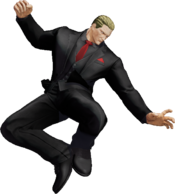
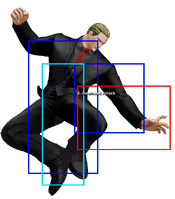
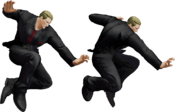
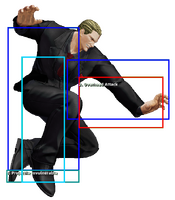
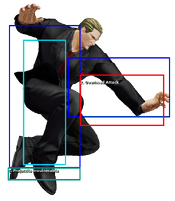
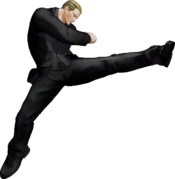
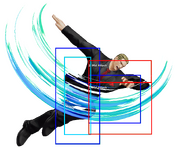
An great aerial poke with a slightly disjointed hitbox, j.CD is one of Geese's strongest approach options. A neutral jump j.CD can beat out most aerials and approaches in the game. | |||
}} | }} | ||
| Line 354: | Line 356: | ||
|input=(close) 4/6C | |input=(close) 4/6C | ||
|description= | |description= | ||
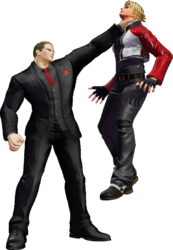
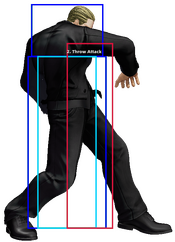
* | * Geese grabs the opponent by the neck and launches them off with a palm strike. | ||
Outside of the corner, the distance of the launch puts Geese in a position where he can go back to zoning the opponent. | |||
}} | }} | ||
| Line 363: | Line 367: | ||
|input=(close) 4/6D | |input=(close) 4/6D | ||
|description= | |description= | ||
Geese | *Geese grabs the opponent and tosses them far off behind him, in the same manner as his old command grab. | ||
Has slightly better advantage than his C throw, and puts much more distance between Geese and the opponent. If you want to get the opponent off you and zone them hard, use this. | |||
}} | }} | ||
| Line 401: | Line 407: | ||
|name=Reppuken | |name=Reppuken | ||
|input=236A/C/AC | |input=236A/C/AC | ||
|hitboxCaptions= A Version, , C Version, , EX Version | |||
|description3= | |description3= | ||
Reppuken is a very strong and valuable space control tool, useful for keeping the opponent away as well as snuffing out their own fireballs. While other characters have the technique (Rugal, Rock), Geese's version has unique attributes that strengthen his zoning abilities. | Reppuken is a very strong and valuable space control tool, useful for keeping the opponent away as well as snuffing out their own fireballs. While other characters have the technique (Rugal, Rock), Geese's version has unique attributes that strengthen his zoning abilities. | ||
| Line 408: | Line 415: | ||
'''236C:''' Basically a free EX projectile, Double Reppuken is an excellent overall projectile. It stuffs out meterless projectiles, and also knocks down, much like an EX fireball. It also has a startup stationary hitbox that hits opponents up close and allows it to combo from light attacks at point blank. | '''236C:''' Basically a free EX projectile, Double Reppuken is an excellent overall projectile. It stuffs out meterless projectiles, and also knocks down, much like an EX fireball. It also has a startup stationary hitbox that hits opponents up close and allows it to combo from light attacks at point blank. | ||
---- | ---- | ||
'''236AC:''' Improves upon 236C in every way possible. 236AC (EX Double Reppuken) is faster | '''236AC:''' Improves upon 236C in every way possible. 236AC (EX Double Reppuken) is MUCH faster on recovery and has a larger startup hitbox than 236C, which makes it easier to use as a combo ender. On a grounded opponent, it gives a very advantageous juggle with little horizontal movement that allows for a followup of 623AC or any version of 214P, making it your ideal confirm from heavies. On an airborne opponent, the juggle is more limited, only allowing for a followup of 214A. | ||
}} | }} | ||
| Line 416: | Line 424: | ||
|name=Shippuu Ken | |name=Shippuu Ken | ||
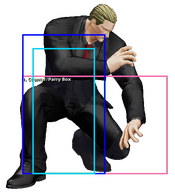
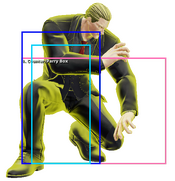
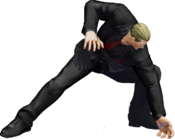
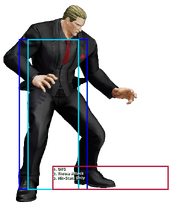
|input=j.214A/C/AC | |input=j.214A/C/AC | ||
|hitboxCaptions= Normal Version, , EX Version | |||
|description3= | |description3= | ||
Geese throws a fireball from the air, bouncing backward as he does so. | Geese throws a fireball from the air, bouncing backward as he does so. | ||
| Line 433: | Line 442: | ||
|name=Fudou Ken | |name=Fudou Ken | ||
|input=214A/C/AC | |input=214A/C/AC | ||
| | |imageCaptions=R.I.P. Jaei Ken 1995-2009 | ||
|hitboxCaptions= A Version, C Version, EX Version | |||
|description3= | |description3= | ||
Fudou Ken is | Fudou Ken is your go-to meterless combo ender, as well as a very important combo extender that forms the basis of his exceptionally lenient metered light confirms. All versions of and followups for Fudou Ken are very unsafe on block. | ||
---- | ---- | ||
'''214A:''' An extremely fast strike at 8 frames of startup. | '''214A:''' An extremely fast strike at 8 frames of startup. However, it has a hurtbox on Geese's arm before the active frames making it risky to use as a poke. It also has very little pushback and is -8 making it death on block. | ||
---- | ---- | ||
'''214C:''' A slower strike with twice the startup, meaning it can only combo from heavy attacks, but has three different followups—a mid, a low, and an overhead—that all lead to hard knockdowns and can be used as combo enders or as a mixup. C Fudou Ken has higher pushback than A Fudou Ken, but also has a higher frame disadvantage and can be punished by | '''214C:''' A slower strike with twice the startup, meaning it can only combo from heavy attacks, but has three different followups—a mid, a low, and an overhead—that all lead to hard knockdowns and can be used as combo enders or as a mixup. C Fudou Ken has slightly higher pushback than A Fudou Ken, but also has a higher frame disadvantage and can be punished by most heavies. | ||
---- | ---- | ||
'''214AC:''' A fast crumpling attack that has the same followups as C Fudou Ken, but the followups have slightly lower disadvantage (though still very unsafe). AC Fudou Ken also has almost no pushback and has | '''214AC:''' A fast crumpling attack that has the same followups as C Fudou Ken, but the followups have slightly lower disadvantage (though still very unsafe). AC Fudou Ken also has almost no pushback and has the same disadvantage as A Fudou Ken on block, making it very easy to punish. | ||
}} | }} | ||
| Line 451: | Line 461: | ||
|name=Fudou Ken • A | |name=Fudou Ken • A | ||
|input=214C/AC~6P | |input=214C/AC~6P | ||
|hitboxCaptions= Normal Version, EX Version | |||
|description2= | |description2= | ||
* EX version causes a wallbounce. | * EX version causes a wallbounce. | ||
| Line 462: | Line 473: | ||
|name=Fudou Ken • Ba | |name=Fudou Ken • Ba | ||
|input=214C/AC~2K | |input=214C/AC~2K | ||
|hitboxCaptions= Normal Version, EX Version | |||
|description2= | |description2= | ||
* Hits low | * Hits low | ||
| Line 471: | Line 483: | ||
|name=Fudou Ken • Un | |name=Fudou Ken • Un | ||
|input=214C/AC~6K | |input=214C/AC~6K | ||
|hitboxCaptions= Normal Version, , EX Version | |||
|description2= | |description2= | ||
* Applies a 30% scaling penalty to the next hit. | * Applies a 30% scaling penalty to the next hit. | ||
| Line 490: | Line 503: | ||
|name=Jyoudan Atemi | |name=Jyoudan Atemi | ||
|input=63214B/BD | |input=63214B/BD | ||
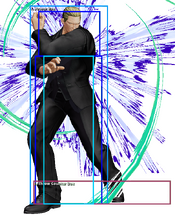
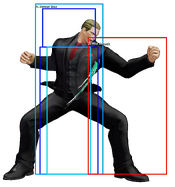
| | |imageCaptions="High Hit Throw"<br> | ||
<small>"Predictabo"</small> | <small>"Predictabo"</small> | ||
|hitboxCaptions= Normal Version, EX Version | |||
|description2= | |description2= | ||
'''63214B:''' Counters all physical aerial moves, high/mid physical specials (including Shatter Strikes), and Super Special moves. <br> | '''63214B:''' Counters all physical aerial moves, high/mid physical specials (including Shatter Strikes), and Super Special moves. <br> | ||
| Line 507: | Line 521: | ||
|name=Chuudan Atemi | |name=Chuudan Atemi | ||
|input=63214D | |input=63214D | ||
| | |imageCaptions="Center Hit Throw"<br> | ||
<small>"Perceptabo"</small> | <small>"Perceptabo"</small> | ||
|description= | |description= | ||
| Line 523: | Line 537: | ||
|name=Gedan Atemi | |name=Gedan Atemi | ||
|input=41236B/BD | |input=41236B/BD | ||
| | |imageCaptions="Low Hit Throw" | ||
|hitboxCaptions= Normal Version, EX Version | |||
|description2= | |description2= | ||
Counters all low physical attacks. Knocks the opponent to the other side of the screen. | Counters all low physical attacks. Knocks the opponent to the other side of the screen. | ||
| Line 537: | Line 552: | ||
|name=Raimei Gouha Nage | |name=Raimei Gouha Nage | ||
|input=632146A/C/AC | |input=632146A/C/AC | ||
|hitboxCaptions= Normal Version, EX Version | |||
|description2= | |description2= | ||
Geese grabs the opponent off the ground and slams them back down. | Geese grabs the opponent off the ground and slams them back down. | ||
| Line 553: | Line 569: | ||
|name=Hishou Nichirin Zan | |name=Hishou Nichirin Zan | ||
|input=623A/C/AC | |input=623A/C/AC | ||
|hitboxCaptions= A Version, C Version, , EX Version | |||
|description3= | |description3= | ||
* C is a great oki tool, if it crosses up its plus but if it doesn't its neutral. Groundbounces on counterhit, and can still combo into the EX version for another groundbounce. | * C is a great oki tool, if it crosses up its plus but if it doesn't its neutral. Groundbounces on counterhit, and can still combo into the EX version for another groundbounce. | ||
* EX is your go-to combo extender for | * EX is your go-to combo extender for 1 - 3 bar combos. | ||
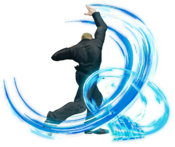
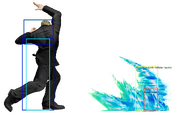
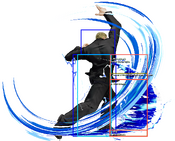
Hishou Nichirin Zan is a rather unorthodox pressure tool that | Hishou Nichirin Zan is a rather unorthodox pressure tool that still manages to shine as a safe blockstring ender. Despite appearances, Hishou Nichirin Zan is ''not'' an anti-air whatsoever, and unlike in previous games, A and C versions do not have multiple hits and cannot be combo'd into unless you spend meter. Both of the meterless versions leave noticeable gaps in blockstrings that can be punished, though Geese flies relatively high before the attack that can make punishing it difficult. | ||
---- | ---- | ||
'''623A:''' Soft knockdown. One of Geese's safest blockstring enders, especially if the opponent is crouching, but is otherwise lackluster. Prevents 623AC from being used in the combo if it hits. | '''623A:''' Soft knockdown. One of Geese's safest blockstring enders, especially if the opponent is crouching, but is otherwise lackluster. Prevents 623AC from being used in the combo if it hits. | ||
| Line 563: | Line 580: | ||
'''623C:''' Hard knockdown. ''Very'' lengthy startup, but is even on block on standing opponents, and +2 on crouching opponents. Groundbounces the opponent if it counterhits, which can lead to some highly damaging punishes. Can be followed up by 623AC. If the opponent has been wallsplatted (after st.CD, for example) 623C will launch the opponent higher up, allowing Geese to get damaging extensions off of his st.CD in the corner. | '''623C:''' Hard knockdown. ''Very'' lengthy startup, but is even on block on standing opponents, and +2 on crouching opponents. Groundbounces the opponent if it counterhits, which can lead to some highly damaging punishes. Can be followed up by 623AC. If the opponent has been wallsplatted (after st.CD, for example) 623C will launch the opponent higher up, allowing Geese to get damaging extensions off of his st.CD in the corner. | ||
---- | ---- | ||
'''623AC:''' Groundbounces into a hard knockdown. | '''623AC:''' Groundbounces into a hard knockdown. Not quite as strong as 236AC, but gives slightly more corner carry and combos from lights at close range. | ||
}} | }} | ||
| Line 572: | Line 589: | ||
|name=Raigou Reppuu Ken | |name=Raigou Reppuu Ken | ||
|input=2363214A/C/AC | |input=2363214A/C/AC | ||
|hitboxCaptions= Normal Version, , Max Version | |||
|description2= | |description2= | ||
* Values in [] represent damage when the move OTGs. | * Values in [] represent damage when the move OTGs. | ||
| Line 586: | Line 604: | ||
|name=Oni Hanmon | |name=Oni Hanmon | ||
|input=2363214B/D/BD | |input=2363214B/D/BD | ||
| | |imageCaptions= Say "no" to wakeup pressure<br> | ||
<small>"Demonic Agony"</small> | <small>"Demonic Agony"</small> | ||
|hitboxCaptions= Normal Version, Max Version | |||
|description2= | |description2= | ||
* Counters all physical attacks. | * Counters all physical attacks. | ||
| Line 613: | Line 632: | ||
|name=Rashoumon | |name=Rashoumon | ||
|input=2363214CD | |input=2363214CD | ||
|captions= | |captions= JUMPSCARE | ||
|description= | |description= | ||
* Command grab, cannot be dodged whatsoever after super flash. | * Command grab, cannot be dodged whatsoever after super flash. | ||
* Can be comboed into, but there really isn't any combo that leads into it that does anywhere near the damage gained from a 3-bar combo into Raging Storm. | * Can be comboed into, but there really isn't any combo that leads into it that does anywhere near the damage gained from a 3-bar combo into Raging Storm. | ||
* | * Leans on the larger side of command grabs, though the range is still not great | ||
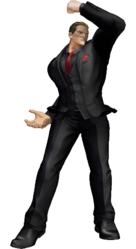
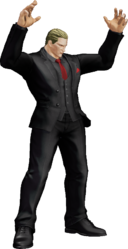
A frame-1 command grab with full-body invincibility on its first four frames, allowing it to snuff out any of the opponent's attacks while Geese is defending himself. It also does ''immense'' damage, taking away 50% of the opponent's total health in an instant. Overall, this is the most damaging Climax super in the game by a decent margin, and probably one of the scariest. | A frame-1 command grab with full-body invincibility on its first four frames, allowing it to snuff out any of the opponent's attacks while Geese is defending himself. It also does ''immense'' damage, taking away 50% of the opponent's total health in an instant. Overall, this is the most damaging Climax super in the game by a decent margin, and probably one of the scariest. | ||
While it can be canceled into, it won't connect against opponents in blockstun, and regardless, in most scenarios you'll be losing out on damage since it doesn't connect on airborne opponents (including grounded opponents who have been knocked down). You are better off using Raging Storm for combos, and Rashoumon for sudden mixups. | |||
}} | }} | ||
Latest revision as of 06:39, 31 December 2024

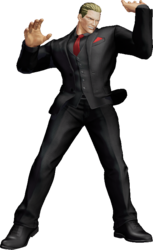
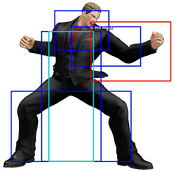
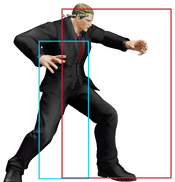
Hop: 33f
Backdash: 24f
Run Speed Ranking: 7
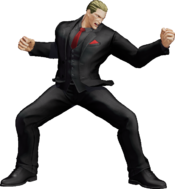
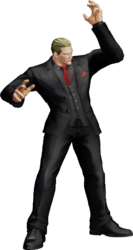
Gameplay Overview
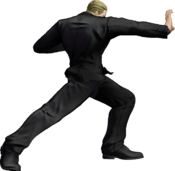
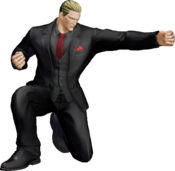
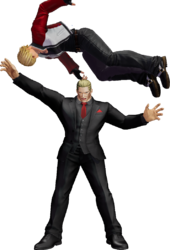
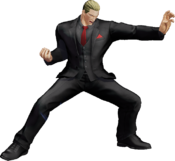
Notorious for his array of near-instant counter throws, Geese is not only capable of shutting down aggressive opponents but is also a master at dominating opponents with weak defense.
Geese's normals on the ground as well as in the air are all excellent, with considerably long range. His grounded normals have great cancel options for when Geese goes on the offense; he even has a command cancellable st.B, a rare characteristic among the KoF cast. Having this option gives Geese extremely reliable and consistent hit confirms, as well as being able to end his blockstrings safely with 6B or 236A, or he can extend his damage output with his Raimei Gouha Nage (6246P) OTG throw.
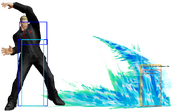
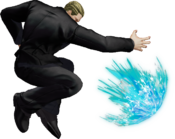
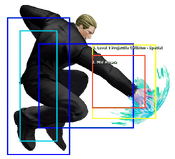
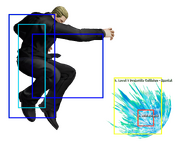
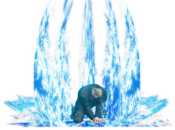
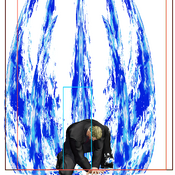
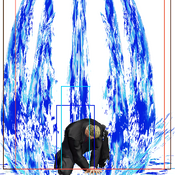
Should Geese find himself unable to find a way in on an opponent, his fireballs mitigate his difficulty in closing distance. His Reppuken (236P) comes in two forms: the A version is fast with quick recovery, and the C version hits twice and snuffs out other fireballs, allowing Geese to hold his own against zoners. His Shippuu Ken (j.214P) is an excellent aerial fireball that makes it even harder for opponents to approach Geese.
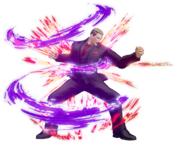
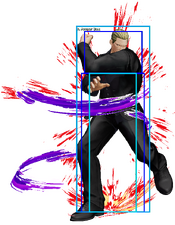
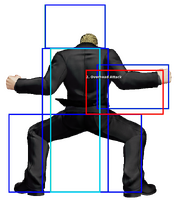
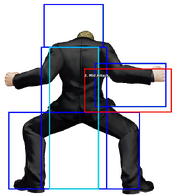
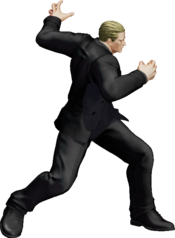
If the opponent gets too predictable with their offense, Geese has a multitude of ways to shut them down. His Atemi counter throws (624B/D / 426D) have lengthy active windows, near-instant startup, and lead to hard knockdowns. If guessing which counter to use isn't your cup of tea, his Oni Hanmon (2624K) super special will counter any physical move without exception, all the while doing massive damage. Geese can spend even more meter to obliterate opponents with annoying pressure by using Rashoumon (2624CD), a frame-1, extremely damaging command grab that is sure to ruin the opponent's day if they happened to be in range.
Overall, Geese is an extraordinary defensive character that is simple enough to be effective in the hands of beginners, while more seasoned players can utilize his counter throws and frametraps to become the ultimate nightmare.
| Geese Howard is a versatile character who excels at punishing predictable offense while also being a powerful zoner in his own right. | |
| Pros | Cons |
|
|
Movelist
(*) = EX OK
(!) = MAX OK
Throws
Command Normals
Special Moves
Shippuu Ken - ![]() +
+ ![]() /
/ ![]() (Midair Only) (*)
(Midair Only) (*)
- ┗Fudou Ken • A (After
 or EX Fudou Ken) -
  +
+  /
/ 
- ┗Fudou Ken • Ba (After
 or EX Fudou Ken) -
  +
+  /
/ 
- ┗Fudou Ken • Un (After
 or EX Fudou Ken) -
  +
+  /
/ 
- ┗Fudou Ken • O (After
 Fudou Ken) -
  +
+  /
/ 
Super Special Moves
Climax Super Special Moves
Quick Combo Reference
| 0 Meter |
2B, 2A, 2A, far B, 214A~6P |
178 DMG |
| ½ Meter |
cl.D(2), 6A, 214C~6P |
347 DNG |
| 1 Meter |
cl.D(2), 6A, DP+AC, 214AC~6P, 214C~6K, 632146P |
438 DMG |
| 2 Meters |
cl.D(2), 6A, 214C~6P (super cancel), 2363214AC |
522 DMG |
Normals
Far Standing Normals
far A
| far A
f.A
f.A |
|---|
far B
| far B
f.B
f.B |
|---|
far C
| far C
f.C
f.C |
|---|
far D
| far D
f.D
f.D |
|---|
Close Standing Normals
close A
| close A
cl.A
cl.A |
|---|
close B
| close B
cl.B
cl.B |
|---|
close C
| close C
cl.C
cl.C |
|---|
close D
| close D
cl.D
cl.D |
|---|
Crouch Normals
crouch A
| crouch A
2A
2A |
|---|
crouch B
| crouch B
2B
2B |
|---|
crouch C
| crouch C
2C
2C |
|---|
crouch D
| crouch D
2D
2D |
|---|
Jump Normals
Jump A
| jump A
j.A
j.A |
|---|
Jump B
| jump B
j.B
j.B |
|---|
Jump C
| jump C
j.C
j.C |
|---|
Jump D
| jump D
j.D
j.D |
|---|
Rush
| rush
cl.AA/cl.AAX
cl.AA/cl.AAX |
|---|
Blowback
Blowback
| Blowback
CD
CD |
|---|
Shatterstrike
| Shatterstrike
236CD
236CD |
|---|
AdvanceStrike
| AdvanceStrike
214CD
214CD |
|---|
jump CD
| jump CD
j.CD
j.CD |
|---|
Throws
Ko Satsu Shou
| Ko Satsu Shou
(close) 4/6C
(close) 4/6C |
|---|
Shinkuu Nage
| Shinkuu Nage
(close) 4/6D
(close) 4/6D |
|---|
Command Moves
Raikou Mawashi Geri
| Raikou Mawashi Geri
6B
6B |
|---|
Tendoh Kudaki
| Tendoh Kudaki
6A
6A |
|---|
Special Moves
Reppuken
| Reppuken
236A/C/AC
236A/C/AC |
|---|
Shippuu Ken
| Shippuu Ken
j.214A/C/AC
j.214A/C/AC |
|---|
Fudou Ken
| Fudou Ken
214A/C/AC
214A/C/AC |
|---|
Fudou Ken Followups
| Fudou Ken • A
214C/AC~6P
214C/AC~6P |
|---|
| Fudou Ken • Ba
214C/AC~2K
214C/AC~2K |
|---|
| Fudou Ken • Un
214C/AC~6K
214C/AC~6K |
|---|
| Fudou Ken • O
214A~6P
214A~6P |
|---|
Jyoudan Atemi
| Jyoudan Atemi
63214B/BD
63214B/BD |
|---|
Chuudan Atemi
| Chuudan Atemi
63214D
63214D |
|---|
Gedan Atemi
| Gedan Atemi
41236B/BD
41236B/BD |
|---|
Raimei Gouha Nage
| Raimei Gouha Nage
632146A/C/AC
632146A/C/AC |
|---|
Hishou Nichirin Zan
| Hishou Nichirin Zan
623A/C/AC
623A/C/AC |
|---|
Super Special Moves
Raigou Reppuu Ken
| Raigou Reppuu Ken
2363214A/C/AC
2363214A/C/AC |
|---|
Oni Hanmon
| Oni Hanmon
2363214B/D/BD
2363214B/D/BD |
|---|
Climax Super Special Moves
Raging Storm
| Raging Storm
2141236CD
2141236CD |
|---|
Rashoumon
| Rashoumon
2363214CD
2363214CD |
|---|
Misc
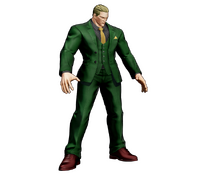
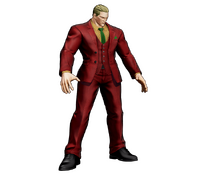
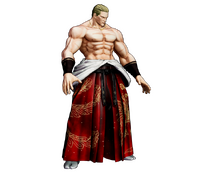
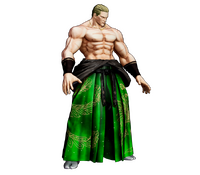
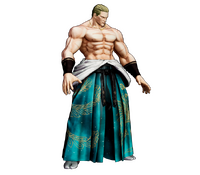
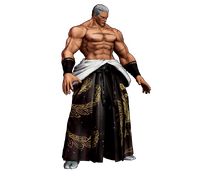
Alternate Colors
 |
 |
 |
 |
 |
 |
 |
 |
 |
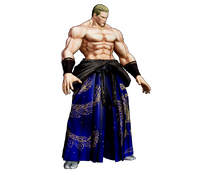 |
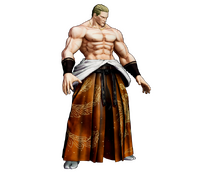 |
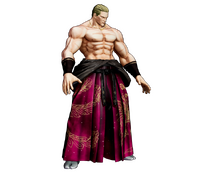 |
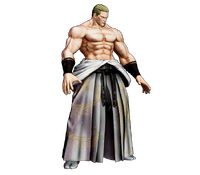 |
 |
 |
 |
