-Happy New Year 2025!
The King of Fighters XV/Ryo Sakazaki: Difference between revisions
| (17 intermediate revisions by 4 users not shown) | |||
| Line 60: | Line 60: | ||
Ryo also has some of the best defense in the game. Besides having a very fast DP, he is also the only character in the entire roster to have access to parries (6B, 3D) which have very fast startup, are extremely active, and push Ryo forward slightly. These parries can make Ryo hard to zone out as well, as he'll only build more meter from zoning attempts. | Ryo also has some of the best defense in the game. Besides having a very fast DP, he is also the only character in the entire roster to have access to parries (6B, 3D) which have very fast startup, are extremely active, and push Ryo forward slightly. These parries can make Ryo hard to zone out as well, as he'll only build more meter from zoning attempts. | ||
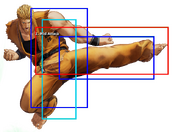
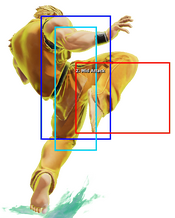
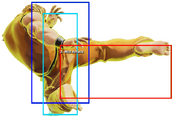
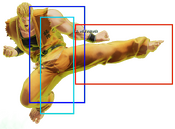
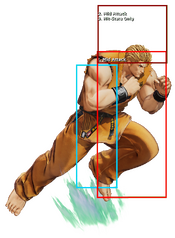
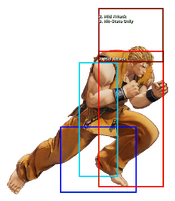
One would think that Ryo's excellent defensive options would mean he has poor damage output, but in all actuality, Ryo hits very, ''very'' hard. One '''EX''' | One would think that Ryo's excellent defensive options would mean he has poor damage output, but in all actuality, Ryo hits very, ''very'' hard. One '''EX Hien Shipuu Kyaku''' (214BD) opens the door to multiple combo options, such as '''Zanretsuken''' (646P[P]), a highly damaging multi-hit attack that can end in a hard knockdown (646A) or be used to juggle the opponent even more (646C/AC). To put it simply: Ryo has some of the best damage output in the game. | ||
In the end, besides being a rather simple character with a slight weakness to zoning and reliance on meter, Ryo doesn't have any real fatal flaws. Ryo works well in any team position, but is especially powerful on anchor. | In the end, besides being a rather simple character with a slight weakness to zoning and reliance on meter, Ryo doesn't have any real fatal flaws. Ryo works well in any team position, but is especially powerful on anchor. | ||
| Line 79: | Line 79: | ||
===In a nutshell=== | ===In a nutshell=== | ||
* Confirm into ''214BD > | * Confirm into '''214BD, 623A, 623C > 236214A/C''' or '''214BD, 646A > 236214A/C''' midscreen. | ||
* | * An extra 0.5 bars can be spent in the corner by doing '''214BD, 623A, cl.C > 646AC, 623C > 236214A/C'''. | ||
* In the corner you can do 214D instead of the EX to save meter, but only against standing opponents ( | * In the corner you can do 214D instead of the EX to save meter, but only against standing opponents (which can be forced using 2C). | ||
* Comboing into 236A doesn't need to be confirmed, and allows for follow-ups in the corner. | * Comboing into 236A doesn't need to be confirmed (but is weak to GCRoll), and allows for follow-ups in the corner. | ||
* For an extra 2 bars, Advanced Cancelling 236214A/C into 641236AC allows you to continue the combo in the corner with 623C, or '''623A, cl.C > 646AC, 623C''' if you have another 0.5 meter and 646AC hasn't previously been used. | |||
* Landing an air-to-air allows you to pick up with 646AC's anywhere juggle, which can be followed up with '''623C > 236214A/C''' in the corner. | |||
{| border="1" align="center" style="font-size:90%" | {| border="1" align="center" style="font-size:90%" | ||
| Line 111: | Line 113: | ||
Corner <br/> | Corner <br/> | ||
| | | | ||
2B > 2A > 214BD > 623A > 623C = 262 dmg<br/> | 2B > 2A > 214BD > 623A > 623C = 262 dmg <br/> | ||
2B > Close A>A>A>B, 623A, 623AC = 306 dmg (Uses Rush Combo B/Special) <br/> | 2B > Close A>A>A>B, 623A, 623AC = 306 dmg (Uses Rush Combo B/Special) <br/> | ||
2B > Close 5A > 624D, 623A, Close 5C > 646AC, 623C = 376 dmg <br/> | 2B > Close 5A > 624D, 623A, Close 5C > 646AC, 623C = 376 dmg <br/> | ||
| Line 219: | Line 221: | ||
* Links into cr.C and cl.C up close. | * Links into cr.C and cl.C up close. | ||
Great abare button and one of your best frametrap tools. At +2 on block, 2A is great for maintaining your turn and starting frametraps. | |||
}} | }} | ||
| Line 288: | Line 290: | ||
|input=j.D | |input=j.D | ||
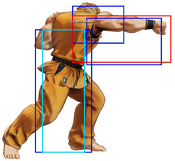
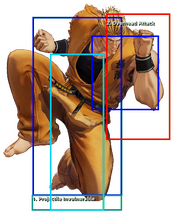
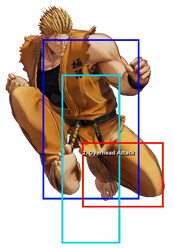
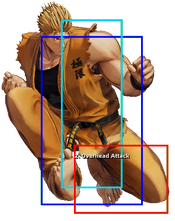
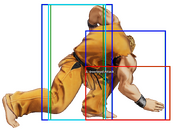
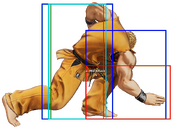
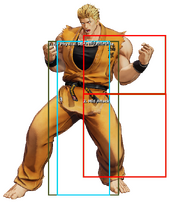
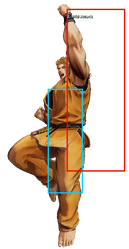
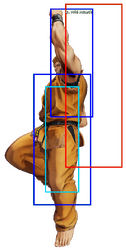
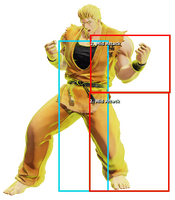
|captions= Hop Version (Hitbox), Jump Version | |captions= Hop Version (Hitbox), Jump Version | ||
|description2= | |description2= Great air poke. Go-to for jump-ins. | ||
}} | }} | ||
| Line 358: | Line 360: | ||
|moveId=ryo_6a | |moveId=ryo_6a | ||
|name=Hyouchuu Wari | |name=Hyouchuu Wari | ||
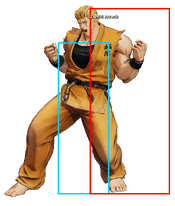
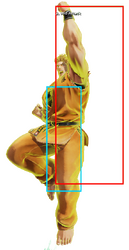
|captions="Ice Pillar Splitter" | |captions="Ice Pillar Splitter" / Raw Version (Hitbox), Cancel Version | ||
|input=6A | |input=6A | ||
|description= | |description= | ||
| Line 419: | Line 421: | ||
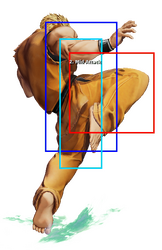
|name=Kohou | |name=Kohou | ||
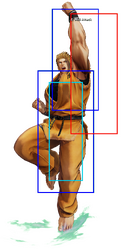
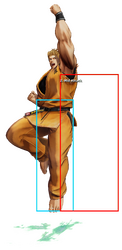
|input=623A/C/AC | |input=623A/C/AC | ||
|captions= "Tiger Roar" | |captions= "Tiger Roar" / A Version (Hitbox), , C Version,,,, EX Version | ||
|description3= | |description3= | ||
| Line 436: | Line 438: | ||
|name=Ko-Ou Ken | |name=Ko-Ou Ken | ||
|input=236A/C/AC | |input=236A/C/AC | ||
|captions="Tiger Fist" | |captions="Tiger Fist" | ||
|hitboxCaptions=A Version (Hitbox), , C Version,, EX Version | |||
|description3= | |description3= | ||
* Generates a very small amount of meter during startup. | * Generates a very small amount of meter during startup. | ||
| Line 448: | Line 451: | ||
'''236A:''' Used for safe blockstrings and frametraps. While it doesn't hit until frame 17, the projectile can't be prevented from coming out from frame 12 and onwards, even if Ryo gets hit - which is great for corner pressure, since you can combo even after trades. Ryo has an extended lower hurtbox during active frames, which makes it easier to punish him with a sweep. | '''236A:''' Used for safe blockstrings and frametraps. While it doesn't hit until frame 17, the projectile can't be prevented from coming out from frame 12 and onwards, even if Ryo gets hit - which is great for corner pressure, since you can combo even after trades. Ryo has an extended lower hurtbox during active frames, which makes it easier to punish him with a sweep. | ||
---- | ---- | ||
'''236C:''' Immense forward movement, pushing Ryo about half-screen. Unsafe | '''236C:''' Immense forward movement, pushing Ryo about half-screen. Unsafe at most spacings, very difficult to space to be truly safe. | ||
---- | ---- | ||
'''236AC:''' Full screen projectile that hits twice and can power through non-EX fireballs. Great for winning fireball wars. Plus on block even at point blank, allowing for some extended pressure, especially in the corner. | '''236AC:''' Full screen projectile that hits twice and can power through non-EX fireballs. Great for winning fireball wars. Plus on block even at point blank, allowing for some extended pressure, especially in the corner. | ||
| Line 459: | Line 462: | ||
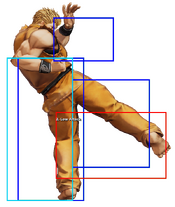
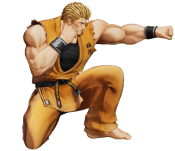
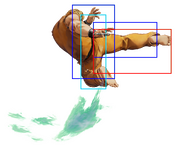
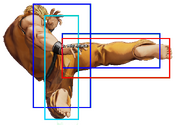
|name=Hien Shipuu Kyaku | |name=Hien Shipuu Kyaku | ||
|input=214B/D/BD | |input=214B/D/BD | ||
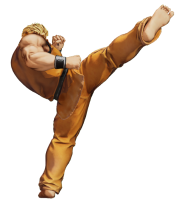
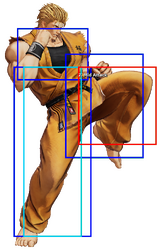
|captions="Flying Gale Leg" | |captions="Flying Gale Leg" / B Version (Hitbox), D Version,,, EX Version | ||
|description3= | |description3= | ||
| Line 477: | Line 480: | ||
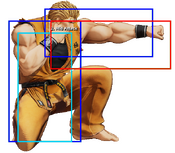
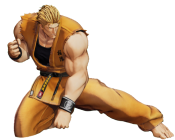
|name=Zanretsuken | |name=Zanretsuken | ||
|input=646A/C/AC | |input=646A/C/AC | ||
|captions="Relentless Fist" | |captions="Relentless Fist" / Normal Version (Hitbox),,, EX Version | ||
|description3= | |description3= | ||
* Functional hitgrab; the full animation will not play out unless the move properly connects. | * Functional hitgrab; the full animation will not play out unless the move properly connects. | ||
| Line 489: | Line 492: | ||
'''646C:''' Combos from heavies but the poor range and speed means the move will not connect after 6A. Launches the opponent. An excellent combo extender after a close heavy, and allows for more immensely damaging combos. | '''646C:''' Combos from heavies but the poor range and speed means the move will not connect after 6A. Launches the opponent. An excellent combo extender after a close heavy, and allows for more immensely damaging combos. | ||
---- | ---- | ||
'''646AC:''' Does the second most damage and has anywhere juggle properties. Launches the opponent. Applies heavy scaling (counts as 10hits - so +50% DR), so be careful with where you use it in a combo (damage representation has been modified accordingly to help understand Damage Scaling) | '''646AC:''' Does the second most damage and has anywhere juggle properties. Launches the opponent, but can only be followed up in the corner. Applies heavy scaling (counts as 10hits - so +50% DR), so be careful with where you use it in a combo (damage representation has been modified accordingly to help understand Damage Scaling) | ||
}} | }} | ||
| Line 498: | Line 501: | ||
|name=Haoh Shoukou Ken | |name=Haoh Shoukou Ken | ||
|input=641236A/C/AC | |input=641236A/C/AC | ||
|captions= "Supreme Ruler's Roaring Fist" | |captions= "Supreme Ruler's Roaring Fist" / Normal Version (Hitbox), , Max Version | ||
|description2=* Massive fireball. | |description2=* Massive fireball. | ||
* A version is slow enough to catch people rolling/jumping expecting the C version. | * A version is slow enough to catch people rolling/jumping expecting the C version. | ||
| Line 513: | Line 516: | ||
|name=Ryuuko Ranbu | |name=Ryuuko Ranbu | ||
|input=2363214A/C/AC | |input=2363214A/C/AC | ||
|captions= "Dragon & Tiger Wild Dance"<br> | |captions= "Dragon & Tiger Wild Dance"/ Normal Version (Hitbox) <br> | ||
<small>"Kyokugen-ryu secret technique!"</small> | <small>"Kyokugen-ryu secret technique!"</small> , Max Version | ||
|description3=* Full screen dash into a flurry of strikes. | |description3=* Full screen dash into a flurry of strikes. | ||
* A version stops slightly short of full screen. | * A version stops slightly short of full screen. | ||
Latest revision as of 21:17, 8 January 2025
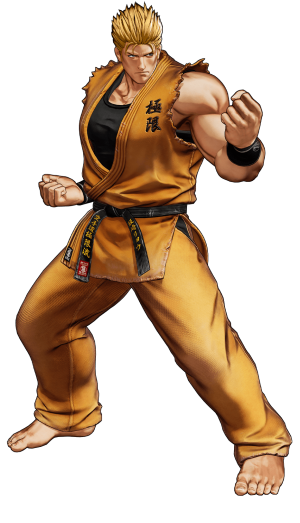
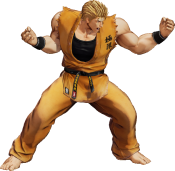
Naturally, he is extremely strong-willed and will spare no effort getting things done. Even to this day, he continues to train himself to his maximum potential.
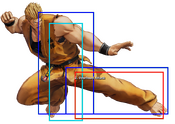
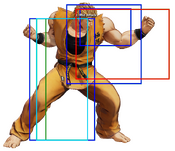
Hop: 32f
Backdash: 22f
Run Speed Ranking: 7
Movelist
(*) = EX OK
(!) = MAX OK
Throws
Command Normals
Special Moves
Super Special Moves
Climax Super Special Moves
Gameplay Summary
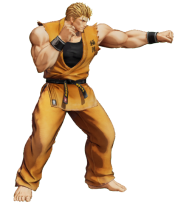
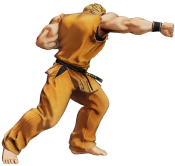
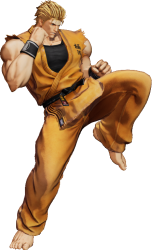
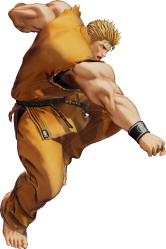
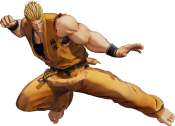
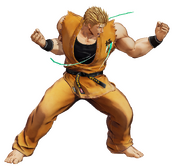
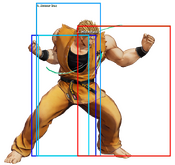
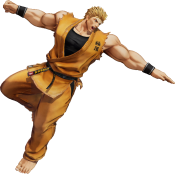
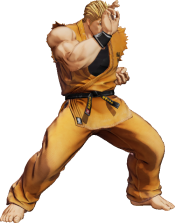
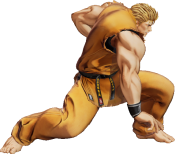
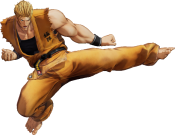
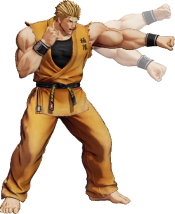
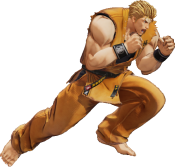
Ryo Sakazaki treads a fine line between being a standard shoto and a rushdown character. He has all the characteristics and hallmarks of a shoto, but lacks the proper zoning tools—and instead is built around pushing himself in with his surprisingly advantageous pressure.
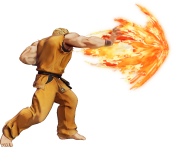
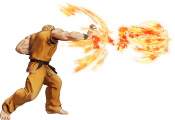
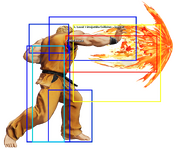
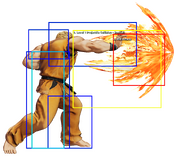
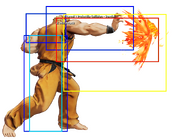
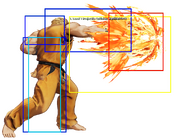
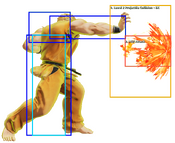
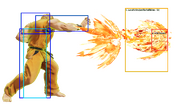
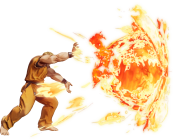
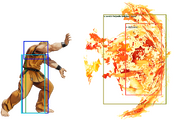
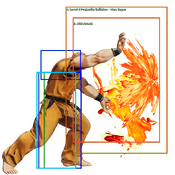
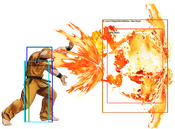
Ryo's tools are designed to push him into close quarters, and make it hard for the opponent to send him out of that range. Instead of having a meterless projectile, he uses Ko-Ou Ken (236P[P]), a rather large pseudo-fireball that either keeps him in place (236A) or pushes him forward significantly (236C). Both of these versions can leave Ryo plus on block from a relatively close distance.
Ryo's fireballs aren't the only things that can leave him at an advantage. Ryo's frame data is extraordinary, having lengthy normals that leave him at a better block advantage than a majority of the cast. He also has a command normal, Kizami Duki (A+C) than he can cancel into from a canceled 6A, which leaves Ryo +2 on block while still leaving him within effective distance of the opponent. These options give Ryo a powerful pressure game that is hard to contest.
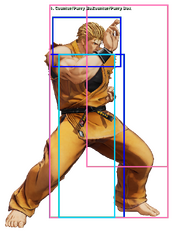
Ryo also has some of the best defense in the game. Besides having a very fast DP, he is also the only character in the entire roster to have access to parries (6B, 3D) which have very fast startup, are extremely active, and push Ryo forward slightly. These parries can make Ryo hard to zone out as well, as he'll only build more meter from zoning attempts.
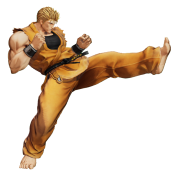
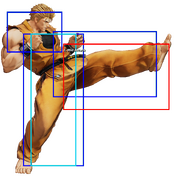
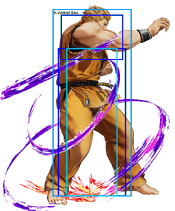
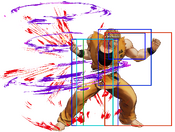
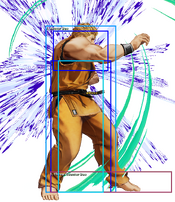
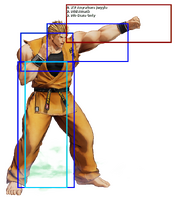
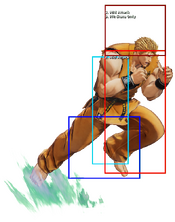
One would think that Ryo's excellent defensive options would mean he has poor damage output, but in all actuality, Ryo hits very, very hard. One EX Hien Shipuu Kyaku (214BD) opens the door to multiple combo options, such as Zanretsuken (646P[P]), a highly damaging multi-hit attack that can end in a hard knockdown (646A) or be used to juggle the opponent even more (646C/AC). To put it simply: Ryo has some of the best damage output in the game.
In the end, besides being a rather simple character with a slight weakness to zoning and reliance on meter, Ryo doesn't have any real fatal flaws. Ryo works well in any team position, but is especially powerful on anchor.
| Ryo Sakazaki is a rushdown-oriented shoto who trades zoning tools for an intimidatingly augmented offensive and defensive game. | |
| Pros | Cons |
|
|
Quick Combo Reference
In a nutshell
- Confirm into 214BD, 623A, 623C > 236214A/C or 214BD, 646A > 236214A/C midscreen.
- An extra 0.5 bars can be spent in the corner by doing 214BD, 623A, cl.C > 646AC, 623C > 236214A/C.
- In the corner you can do 214D instead of the EX to save meter, but only against standing opponents (which can be forced using 2C).
- Comboing into 236A doesn't need to be confirmed (but is weak to GCRoll), and allows for follow-ups in the corner.
- For an extra 2 bars, Advanced Cancelling 236214A/C into 641236AC allows you to continue the combo in the corner with 623C, or 623A, cl.C > 646AC, 623C if you have another 0.5 meter and 646AC hasn't previously been used.
- Landing an air-to-air allows you to pick up with 646AC's anywhere juggle, which can be followed up with 623C > 236214A/C in the corner.
| 0 Meter |
Low confirm |
2B > 2A > 214B = 131 dmg |
| ½ Meter |
Low confirm |
2B > 2A > 214BD > 623A > 623C = 262 dmg |
| 1 Meter |
Low confirm |
2B > 2A > 214BD > Close D > 646AC > 623C = 327 dmg |
| 2 Meters |
Quick Punish |
5B > MAX > 5D > 6A > 214BD > 623C > Ranbu = 372 dmg |
Normals
Far Standing Normals
Far A
| stand A
st.A
st.A |
|---|
Far B
| stand B
st.B
st.B |
|---|
Far C
| stand C
st.C
st.C |
|---|
Far D
| stand D
st.D
st.D |
|---|
Close Standing Normals
Close A
| close A
cl.A
cl.A |
|---|
Close B
| close B
cl.B
cl.B |
|---|
Close C
| close C
cl.C
cl.C |
|---|
Close D
| close D
cl.D
cl.D |
|---|
Crouch Normals
Crouch A
| crouch A
cr.A
cr.A |
|---|
Crouch B
| crouch B
cr.B
cr.B |
|---|
Crouch C
| crouch C
cr.C
cr.C |
|---|
Crouch D
| crouch D
cr.D
cr.D |
|---|
Jump Normals
Jump A
| jump A
j.A
j.A |
|---|
Jump B
| jump B
j.B
j.B |
|---|
Jump C
| jump C
j.C
j.C |
|---|
Jump D
| jump D
j.D
j.D |
|---|
Rush Moves
| rush
cl.AA/cl.AAX
cl.AA/cl.AAX |
|---|
Blowback
Blowback
| Blowback
CD
CD |
|---|
ShatterStrike
| ShatterStrike
236CD
236CD |
|---|
AdvanceStrike
| AdvanceStrike
214CD
214CD |
|---|
jump CD
| jump CD
j.CD
j.CD |
|---|
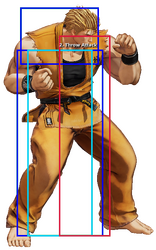
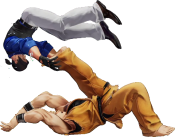
Throws
C throw
| Kyokugenryu Sanren Geki
(close) 4/6C
(close) 4/6C |
|---|
D throw
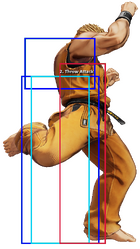
| Tomoe Nage
(close) 4/6D
(close) 4/6D |
|---|
Command Moves
Hyouchuu Wari
| Hyouchuu Wari
6A
6A |
|---|
Jyoudan Uke
| Jyoudan Uke
6B
6B |
|---|
Gedan Uke
| Gedan Uke
3D
3D |
|---|
Kizami Duki
| Kizami Duki
AC
AC |
|---|
Special Moves
Kohou
| Kohou
623A/C/AC
623A/C/AC |
|---|
Ko-Ou Ken
| Ko-Ou Ken
236A/C/AC
236A/C/AC |
|---|
Hien Shipuu Kyaku
| Hien Shipuu Kyaku
214B/D/BD
214B/D/BD |
|---|
Zanretsuken
| Zanretsuken
646A/C/AC
646A/C/AC |
|---|
Super Special Moves
Haoh Shoukou Ken
| Haoh Shoukou Ken
641236A/C/AC
641236A/C/AC |
|---|
Ryuuko Ranbu
| Ryuuko Ranbu
2363214A/C/AC
2363214A/C/AC |
|---|
Climax Super Special Moves
Shin • Tenchi Haoh Ken
| Shin • Tenchi Haoh Ken
2141236CD
2141236CD |
|---|
Misc
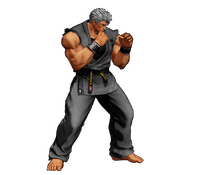
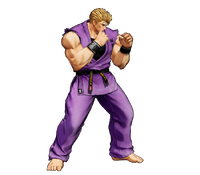
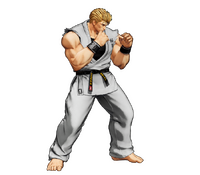
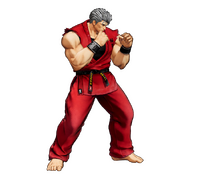
Alternate Colors
 |
 |
 |
 |
 |
 |
 |
 |
