-Happy New Year 2025!
The King of Fighters XV/Goenitz: Difference between revisions
Awesomeguy42 (talk | contribs) m quick combo reference |
No edit summary |
||
| Line 103: | Line 103: | ||
| pros= | | pros= | ||
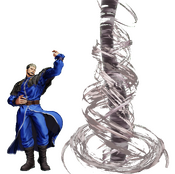
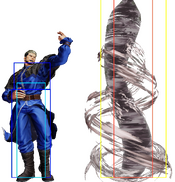
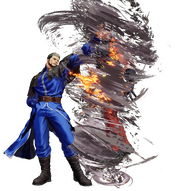
* '''The King of Zoners''': Goenitz's defining features are his two oppressive zoning tools, his Yonokaze tornadoes, and his Wanhyo specials. These strong, low-commitment tools, combined with large normals, give Goenitz an incredible kit of zoning tools that can prove quite difficult for much of the cast to overcome. Better yet, nearly all of his knockdowns push the opponent back to optimal zoning range. | * '''The King of Zoners''': Goenitz's defining features are his two oppressive zoning tools, his Yonokaze tornadoes, and his Wanhyo specials. These strong, low-commitment tools, combined with large normals, give Goenitz an incredible kit of zoning tools that can prove quite difficult for much of the cast to overcome. Better yet, nearly all of his knockdowns push the opponent back to optimal zoning range. | ||
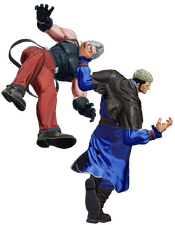
* ''' | * '''Big Damage''': Goenitz's supers deal quite high damage, with Yami Doukoku in particular dealing with a whopping 230 damage. Landing this grab with three or more bars to spend can quickly finish off an opponent who survived his zoning. Complimenting this, Goenitz's optimal combos do incredible damage, able to shave off 50% or more off an opponent's lifebar with a single bar of meter. | ||
* '''Meter Flexibility''': On top of having supers that do huge damage, Goenitz has multiple EX moves with various useful functions, including an anywhere juggle, an OTG, and more. He can also use his close D in juggles, giving him additional methods of cashing out his meter for big damage. | * '''Meter Flexibility''': On top of having supers that do huge damage, Goenitz has multiple EX moves with various useful functions, including an anywhere juggle, an OTG, and more. He can also use his close D in juggles, giving him additional methods of cashing out his meter for big damage. | ||
* '''Surprise Rushdown''': Opponents playing patiently against Goenitz have to be on the lookout not only for tornadoes, but also sudden aggression. Goenitz has a scary secondary set of rushdown tools that players have to watch out for, which includes teleports, tick throws, meaty setups, frame traps, and even high-low mix. | * '''Surprise Rushdown''': Opponents playing patiently against Goenitz have to be on the lookout not only for tornadoes, but also sudden aggression. Goenitz has a scary secondary set of rushdown tools that players have to watch out for, which includes teleports, tick throws, meaty setups, frame traps, and even high-low mix. | ||
| Line 109: | Line 109: | ||
| cons= | | cons= | ||
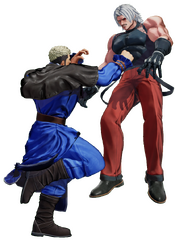
* ''' | * '''Demanding Defense''': If Goenitz lets an opponent get in on him, he has no tools to get them off him without meter, and the tools he does have are very specific. All of his reversals are meter-dependent, and he leans more heavily on guard cancels and Shatterstrikes than most. While EX Wanhyo: Tokobuse/Mametsu is a great anti-air, and Yami Doukoku is a threatening reversal grab, neither is a true reversal against every possible offensive approach, requiring you to react correctly with the exact reversal for the exact situation. | ||
* '''Zoning Blindspots''': There are two places where Goenitz's tornadoes can't reach: up close, and full screen. This means that when an opponent finds their way into these blindspots, they can often force Goenitz's hand and make him do something risky to get them back where he wants them. By extension, this also hinders his comeback potential | * '''Zoning Blindspots''': There are two places where Goenitz's tornadoes can't reach: up close, and full screen. This means that when an opponent finds their way into these blindspots, they can often force Goenitz's hand and make him do something risky to get them back where he wants them. By extension, this also hinders his comeback potential. | ||
* '''Execution Heavy at High Levels''': Goenitz has some situational, difficult-to-perform combos, which include manual timing on his rekkas, Braking his DPs, or other techniques that Goenitz players must master in order to squeeze out the most damage possible. Regularly practicing these routes is highly recommended as dropping those combos can have catastrophic consequences. | * '''Execution Heavy at High Levels''': Goenitz has some situational, difficult-to-perform combos, which include manual timing on his rekkas, Braking his DPs, or other techniques that Goenitz players must master in order to squeeze out the most damage possible. Regularly practicing these routes is highly recommended as dropping those combos can have catastrophic consequences. | ||
* '''Big Body''': Though not necessarily an exclusive downside, Goenitz's large frame means he gets hit more frequently and in more situations than his fellow zoners. This bodes well for opponents defending their lead with pokes and their own zoning. | * '''Big Body''': Though not necessarily an exclusive downside, Goenitz's large frame means he gets hit more frequently and in more situations than his fellow zoners. This bodes well for opponents defending their lead with pokes and their own zoning. | ||
Revision as of 05:31, 20 September 2023
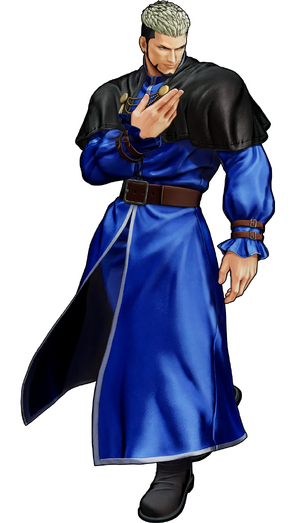
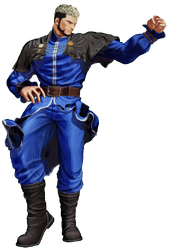
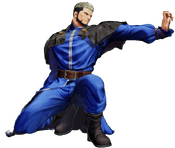
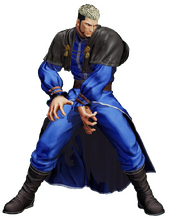
His dignified wardrobe (that of a pastor) and polite mannerisms give off a gentle air, but mask another side of him—that of a ruthless monster quite happy to inflict pain and suffering on those who dare stand in his way.
Movelist
(*) = EX OK
(!) = MAX OK
Throws
Command Normals
Special Moves
Shin Aoihana: Seiran 1 - ![]() +
+ ![]() /
/ ![]() (*)
(*)
Shin Tsumakushi: Yoarashi - ![]() +
+ ![]() /
/ ![]() (*)
(*)
Super Special Moves
Shin Ya Otome: Yomotsu - ![]()
![]()
![]() +
+ ![]() /
/ ![]() (!)
(!)
Climax Super Special Moves
Quick Combo Reference
| 0 Meter |
Anywhere, light starter |
2B > 2A > 214A > 4P > 4P = 139 dmg |
| ½ Meter |
Anywhere, light starter |
2B > 2A > 214AC > 4P > 4P, 623C = 236 dmg |
| 1 Meter |
Anywhere |
2B > 2A > 214A > 4P > 4P > 2363214P = 292 dmg |
| 2 Meter |
Anywhere |
cl.C > 6A > 623BD > 426AC, 623D > 623C > 2363214P = 589 dmg |
Gameplay Overview
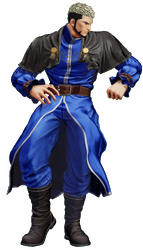
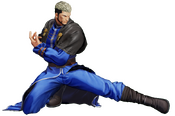
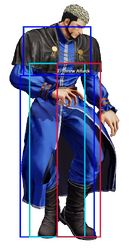
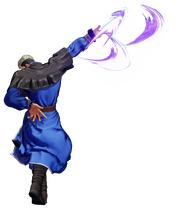
A former final boss of The King of Fighters '96, Goenitz is a character known for his frustratingly oppressive zoning, backed up by an additional set of tools to surprise opponents who clam up.
Goenitz's gameplan is simple: control the space with tornadoes, then use his DPs to stop opponents from getting too close; these tools, when paired together, allow Goenitz to gradually wear down his opponents from afar. Backing up this zoning is a slew of large normals that give him some additional punch in mid-range, better allowing him to cover up his crippling close-range weakness. As long as he's able to play the keepaway game and not let the opponent get in on him, it's not unheard of Goenitz to win rounds just off of his tornadoes and DPs alone.
When the opponent gets pinned down by his zoning and begins to clam up, waiting for their opportunity to move in, that's when the rest of Goenitz's kit shines. His teleport, overhead, rekkas, high-damaging supers, and his new Shin Tsumakushi special give Goenitz surprisingly potent rushdown, complete with meaty setups, frame traps, tick throws, and more that the opponent has to account for. Any opponent defending against Goenitz must always be on the lookout for these tricks, on top of the constant threat of tornadoes.
Goenitz is, overall, a high-risk, high-return zoner with little margin for error, both for himself and for his opponent. It can make for especially tense fights, but the thrill of these situations, combined with his signature zoning, make Goenitz an all-around fun and challenging character to play.
| Goenitz is an oppressive zoning character who backs up his long-range gameplan with a secondary set of rushdown tools. | |
| Pros | Cons |
|
|
Normals
Far Standing Normals
Far A
| stand A
5A
5A |
|---|
Far B
| stand B
5B
5B |
|---|
Far C
| stand C
5C
5C |
|---|
Far D
| stand D
5D
5D |
|---|
Close Standing Normals
Close A
| close A
cl.A
cl.A |
|---|
Close B
| close B
cl.B
cl.B |
|---|
Close C
| close C
cl.C
cl.C |
|---|
Close D
| close D
cl.D
cl.D |
|---|
Crouch Normals
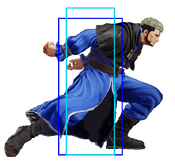
Crouch A
| crouch A
2A
2A |
|---|
Crouch B
| crouch B
2B
2B |
|---|
Crouch C
| crouch C
2C
2C |
|---|
Crouch D
| crouch D
2D
2D |
|---|
Jump Normals
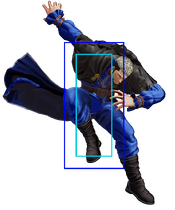
Jump A
| jump A
j.A
j.A |
|---|
Jump B
| jump B
j.B
j.B |
|---|
Jump C
| jump C
j.C
j.C |
|---|
Jump D
| jump D
j.D
j.D |
|---|
Blowback
Blowback
| Blowback
CD
CD |
|---|
Shatter Strike
| ShatterStrike
236CD
236CD |
|---|
Jump CD
| jump CD
j.CD
j.CD |
|---|
Rush Moves
| rush
cl.AA/c.AAX
cl.AA/c.AAX |
|---|
Throws
| Meifu no Mon
(close) 4/6+C
(close) 4/6+C |
|---|
| Yomi e no Michi
(close) 4/6+D
(close) 4/6+D |
|---|
Command Moves
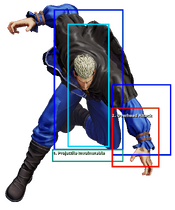
Uranagi
| Uranagi
6A
6A |
|---|
Target Combo 1
| Oroshi
5CC
5CC |
|---|
Special Moves
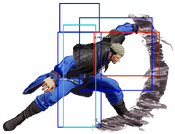
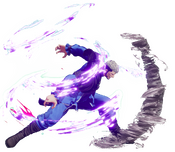
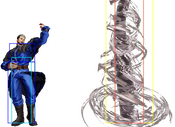
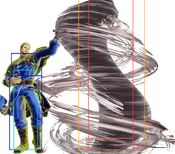
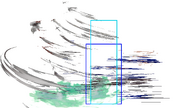
Yonokaze
| Yonokaze
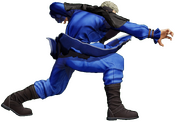
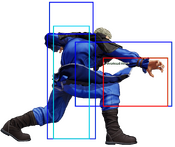
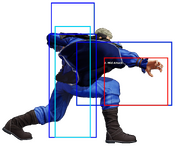
41236A/B/C/D/AC/BD
41236A/B/C/D/AC/BD |
|---|
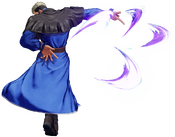
Hyouga
| Hyouga
214B/D/BD
214B/D/BD |
|---|
Hyouga (Stop)
| Hyouga
214B/D/BD~AB
214B/D/BD~AB |
|---|
Wanhyo: Tokobuse/Mametsu
| Wanhyo: Tokobuse/Mametsu
623A/C/AC
623A/C/AC |
No results |
|---|
Shin Aoihana: Seiran
| Shin Aoihana: Seiran 1
214A/C/AC
214A/C/AC |
|---|
| Shin Aoihana: Seiran 2
214A/C/AC~214A/C
214A/C/AC~214A/C |
|---|
| Shin Aoihana: Seiran 3
214A/C/AC~214A/C~214A/C
214A/C/AC~214A/C~214A/C |
|---|
Shin Tsumakushi: Yoarashi
| Shin Tsumakushi: Yoarashi
623B/D/BD
623B/D/BD |
|---|
Super Special Moves
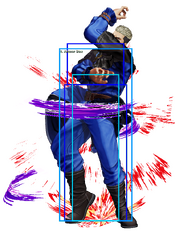
Yami Doukoku
| Yami Doukoku
6321463214A/C/AC
6321463214A/C/AC |
|---|
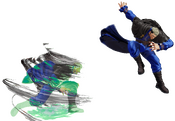
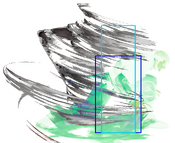
Shin Ya Otome: Yomotsu
| Shin Ya Otome: Yomotsu
236214A/C/AC
236214A/C/AC |
|---|
Climax Super Special Moves
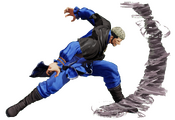
Tokoshie no Kaze
| Tokoshie no Kaze
2141236CD
2141236CD |
|---|
Misc
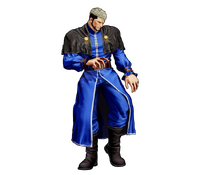
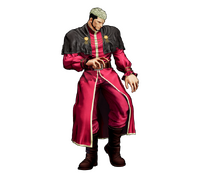
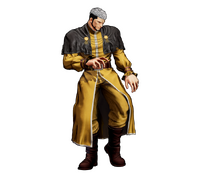
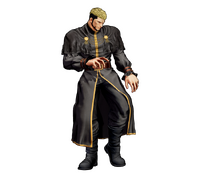
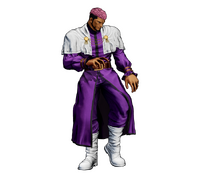
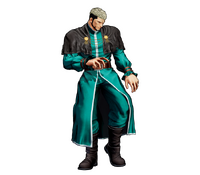
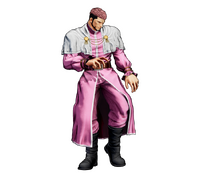
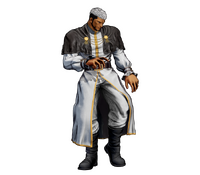
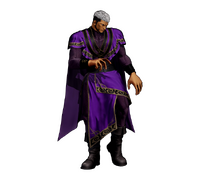
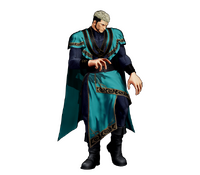
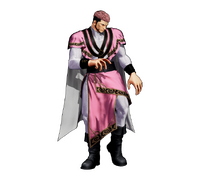
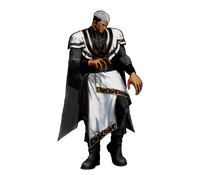
Alternate Colors
 |
 |
 |
 |
 |
 |
 |
 |
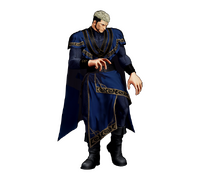 |
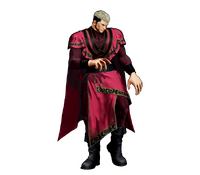 |
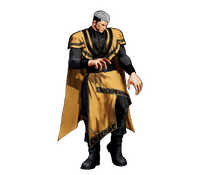 |
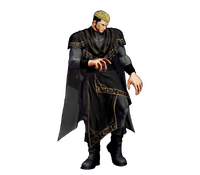 |
 |
 |
 |
 |
