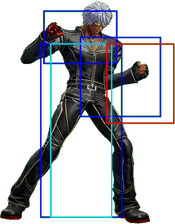
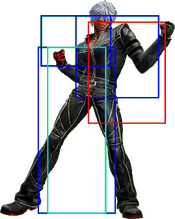
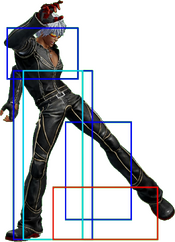
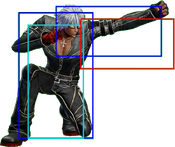
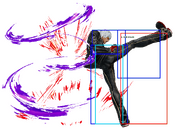
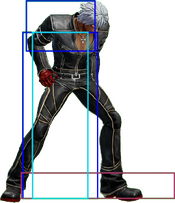
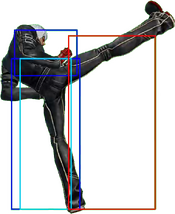
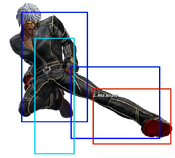
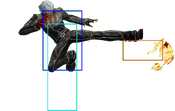
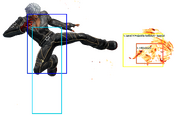
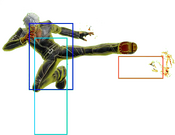
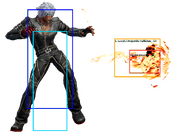
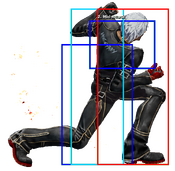
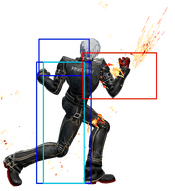
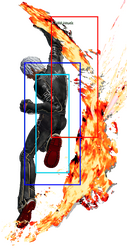
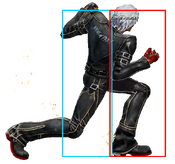
-Happy New Year 2025!
The King of Fighters XV/K': Difference between revisions
m →Far A |
|||
| (20 intermediate revisions by 4 users not shown) | |||
| Line 1: | Line 1: | ||
{{CharNavbox_XV}} | {{CharNavbox_XV}} | ||
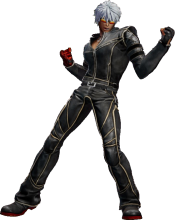
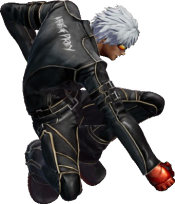
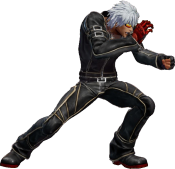
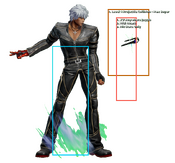
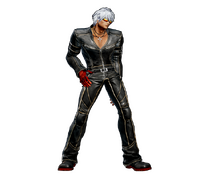
<section begin="image"/>[[File:KOFXV K Profile.png|thumb|K' is a cybernetically modified human with genes transplanted from Kyo Kusanagi by the secret organization NESTS.<br/>He wields the ability to manipulate fire, a power he controls with his right-hand glove.]]<section end="image"/> | <section begin="image"/>[[File:KOFXV K Profile.png|thumb|K' is a cybernetically modified human with genes transplanted from Kyo Kusanagi by the secret organization NESTS.<br/>He wields the ability to manipulate fire, a power he controls with his right-hand glove. | ||
<div class="center" style="width: auto; margin-left: auto; margin-right: auto;"> | |||
<big>'''Jump:''' 40f | |||
<br>'''Hop:''' 32f | |||
<br>'''Backdash:''' 22f | |||
<br>'''Run Speed Ranking:''' 5 | |||
</big></div>]]<section end="image"/> | |||
{{TOClimit|3}} | {{TOClimit|3}} | ||
| Line 268: | Line 274: | ||
|name=jump A | |name=jump A | ||
|input=j.A | |input=j.A | ||
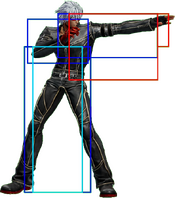
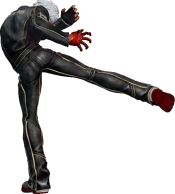
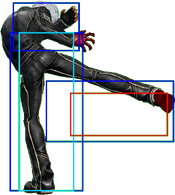
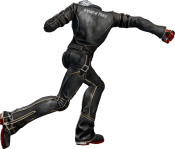
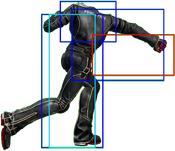
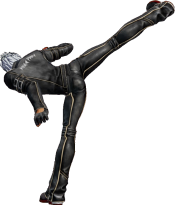
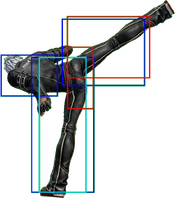
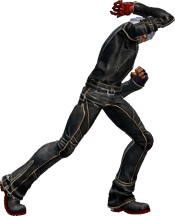
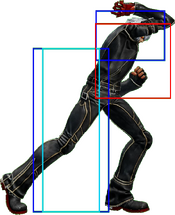
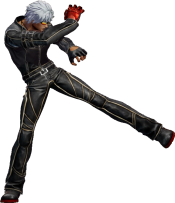
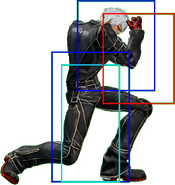
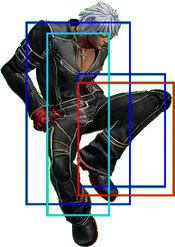
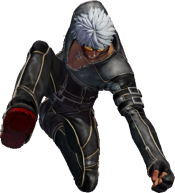
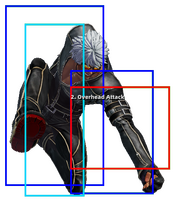
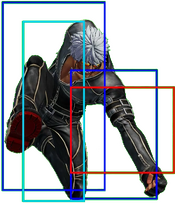
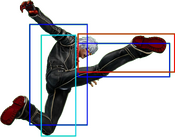
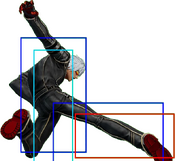
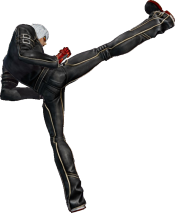
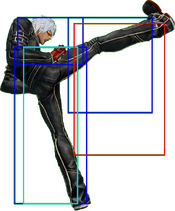
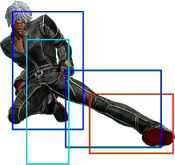
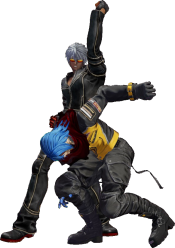
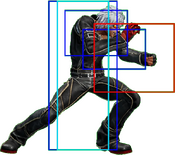
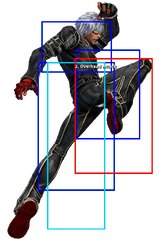
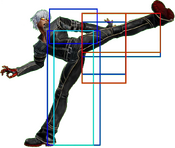
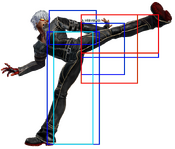
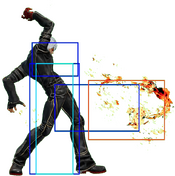
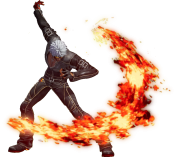
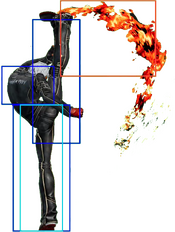
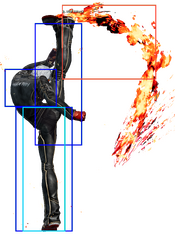
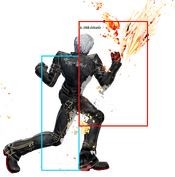
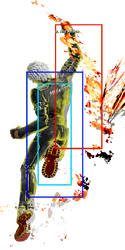
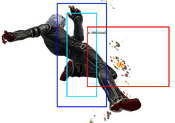
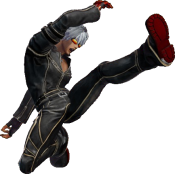
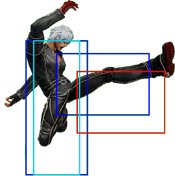
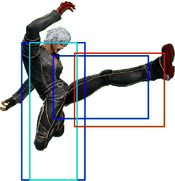
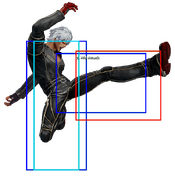
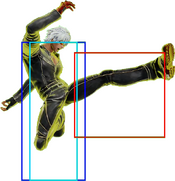
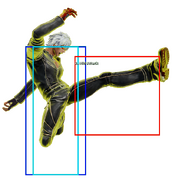
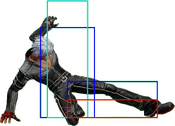
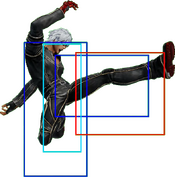
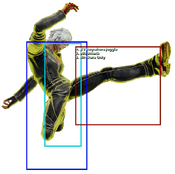
|captions= Hop Version (Hitbox), Jump Version | |||
|description2=* Fast air attack, but generally outclassed by his other excellent jumping normals. | |description2=* Fast air attack, but generally outclassed by his other excellent jumping normals. | ||
}} | }} | ||
| Line 285: | Line 292: | ||
|name=jump C | |name=jump C | ||
|input=j.C | |input=j.C | ||
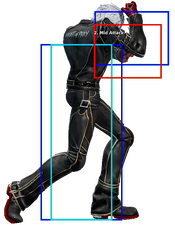
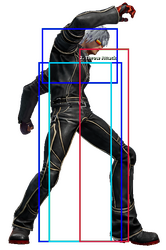
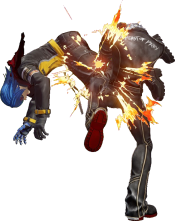
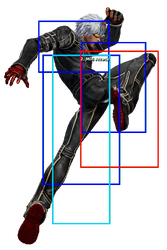
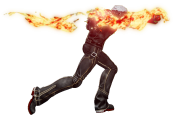
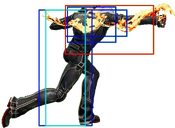
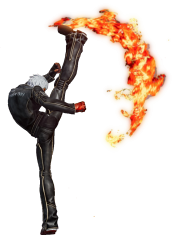
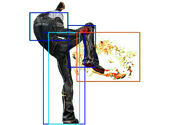
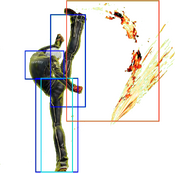
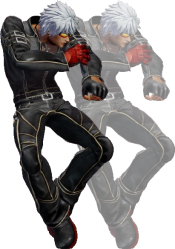
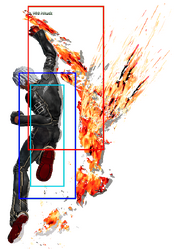
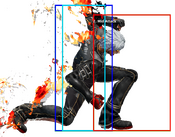
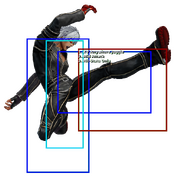
|captions= Hop Version (Hitbox), Jump Version | |||
|description2=* Jump version can cross-up. | |description2=* Jump version can cross-up. | ||
* Fast speed and good damage arguably makes this K's best air-to-air call out button. | * Fast speed and good damage arguably makes this K's best air-to-air call out button. | ||
| Line 328: | Line 336: | ||
|description= | |description= | ||
* Can reliably be followed up with 4B > 236C~6D for a high launch even if at tip range. | * Can reliably be followed up with 4B > 236C~6D for a high launch even if at tip range. | ||
}} | |||
====Advance Strike==== | |||
{{FrameDataCargo-KOFXV | |||
|moveId=k_qcb+cd | |||
|description= | |||
*Placeholder | |||
* The throw counter is at the feet. | |||
}} | }} | ||
| Line 335: | Line 352: | ||
|name=jump CD | |name=jump CD | ||
|input=j.CD | |input=j.CD | ||
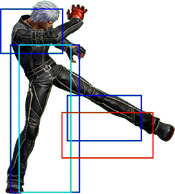
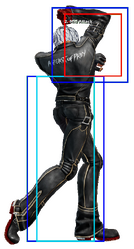
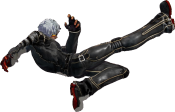
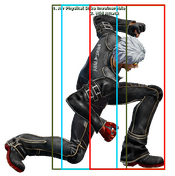
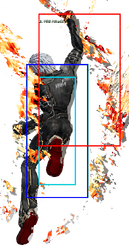
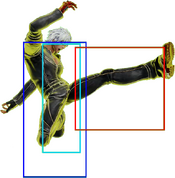
|captions= Hop Version (Hitbox), Jump Version | |||
|description2=* K's longest range aerial attack. | |description2=* K's longest range aerial attack. | ||
* Great air to ground angle. | * Great air to ground angle. | ||
| Line 382: | Line 400: | ||
|name=Knee Assault | |name=Knee Assault | ||
|input=6B | |input=6B | ||
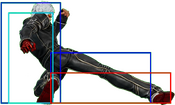
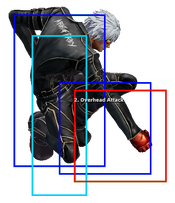
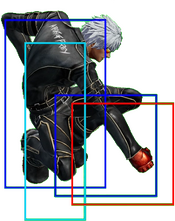
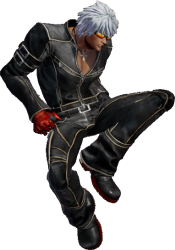
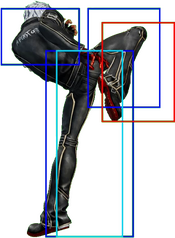
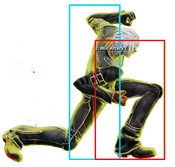
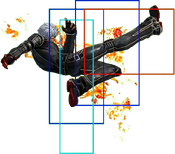
|captions= Raw Version (Hitbox), Cancel Version | |||
|description=* Overhead when used raw. Not max cancellable, but can combo into 214B/D or 214BD on hit. | |description=* Overhead when used raw. Not max cancellable, but can combo into 214B/D or 214BD on hit. | ||
This move is one of the key ways to take advantage of high launches after 236C~6D in the corner. Kara cancelling into this move from 2A or 2B reduces its startup, when subsequently cancelled into a j.214D/BD, allows for further ground follow ups and super cancels. | This move is one of the key ways to take advantage of high launches after 236C~6D in the corner. Kara cancelling into this move from 2A or 2B reduces its startup, when subsequently cancelled into a j.214D/BD, allows for further ground follow ups and super cancels. | ||
}} | }} | ||
===Sniper Slide=== | ===Sniper Slide=== | ||
{{FrameDataCargo-KOFXV | {{FrameDataCargo-KOFXV | ||
| Line 390: | Line 410: | ||
|name=Sniper Slide | |name=Sniper Slide | ||
|input=4B | |input=4B | ||
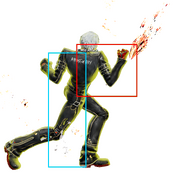
|captions= Raw Version (Hitbox), Cancel Version | |||
|description=* Use when 6A won't reach. Can use standalone after some corner juggles to tag an extra hit before cancelling into DP. When used from any light normal it makes an amazing 4F frame trap. | |description=* Use when 6A won't reach. Can use standalone after some corner juggles to tag an extra hit before cancelling into DP. When used from any light normal it makes an amazing 4F frame trap. | ||
* Important to note this maintains juggle state and is able to be max cancelled. This means K' can switch into max mode at the end of long combos having built some extra meter or for an optimal finish without early max mode penalties. | * Important to note this maintains juggle state and is able to be max cancelled. This means K' can switch into max mode at the end of long combos having built some extra meter or for an optimal finish without early max mode penalties. | ||
| Line 401: | Line 422: | ||
|name=Ein Trigger | |name=Ein Trigger | ||
|input=236A/C/AC | |input=236A/C/AC | ||
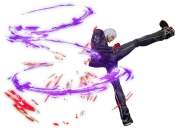
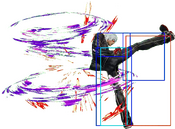
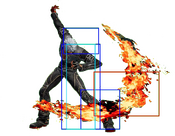
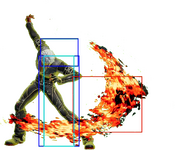
|captions= A Version (Hitbox), C Version, EX Version | |||
|description3= | |description3= | ||
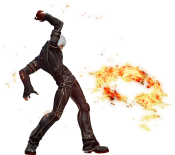
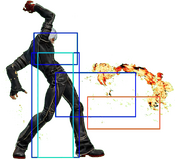
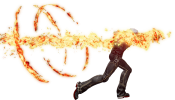
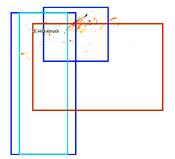
* K' throws out a stationary circular swirl of fire at waist level which can be cancelled into a variety of follow ups. This can negate projectiles that come into contact with it. The follow-ups can still be performed in this case. | * K' throws out a stationary circular swirl of fire at waist level which can be cancelled into a variety of follow ups. This can negate projectiles that come into contact with it. The follow-ups can still be performed in this case. | ||
| Line 417: | Line 439: | ||
|name=Second Whip | |name=Second Whip | ||
|input=236P~6A | |input=236P~6A | ||
|captions= Normal Version (Hitbox), EX Version | |||
|description3= | |description3= | ||
* 6A follow-up is mainly useful as juggle filler in corner combos. Safest option if Ein Trigger is blocked. However, due to its limited range and pushback from Ein Trigger, this move can whiff if too many normals are used at the start and leave you somewhat more unsafe. Will connect on a cornered opponent. There's a 1F gap between 236P & 6A which is useful for corner pressure. Will hit anyone trying to jump or not blocking. Can roll between the hits or use invincible reversal between the hits. However, if an opponent rolls in either direction after blocking 236P, they will be open to a straightforward punish with either cl.C or f.C depending on which direction they roll towards. | * 6A follow-up is mainly useful as juggle filler in corner combos. Safest option if Ein Trigger is blocked. However, due to its limited range and pushback from Ein Trigger, this move can whiff if too many normals are used at the start and leave you somewhat more unsafe. Will connect on a cornered opponent. There's a 1F gap between 236P & 6A which is useful for corner pressure. Will hit anyone trying to jump or not blocking. Can roll between the hits or use invincible reversal between the hits. However, if an opponent rolls in either direction after blocking 236P, they will be open to a straightforward punish with either cl.C or f.C depending on which direction they roll towards. | ||
| Line 428: | Line 451: | ||
|name=Second Shoot | |name=Second Shoot | ||
|input=236P~6B | |input=236P~6B | ||
|hitboxCaptions= A Route Version , , C Route Version, , EX Version | |||
|description3= | |description3= | ||
* 6B follow-up is a slow fireball. Depending on the spacing of Ein Trigger, this can be either unsafe or even plus on block, except for in the corner. Cannot juggle afterwards during a mid-air hit except with an air EX Minute Spike. | * 6B follow-up is a slow fireball. Depending on the spacing of Ein Trigger, this can be either unsafe or even plus on block, except for in the corner. Cannot juggle afterwards during a mid-air hit except with an air EX Minute Spike. | ||
| Line 440: | Line 464: | ||
|name=Second Knuckle | |name=Second Knuckle | ||
|input=236P~6C | |input=236P~6C | ||
|captions= Normal Version (Hitbox), EX Version | |||
|description3= | |description3= | ||
* 6C follow-up is a forward-moving punch that does the most damage out of 236P follow-ups, knocks down, and is super cancellable. | * 6C follow-up is a forward-moving punch that does the most damage out of 236P follow-ups, knocks down, and is super cancellable. | ||
| Line 451: | Line 476: | ||
|name=Second Shell | |name=Second Shell | ||
|input=236P~6D | |input=236P~6D | ||
|captions= Normal Version (Hitbox),,, EX Version, EX Version Teleport | |||
|description4= | |description4= | ||
* 6D follow-up launches opponent and is generally the most rewarding finisher. Functions decently as an anti-air. | * 6D follow-up launches opponent and is generally the most rewarding finisher. Functions decently as an anti-air. | ||
| Line 465: | Line 491: | ||
|name=Blackout | |name=Blackout | ||
|input=236B/D/BD [236P~4K] | |input=236B/D/BD [236P~4K] | ||
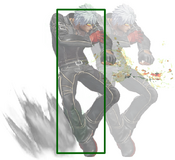
|captions= The rule of cool | |captions= The rule of cool/ All Versions outside of EX 236AC Teleport (Hitbox), EX 236AC Teleport | ||
|description3= | |description3= | ||
* Flash step. Useful for dodging projectiles or long-reaching attacks. Can cross up opponents midscreen. | * Flash step. Useful for dodging projectiles or long-reaching attacks. Can cross up opponents midscreen. | ||
| Line 482: | Line 508: | ||
|name=Crow Bite | |name=Crow Bite | ||
|input=623A/C/AC | |input=623A/C/AC | ||
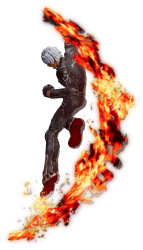
|captions= A Version (Hitbox),,,, C Version,,, EX Version | |||
|description4= | |description4= | ||
* Anti-air DP. C version can be followed up with 6K. | * Anti-air DP. C version can be followed up with 6K. | ||
| Line 493: | Line 520: | ||
|name=Minute Spike | |name=Minute Spike | ||
|input=214B/D/BD | |input=214B/D/BD | ||
|captions= B Version (Hitbox), D Version,, EX Version | |||
|description3=* Normal version provides excellent corner carry knocking the opponent very far away. Follow up with Narrow Spike to close the distance. | |description3=* Normal version provides excellent corner carry knocking the opponent very far away. Follow up with Narrow Spike to close the distance. | ||
* The B and EX versions hit crouching opponents, where the D version does not. Spacing the B version just right, about a few steps away from round start, can make it very difficult to punish with anything other than a sweep, making it a somewhat useful neutral tool to push the opponent towards the corner. The margin between the proper spacing and whiffing entirely is small however, so it's not recommended to rely on this. | * The B and EX versions hit crouching opponents, where the D version does not. Spacing the B version just right, about a few steps away from round start, can make it very difficult to punish with anything other than a sweep, making it a somewhat useful neutral tool to push the opponent towards the corner. The margin between the proper spacing and whiffing entirely is small however, so it's not recommended to rely on this. | ||
| Line 504: | Line 532: | ||
|name=Narrow Spike | |name=Narrow Spike | ||
|input=214B/D/BD~214B/D | |input=214B/D/BD~214B/D | ||
|captions= Normal Version (Hitbox), EX Version | |||
|description2= | |description2= | ||
* Can performed at almost any point of Minute Spike before K' lands on the ground. | * Can performed at almost any point of Minute Spike before K' lands on the ground. | ||
| Line 518: | Line 547: | ||
|name=Air Minute Spike | |name=Air Minute Spike | ||
|input=j.214B/D/BD | |input=j.214B/D/BD | ||
|captions= Normal Version (Hitbox), Normal Version Hit State Only, EX Version, EX Version Hit State Only | |||
|description3= | |description3= | ||
* Cannot be cancelled into Narrow Spike. | * Cannot be cancelled into Narrow Spike. | ||
| Line 537: | Line 567: | ||
|name=Heat Drive | |name=Heat Drive | ||
|input=236236A/C/AC | |input=236236A/C/AC | ||
|captions= Normal Version (Hitbox), Max Version | |||
|description2= | |description2= | ||
* All versions can be held and deals proportionately more damage. Does not become unblockable when fully charged. | * All versions can be held and deals proportionately more damage. Does not become unblockable when fully charged. | ||
| Line 549: | Line 580: | ||
|name=Chain Drive | |name=Chain Drive | ||
|input=2363214A/C/AC | |input=2363214A/C/AC | ||
|captions= Normal Version (Hitbox),, Max Version | |||
|description2= | |description2= | ||
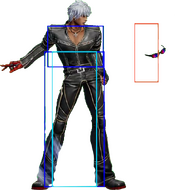
* K' tosses his glasses and performs a ranbu if it hits. The glasses start off at about his chest level and it travels in a slight arc downwards. | * K' tosses his glasses and performs a ranbu if it hits. The glasses start off at about his chest level and it travels in a slight arc downwards. | ||
| Line 565: | Line 597: | ||
|input=2141236CD | |input=2141236CD | ||
|description= | |description= | ||
A relatively fast Climax super that is ''ludicrously'' unsafe on block, doing only a single 3-damage hit on block. This is the last thing you want to whiff. | |||
}} | }} | ||
Revision as of 14:12, 28 July 2024
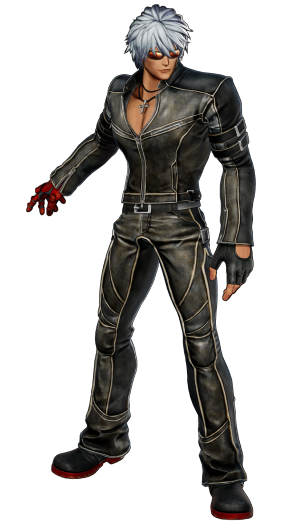
He wields the ability to manipulate fire, a power he controls with his right-hand glove.
Hop: 32f
Backdash: 22f
Run Speed Ranking: 5
Gameplay Overview
K' (pronounced "kay dash") is one of the truest examples of an all-rounder in KOF, and as a result makes himself comfortable in the hands of both beginners and veterans alike. Specifically, K's gameplan revolves around constantly repping his extremely versatile special move, Ein Trigger, and acting accordingly with the move's various different follow-ups. Thanks to these follow-ups, Ein Trigger can be used to poke, counterpoke, tie together combo routes for big damage, zone the opponent out, or even just be whiffed to build meter while still being able to provoke reactions and respond with any of its myriad of options. Of course K' also has many other moves, such as his Crow Bite DP (623A/C) as an invincible reversal and his Blackout special (236B/D) as a tricky movement option, to mix up the open-endedness of his gameplay even more. Smart usage of K's variety of tools will result in him being able to shine in whatever way you may choose to play him.
One extra detail should be noted about K', which has always been the case with him in every game: optimizing this character takes some work. His optimal combos and conversions can take a good amount of hit-confirming skill and physical execution, and should be noted for anyone looking to master the character, as dropping his better combos can cost you precious meter and also put you in a bad spot to get punished.
| K' is a flexible character that is a struggle for others to get past, yet grants great returns on his own openings. | |
| Pros | Cons |
|
|
Movelist
(*) = EX OK
(!) = MAX OK
(Midair Only) = Can only be done in the air.
(Hold OK) = Can be held before releasing.
Throws
Command Normals
Special Moves
Air Minute Spike - ![]() +
+ ![]() /
/ ![]() (*) (Midair Only)
(*) (Midair Only)
Super Special Moves
Heat Drive - ![]()
![]() +
+ ![]() /
/ ![]() (!) (Hold OK)
(!) (Hold OK)
Climax Super Special Moves
Quick Combo Reference
| 0 Meter |
Ranged confirm/Punish |
f.C > 236A > 6C = 162 dmg |
| ½ Meter |
Ranged confirm/Punish |
f.C > 236AC~6D~4B, 4B > 623C~6D = 294 dmg |
| 1 Meter |
Placeholder |
( = dmg |
| 2 Meters |
Placeholder |
( = dmg |
Normals
Far Standing Normals
Far A
| far A
f.A
f.A |
|---|
Far B
| far B
f.B
f.B |
|---|
Far C
| far C
f.C
f.C |
|---|
Far D
| far D
f.D
f.D |
|---|
Close Standing Normals
Close A
| close A
cl.A
cl.A |
|---|
Close B
| close B
cl.B
cl.B |
|---|
Close C
| close C
cl.C
cl.C |
|---|
Close D
| close D
cl.D
cl.D |
|---|
Crouch Normals
Crouch A
| crouch A
2A
2A |
|---|
Crouch B
| crouch B
2B
2B |
|---|
Crouch C
| crouch C
2C
2C |
|---|
Crouch D
| crouch D
2D
2D |
|---|
Jump Normals
Jump A
| jump A
j.A
j.A |
|---|
Jump B
| jump B
j.B
j.B |
|---|
Jump C
| jump C
j.C
j.C |
|---|
Jump D
| jump D
j.D
j.D |
|---|
Rush
| Rush
cl.AA/cl.AAX
cl.AA/cl.AAX |
|---|
Blowback
Blowback
| Blowback
CD
CD |
|---|
ShatterStrike
| Shatterstrike
236CD
236CD |
|---|
Advance Strike
| AdvanceStrike
qcb+CD
qcb+CD |
|---|
jump CD
| jump CD
j.CD
j.CD |
|---|
Throws
Spotpile
| Spotpile
(close) 4/6C
(close) 4/6C |
|---|
Knee Strike
| Knee Strike
(close) 4/6D
(close) 4/6D |
|---|
Command Moves
One Inch
| One Inch
6A
6A |
|---|
Knee Assault
| Knee Assault
6B
6B |
|---|
Sniper Slide
| Sniper Slide
4B
4B |
|---|
Special Moves
Ein Trigger
| Ein Trigger
236A/C/AC
236A/C/AC |
|---|
Second Whip
| Second Whip
236P~6A
236P~6A |
|---|
Second Shoot
| Second Shoot
236P~6B
236P~6B |
|---|
Second Knuckle
| Second Knuckle
236P~6C
236P~6C |
|---|
Second Shell
| Second Shell
236P~6D
236P~6D |
|---|
Blackout
| Blackout
236B/D/BD [236P~4K]
236B/D/BD [236P~4K] |
|---|
Crow Bite
| Crow Bite
623A/C/AC
623A/C/AC |
|---|
Minute Spike
| Minute Spike
214B/D/BD
214B/D/BD |
|---|
Narrow Spike
| Narrow Spike
214B/D/BD~214B/D
214B/D/BD~214B/D |
|---|
Air Minute Spike
| Air Minute Spike
j.214B/D/BD
j.214B/D/BD |
|---|
Super Special Moves
Heat Drive
| Heat Drive
236236A/C/AC
236236A/C/AC |
|---|
Chain Drive
| Chain Drive
2363214A/C/AC
2363214A/C/AC |
|---|
Climax Super Special Moves
Hyper Chain Drive
| Hyper Chain Drive
2141236CD
2141236CD |
|---|
Misc
Alternate Colors
 |
 |
 |
 |
 |
 |
 |
 |

