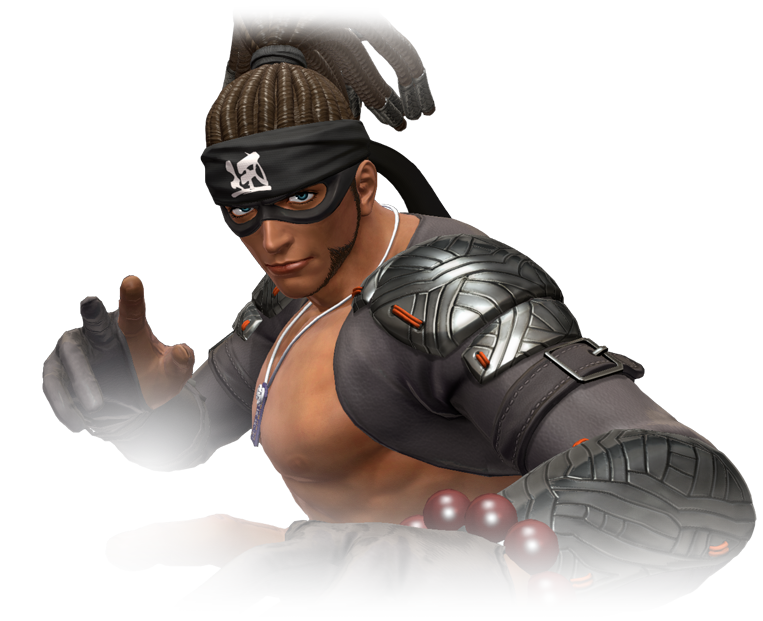
Difference between revisions of "The King of Fighters XIV/Bandeiras Hattori"
Macrobeast (talk | contribs) |
Macrobeast (talk | contribs) |
||
| Line 19: | Line 19: | ||
'''Special Moves''' | '''Special Moves''' | ||
Iguazu Otoshi - charge briefly [[image:dn.gif]] then [[image:up.gif]] + [[image:a.gif]] / [[image:c.gif]] '''*''' | Iguazu Otoshi - charge briefly [[image:dn.gif]] then [[image:up.gif]] + [[image:a.gif]] / [[image:c.gif]] ('''*''') | ||
Shinobiashi - [[image:dp.gif]] + [[image:b.gif]] / [[image:d.gif]] '''*''' | Shinobiashi - [[image:dp.gif]] + [[image:b.gif]] / [[image:d.gif]] ('''*''') | ||
Tengu no Tobikiri - [[image:qcf.gif]] + [[image:a.gif]] / [[image:c.gif]] '''*''' | Tengu no Tobikiri - [[image:qcf.gif]] + [[image:a.gif]] / [[image:c.gif]] ('''*''') | ||
Kawarimi - (parry move) [[image:rdp.gif]] + [[image:b.gif]] / [[image:d.gif]] '''*''' | Kawarimi - (parry move) [[image:rdp.gif]] + [[image:b.gif]] / [[image:d.gif]] ('''*''') | ||
Shining Ninja Arts - [[image:hcf.gif]] + [[image:b.gif]] / [[image:d.gif]] '''*''' | Shining Ninja Arts - [[image:hcf.gif]] + [[image:b.gif]] / [[image:d.gif]] ('''*''') | ||
'''Super Special Moves''' | '''Super Special Moves''' | ||
Revision as of 13:28, 20 July 2016
Movelist
Throws
Reverse Ippon Throw - close ![]() /
/ ![]() +
+ ![]()
Command Normals
Special Moves
Iguazu Otoshi - charge briefly ![]() then
then ![]() +
+ ![]() /
/ ![]() (*)
(*)
Kawarimi - (parry move) ![]() +
+ ![]() /
/ ![]() (*)
(*)
Super Special Moves
Climax Super Special Moves
Quick Combo Reference
| 0 Meter |
Anywhere |
(Combo 1) = (damage number here) dmg |
| 1 Meter |
Corner |
(Combo 1) = (damage number here) dmg |
| 2 Meters | Anywhere | (Combo 1) = (damage number here) dmg |
Gameplay Overview
Normals
Standing
Far A
Far B
Far C
Far D
Close
Close A
Close B
Close C
Close D
Crouching
Crouching A
Crouching B
Crouching C
Crouching D
Jumping
Jump A
Jump B
Jump C
Jump D
Blowback
Stand CD
Jumping CD
Throws
- (Throw description)
- (Throw description)
Command Moves
Special Moves
Notation Key (*) = EX OK
(!) = MAX OK
Super Special Moves
Climax Super Special Moves
Combos
0 meter
- (place combo here) = (place damage amount here)
(place combo description here)
1 meter
- (place combo here) = (place damage amount here)
(place combo description here)
2 meters
- (place combo here) = (place damage amount here)
(place combo description here)
3 meters
- (place combo here) = (place damage amount here)
(place combo description here)
4 meters
- (place combo here) = (place damage amount here)
(place combo description here)
5 meters
- (place combo here) = (place damage amount here)
(place combo description here)
