|
|
| (2 intermediate revisions by the same user not shown) |
| Line 274: |
Line 274: |
| : On other characters, you can use it if you're point-blank, no jump-in. Do keep in mind that if you haven't reached the corner by f+D, qcb+C then becomes harder to land and it's more important to delay dp+C. If you'd rather qcb+C's hard knockdown over dp+C's damage and carry, stick to cl.C(1). | | : On other characters, you can use it if you're point-blank, no jump-in. Do keep in mind that if you haven't reached the corner by f+D, qcb+C then becomes harder to land and it's more important to delay dp+C. If you'd rather qcb+C's hard knockdown over dp+C's damage and carry, stick to cl.C(1). |
| </tabber> | | </tabber> |
|
| |
| * cl.C, qcb+B > f+D, qcb+C / dp+C
| |
| : More reliable version of the previous route. You can add a jump-in and use both hits of cl.C here to hitconfirm without whiffing on some characters.
| |
|
| |
|
| ''Corner'' | | ''Corner'' |
| Line 282: |
Line 279: |
| ★ '''cl.C(1), f+A, qcf+A, qcb+B, dp+C''' | | ★ '''cl.C(1), f+A, qcf+A, qcb+B, dp+C''' |
| : Corner variant of the jump-in confirm with slightly better damage. You can use cl.C(2) point-blank but it gets harder and inconsistent to add a jump-in. | | : Corner variant of the jump-in confirm with slightly better damage. You can use cl.C(2) point-blank but it gets harder and inconsistent to add a jump-in. |
| | |
| | * cl.C(1), f+A, qcf+A, delay qcb+B > f+B, qcb+C / dp+C |
| | : Better optimized version of the previous route. No need to delay qcb+B against Yamazaki. End with qcb+C for less carry and damage but hard knockdown and more safety, preferred. |
|
| |
|
| * cl.C(1), f+A, qcf+A, delay qcb+D, cr.C | | * cl.C(1), f+A, qcf+A, delay qcb+D, cr.C |
| : Corner reset with lower damage but decent frame advantage. You don't have to delay qcb+D if you use cl.C(2) but it gets harder and inconsistent to add a jump-in. | | : Corner reset with lower damage but decent frame advantage. You don't have to delay qcb+D if you use cl.C(2) but it gets harder and inconsistent to add a jump-in. |
|
| |
| * cl.C(1), f+A, qcf+A, delay qcb+B > f+B, qcb+C / dp+C
| |
| : Better optimized version of the previous route. No need to delay qcb+B against Yamazaki. End with qcb+C for less carry and damage but hard knockdown and more safety, preferred.
| |
|
| |
|
| ★ '''cl.C(2), f+A, qcf+A, qcb+B > f+B, [qcb+C or (qcb+B, dp+C)]''' | | ★ '''cl.C(2), f+A, qcf+A, qcb+B > f+B, [qcb+C or (qcb+B, dp+C)]''' |
| Line 294: |
Line 291: |
| * cl.C(2), f+A, qcf+A, qcb+B > f+B, delay qcb+B > f+B, qcb+C / dp+C | | * cl.C(2), f+A, qcf+A, qcb+B > f+B, delay qcb+B > f+B, qcb+C / dp+C |
| : A bit more optimized version of the previous corner route. The timing to delay qcb+B is fairly peculiar so the previous version is preferred. Delay dp+C to properly connect. Use qcb+C for hard knockdown and better oki compared to dp's better damage. Stick to cl.C(1) on Yamazaki. Doesn't work on crouching Bao. | | : A bit more optimized version of the previous corner route. The timing to delay qcb+B is fairly peculiar so the previous version is preferred. Delay dp+C to properly connect. Use qcb+C for hard knockdown and better oki compared to dp's better damage. Stick to cl.C(1) on Yamazaki. Doesn't work on crouching Bao. |
| | |
|
| |
|
| ===1 Stock=== | | ===1 Stock=== |
| Line 323: |
Line 321: |
| * cl.C(1), f+A, BC run, cl.C(1), f+A, dp+C(1), (C) qcf+A, qcb+B > f+B, delay qcb+B > f+B, dp+C(1), (C) qcb+C | | * cl.C(1), f+A, BC run, cl.C(1), f+A, dp+C(1), (C) qcf+A, qcb+B > f+B, delay qcb+B > f+B, dp+C(1), (C) qcb+C |
| : Need to be at a specific distance away from the corner. Too little damage and specific to be worth anything. You can do dp+C(1), (C) qcf+A as ''f,qcf+C(1), A'' that needs to be done fast or ''hcb,f+C(1), qcf+A'' that is more lenient. | | : Need to be at a specific distance away from the corner. Too little damage and specific to be worth anything. You can do dp+C(1), (C) qcf+A as ''f,qcf+C(1), A'' that needs to be done fast or ''hcb,f+C(1), qcf+A'' that is more lenient. |
| | |
|
| |
|
| ===3 Stocks=== | | ===3 Stocks=== |
| Line 359: |
Line 358: |
| * cr.Bx1~3, far BC, (C) dp+C(1), (C) qcf+A, qcfx2+BD | | * cr.Bx1~3, far BC, (C) dp+C(1), (C) qcf+A, qcfx2+BD |
| : Low starter for the converson. | | : Low starter for the converson. |
| | |
|
| |
|
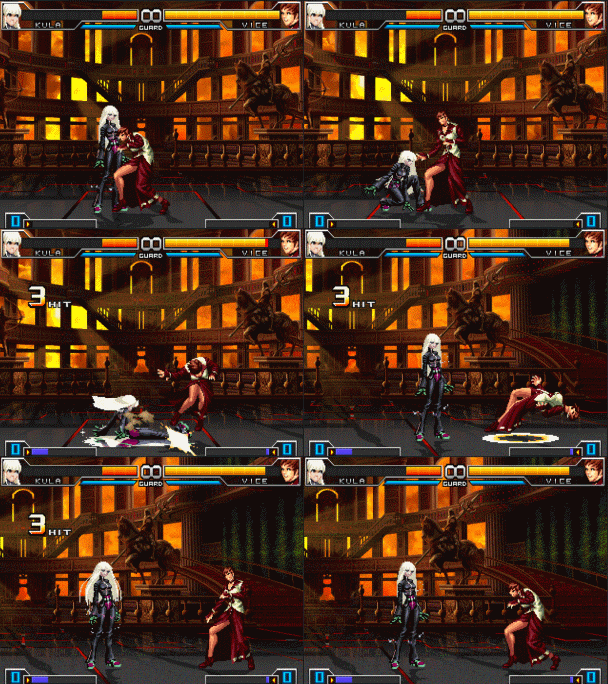
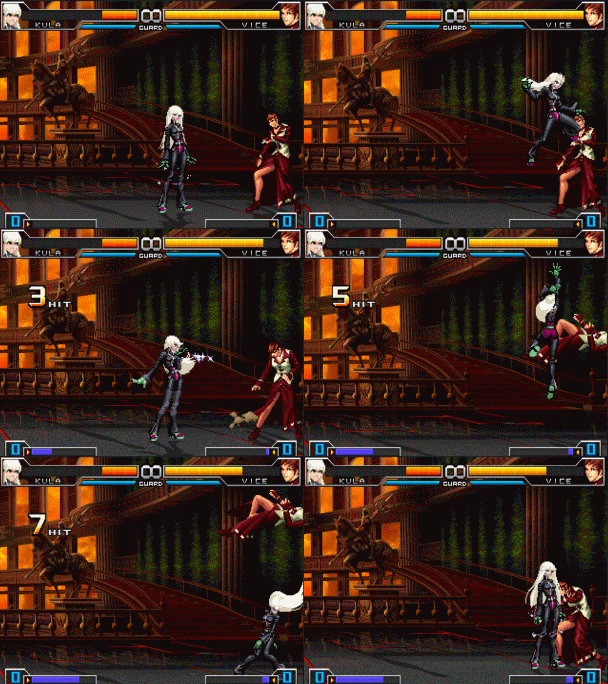
| ===Combo Animations=== | | ===Combo Animations=== |
| Line 364: |
Line 364: |
| [[File:Kulacombotest.gif]] | | [[File:Kulacombotest.gif]] |
| * cr.B, cr.B, df+B | | * cr.B, cr.B, df+B |
|
| |
| ---
| |
|
| |
|
| [[File:Kulacombo2.gif]] | | [[File:Kulacombo2.gif]] |


