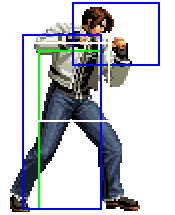
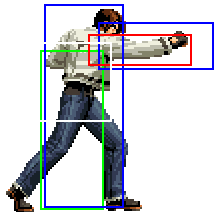
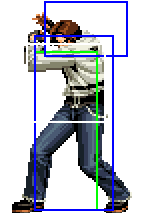
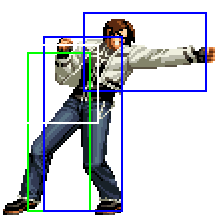
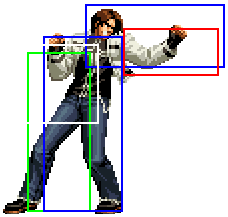
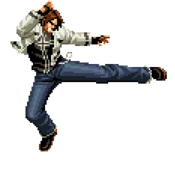
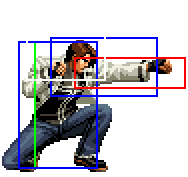
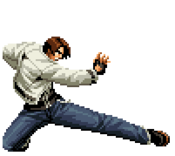
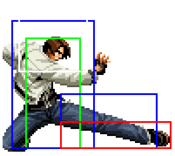
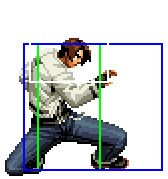
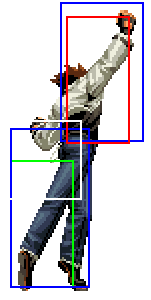
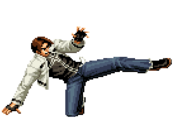
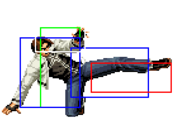
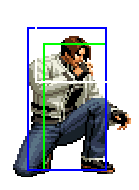
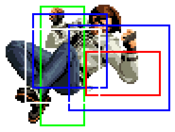
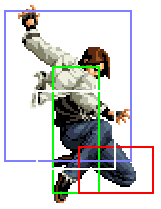
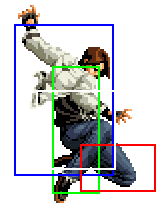
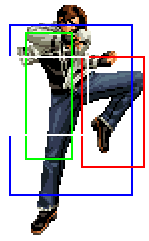
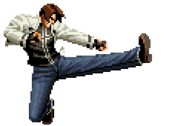
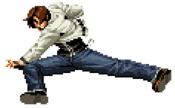
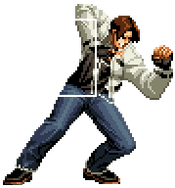
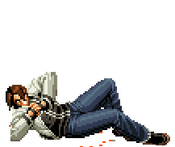
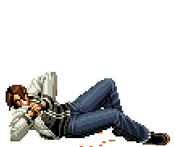
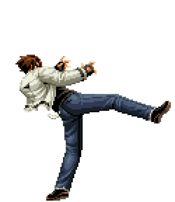
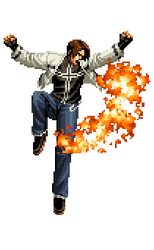
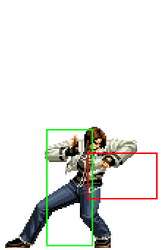
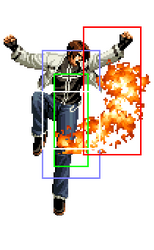
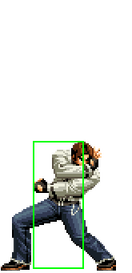
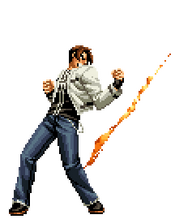
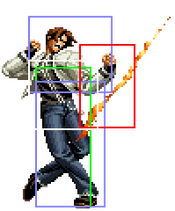
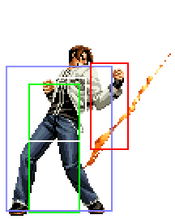
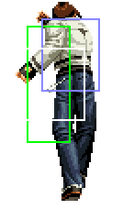
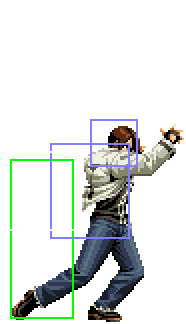
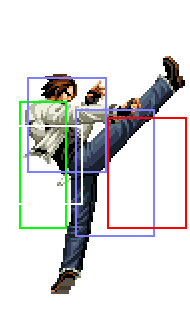
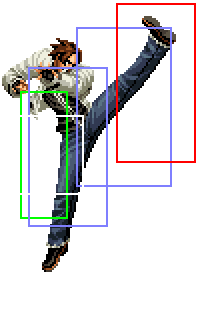
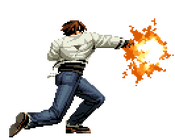
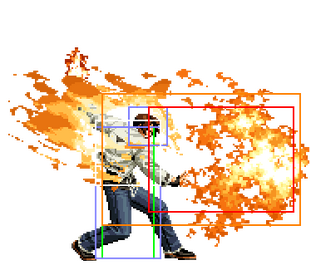
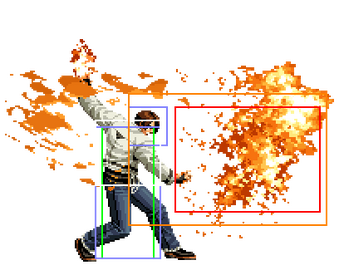
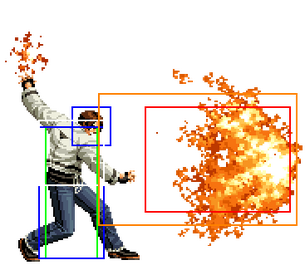
-Happy New Year 2025!
The King of Fighters 2002 UM/Kyo Kusanagi: Difference between revisions
No edit summary |
|||
| (11 intermediate revisions by the same user not shown) | |||
| Line 220: | Line 220: | ||
* Chains into every lights but cl.A/B. | * Chains into every lights but cl.A/B. | ||
|phases= | |phases= | ||
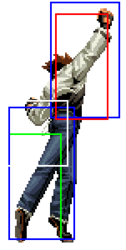
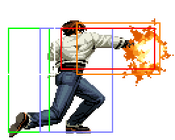
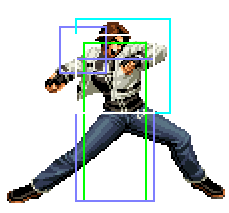
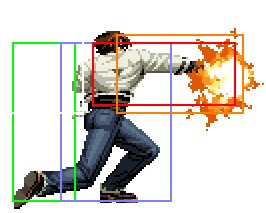
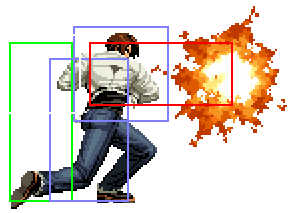
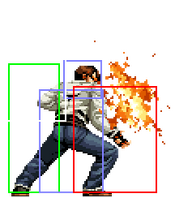
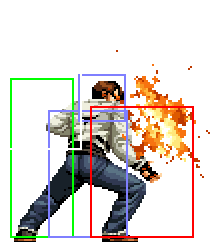
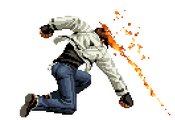
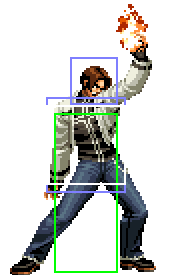
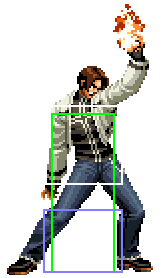
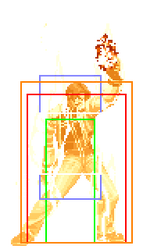
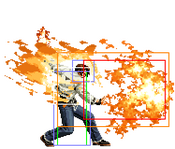
<gallery mode=packed-hover heights= | <gallery mode=packed-hover heights=148px> | ||
File:02UM_Kyo_st.A_1.png|'''Startup''' | File:02UM_Kyo_st.A_1.png|'''Startup''' | ||
File:02UM_Kyo_st.A_2.png|'''Active''' | File:02UM_Kyo_st.A_2.png|'''Active''' | ||
| Line 241: | Line 241: | ||
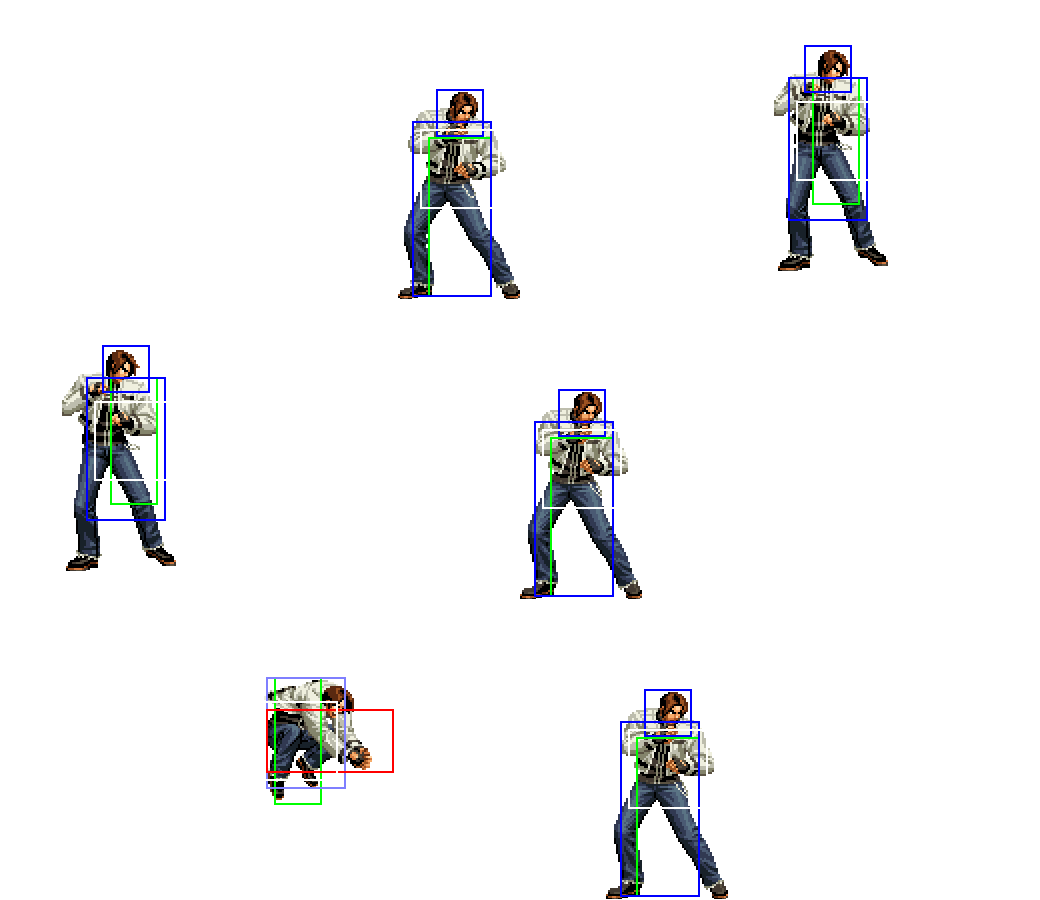
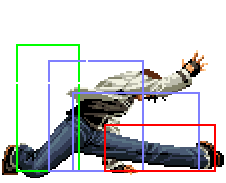
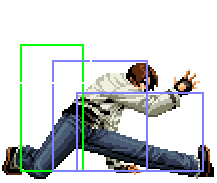
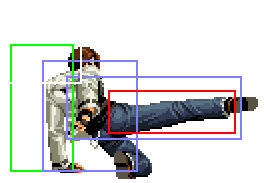
{{FrameDataCargo-KOF02UM | {{FrameDataCargo-KOF02UM | ||
|moveId=kyo_stc | |moveId=kyo_stc | ||
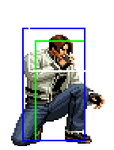
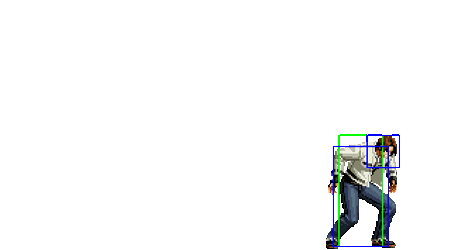
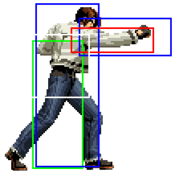
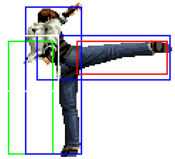
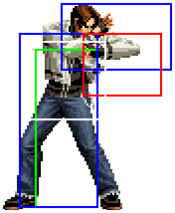
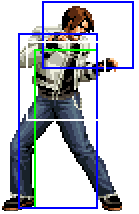
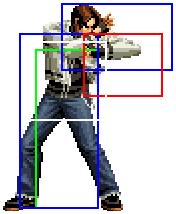
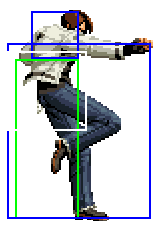
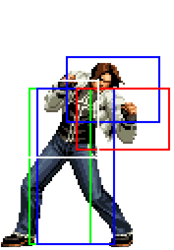
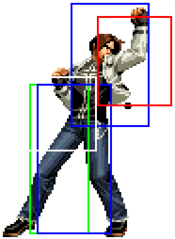
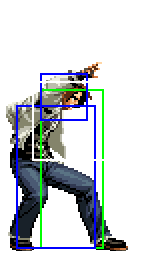
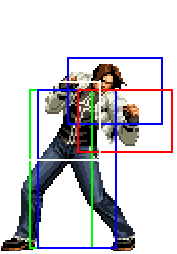
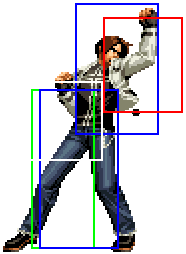
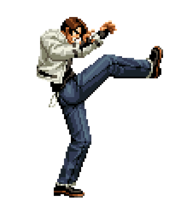
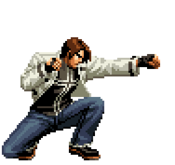
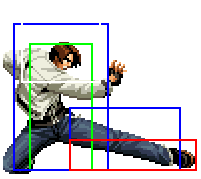
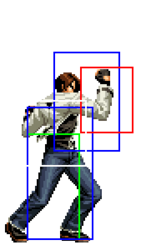
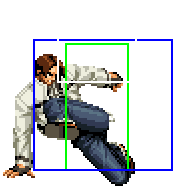
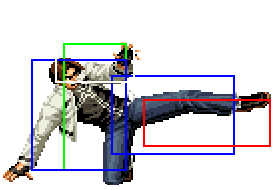
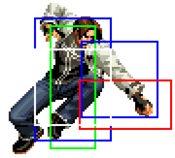
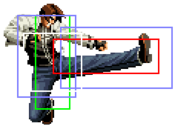
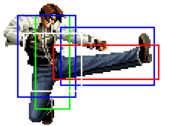
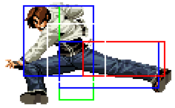
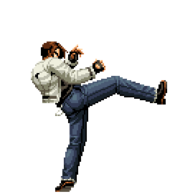
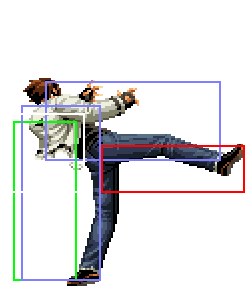
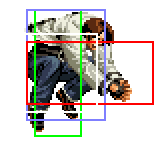
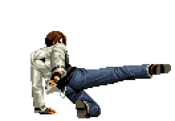
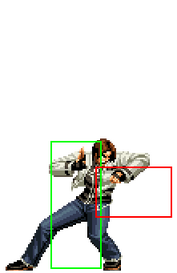
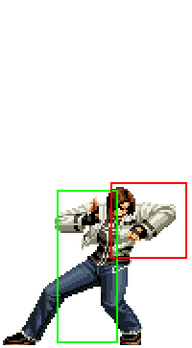
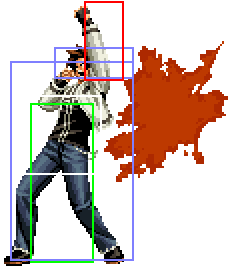
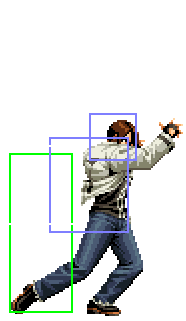
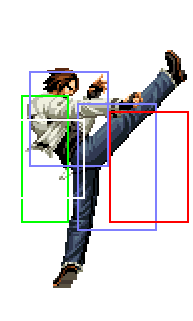
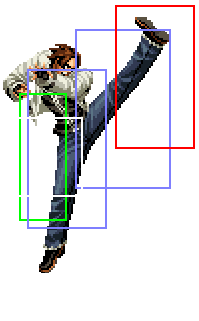
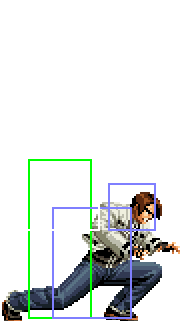
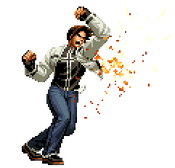
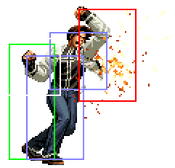
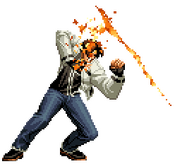
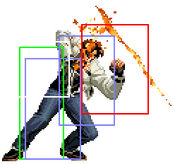
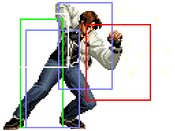
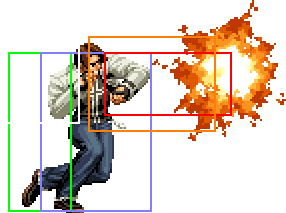
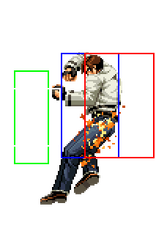
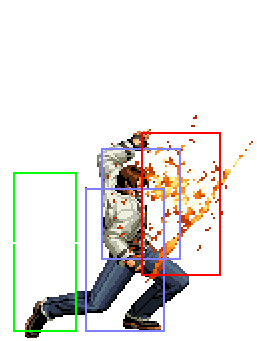
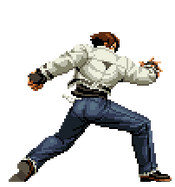
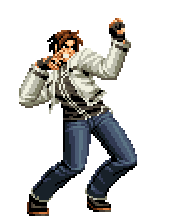
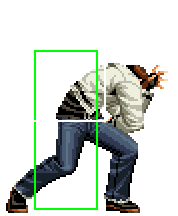
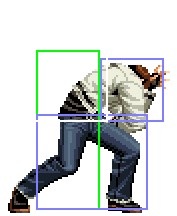
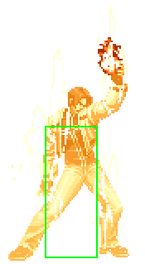
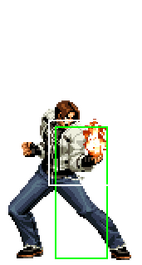
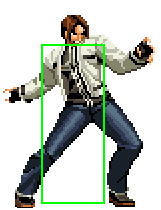
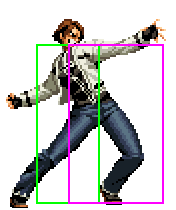
| | |imageCaptions=''It may look fine but'' | ||
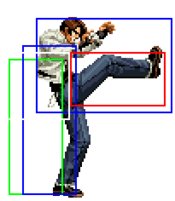
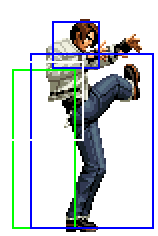
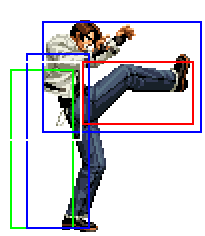
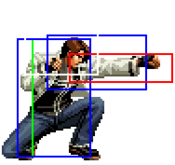
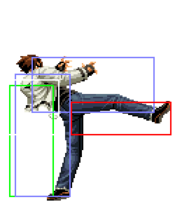
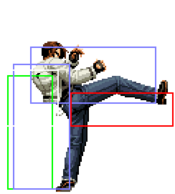
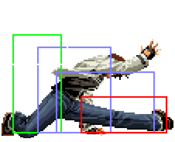
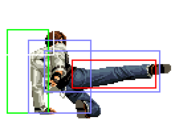
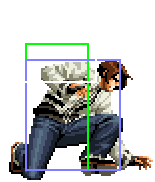
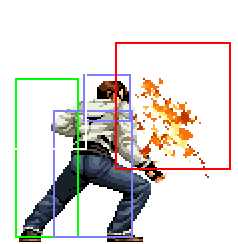
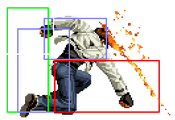
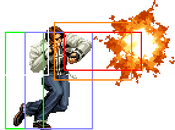
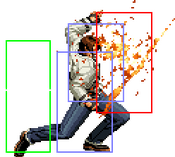
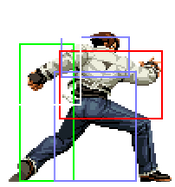
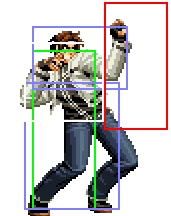
|hitboxCaptions=''This is not okay.'' | |||
|description= | |description= | ||
<br> | <br> | ||
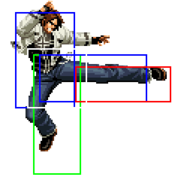
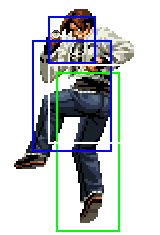
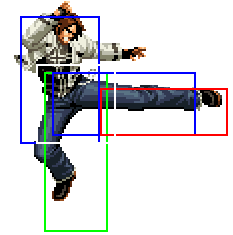
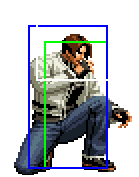
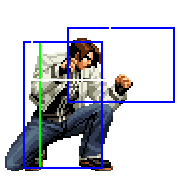
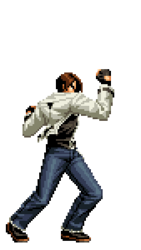
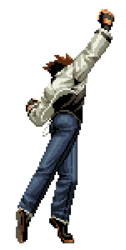
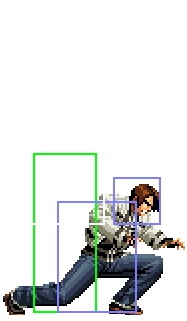
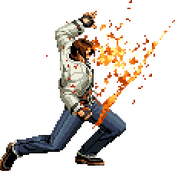
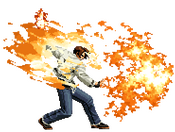
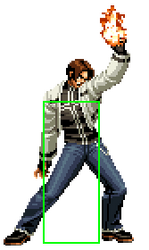
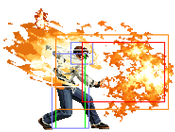
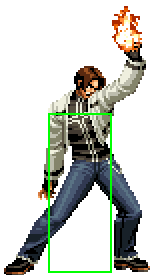
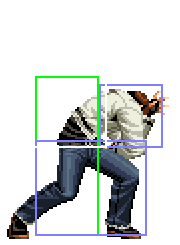
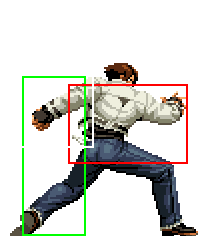
Very lackluster range for such a slow button with a severe lack of active frames, an unsettling tendency to be whiff punished and no conversion whatsoever. To put it bluntly this move could do double the damage with double the speed and it would still be pretty bad but it doesn't even have that. Mostly appears when messing up cl.C's spacing, frustration usually ensues. | Very lackluster range for such a slow button with a severe lack of active frames, an unsettling tendency to be whiff punished and no conversion whatsoever. To put it bluntly this move could do double the damage with double the speed and it would still be pretty bad but it doesn't even have that. Mostly appears when messing up cl.C's spacing, frustration usually ensues. | ||
|phases= | |phases= | ||
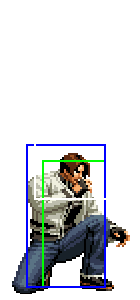
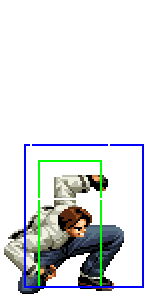
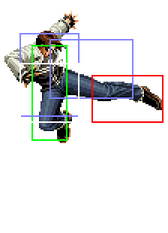
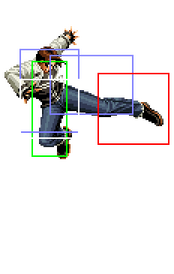
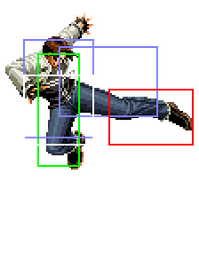
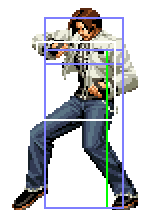
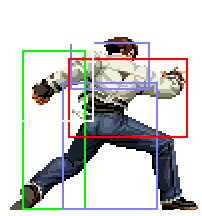
<gallery mode=packed-hover heights= | <gallery mode=packed-hover heights=164px> | ||
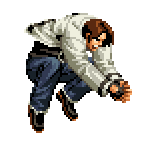
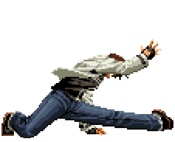
File:02UM_Kyo_st.C_1.png|Frames '''4~9''' | File:02UM_Kyo_st.C_1.png|Frames '''4~9''' | ||
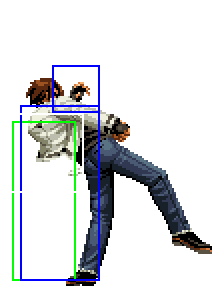
File:02UM_Kyo_st.C_2.png|Frames '''10~12''' | File:02UM_Kyo_st.C_2.png|Frames '''10~12''' | ||
| Line 253: | Line 254: | ||
</gallery> | </gallery> | ||
}} | }} | ||
==== ==== | ==== ==== | ||
{{FrameDataCargo-KOF02UM | {{FrameDataCargo-KOF02UM | ||
| Line 531: | Line 533: | ||
<li> '''Combo Advice''': You can do '''BC run, cl.C''' to combo off a very close {{Hover|f+B. Off the previous mix-up, you can max bypass f+B|6B. Off the previous mix-up, you can max bypass 6B}} into <b>{{Hover|qcf+BC, [(C)qcf+A, (C)qcf+C]x1~2 (SC) qcfx2+A|236BC, [(C)236A, (C)236C]x1~2 (SC) 236236A}}</b> or <b>{{Hover|qcf+BC, [(C)qcf+A, (C)qcf+C]x2 (SC) qcb,hcf+P|236BC, [(C)236A, (C)236C]x2 (SC) 2141236P}}[[The_King_of_Fighters_2002_UM/Kyo_Kusanagi/Combos#General_Notes|(Charge)]]</b> to spend 2 bars on a 36~41% conversion.</li></ul> | <li> '''Combo Advice''': You can do '''BC run, cl.C''' to combo off a very close {{Hover|f+B. Off the previous mix-up, you can max bypass f+B|6B. Off the previous mix-up, you can max bypass 6B}} into <b>{{Hover|qcf+BC, [(C)qcf+A, (C)qcf+C]x1~2 (SC) qcfx2+A|236BC, [(C)236A, (C)236C]x1~2 (SC) 236236A}}</b> or <b>{{Hover|qcf+BC, [(C)qcf+A, (C)qcf+C]x2 (SC) qcb,hcf+P|236BC, [(C)236A, (C)236C]x2 (SC) 2141236P}}[[The_King_of_Fighters_2002_UM/Kyo_Kusanagi/Combos#General_Notes|(Charge)]]</b> to spend 2 bars on a 36~41% conversion.</li></ul> | ||
|phases= | |phases= | ||
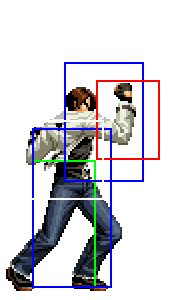
<gallery mode=packed-hover heights= | <gallery mode=packed-hover heights=208px> | ||
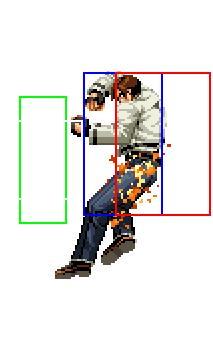
File:02UM_Kyo_raw_f+B_1.png|'''Startup''' | File:02UM_Kyo_raw_f+B_1.png|'''Startup''' | ||
File:02UM_Kyo_raw_f+B_2.png|'''Active''' | File:02UM_Kyo_raw_f+B_2.png|'''Active''' | ||
| Line 545: | Line 547: | ||
<ul><li> '''Combo Advice''': The go-to meterless option on hit is <b>cl.C, {{Hover|f+B, qcf+A|6B, 236A}}</b>, it's mostly very safe on block but {{Hover|qcf+A can whiff on block so using qcf+C|236A can whiff on block so using 236C}} instead is a bit less safe but more consistent. The same max bypass as with raw {{Hover|f+B|6B}} is still possible.</li></ul> | <ul><li> '''Combo Advice''': The go-to meterless option on hit is <b>cl.C, {{Hover|f+B, qcf+A|6B, 236A}}</b>, it's mostly very safe on block but {{Hover|qcf+A can whiff on block so using qcf+C|236A can whiff on block so using 236C}} instead is a bit less safe but more consistent. The same max bypass as with raw {{Hover|f+B|6B}} is still possible.</li></ul> | ||
|phases2= | |phases2= | ||
<gallery mode=packed-hover heights= | <gallery mode=packed-hover heights=247px> | ||
File:02UM_Kyo_can_f+B_1.png|'''1st hit''' | File:02UM_Kyo_can_f+B_1.png|'''1st hit''' | ||
File:02UM_Kyo_can_f+B_2.png|'''Gap''' | File:02UM_Kyo_can_f+B_2.png|'''Gap''' | ||
| Line 640: | Line 642: | ||
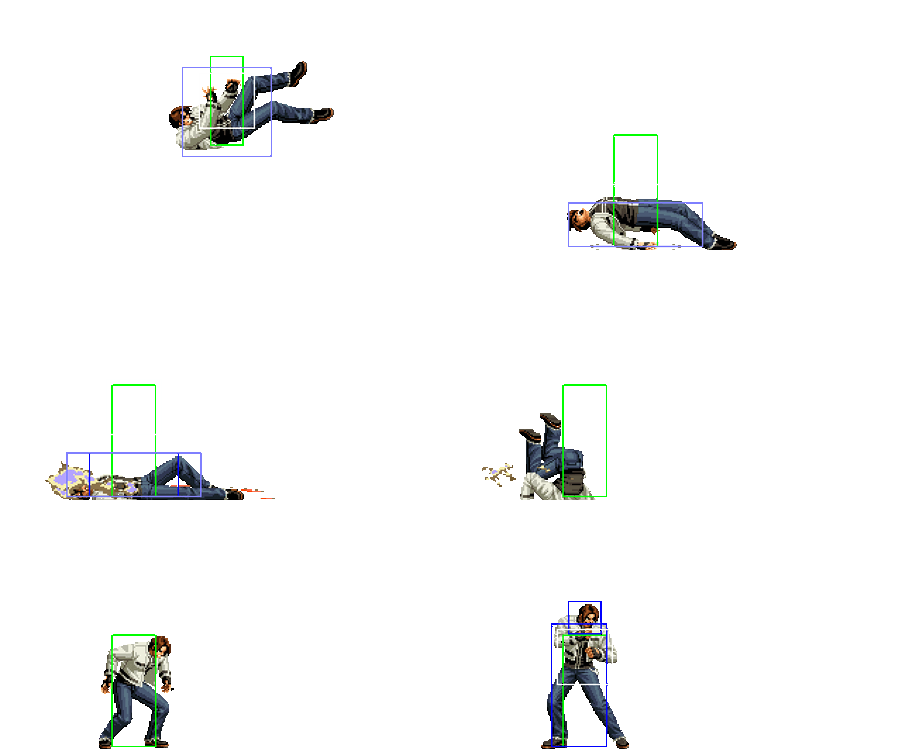
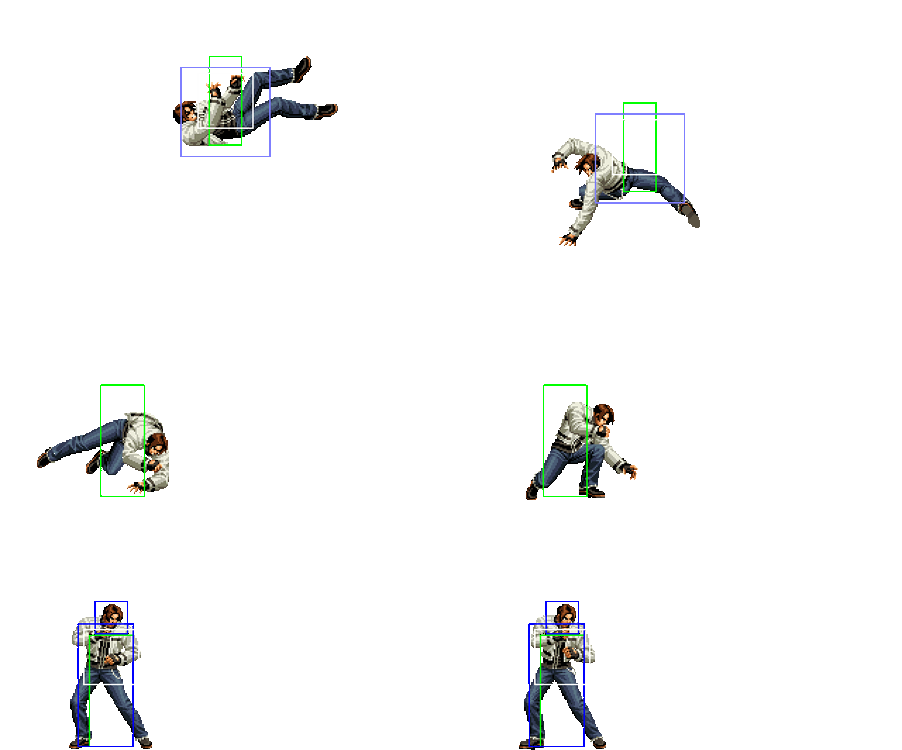
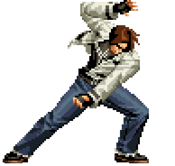
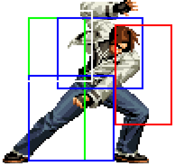
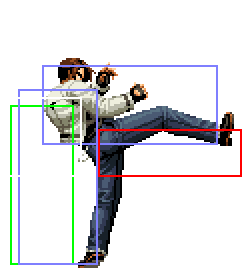
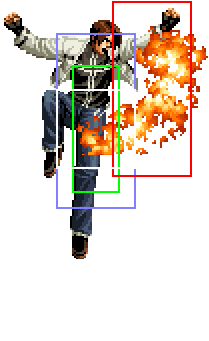
The weak version makes Kyo do a low invincible spin jump to a punch that launches the opponent in the air. {{Hover|hcb+B|63214B}}'s mediocre damage and deceptively short range would be a minor issue if not for being so slow that any hope to use it as a low reversal is lost. Just about any low would recover in time to block.<br> | The weak version makes Kyo do a low invincible spin jump to a punch that launches the opponent in the air. {{Hover|hcb+B|63214B}}'s mediocre damage and deceptively short range would be a minor issue if not for being so slow that any hope to use it as a low reversal is lost. Just about any low would recover in time to block.<br> | ||
<br> | <br> | ||
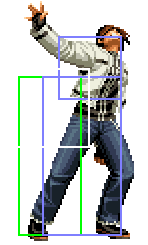
{{Hover|Hcb+B|63214B}} makes up for all its flaws by being Kyo's main juggle tool. A launcher with [[The_King_of_Fighters_2002_UM/Miscellaneous#Juggle_States|full juggle]] but without being limited to one use per combo like his {{Hover|qcf+D>K|236D>K}} that it instead complements really well. Almost every juggle combo Kyo has relies on {{Hover|hcb+B launching the opponent up for conversion at least once, always with the option to super cancel it into qcb,hcf+P| | {{Hover|Hcb+B|63214B}} makes up for all its flaws by being Kyo's main juggle tool. A launcher with [[The_King_of_Fighters_2002_UM/Miscellaneous#Juggle_States|full juggle]] but without being limited to one use per combo like his {{Hover|qcf+D>K|236D>K}} that it instead complements really well. Almost every juggle combo Kyo has relies on {{Hover|hcb+B|63214B}} launching the opponent up for conversion at least once, always with the option to super cancel it into {{Hover|qcb,hcf+P|2141236P}} to dump damage.<br> | ||
<br> | <br> | ||
<ul><li> '''Combo Advice''': When canceling {{Hover|hcb+B into qcb,hcf+P|63214B into 2141236P}} you have to charge it slightly to avoid whiffing.</li></ul> | <ul><li> '''Combo Advice''': When canceling {{Hover|hcb+B into qcb,hcf+P|63214B into 2141236P}} you have to charge it slightly to avoid whiffing.</li></ul> | ||
| Line 650: | Line 652: | ||
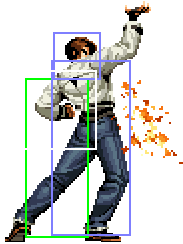
File:02UM_Kyo_hcb+B_4.png|'''Active''' | File:02UM_Kyo_hcb+B_4.png|'''Active''' | ||
</gallery> | </gallery> | ||
Kyo is grounded for 2f before jumping, meaning a high meaty can easily stuff and combo a wake-up {{Hover|hcb+B|63214B}}. One more reason to the pile of why not use it as a reversal. | Kyo is grounded for 2f before jumping, meaning a high meaty can easily stuff and combo a wake-up {{Hover/Alt|hcb+B|63214B}}. One more reason to the pile of why not use it as a reversal. | ||
|description2= | |description2= | ||
The strong version has Kyo lower his head in a high invincible stance then a quick punch in place. Despite being a good amount faster and more damaging than {{Hover|hcb+B, hcb+D|63214B, 63214D}} rocks the feet of being even worse in neutral by having even less range and being '''punishable on hit''' if 2 bars aren't spent for a super cancel. Any hope to use the high invincibility for anti-air is laughed at when compared to any other option, especially {{Hover|dp+A|623A}}.<br> | The strong version has Kyo lower his head in a high invincible stance then a quick punch in place. Despite being a good amount faster and more damaging than {{Hover|hcb+B, hcb+D|63214B, 63214D}} rocks the feet of being even worse in neutral by having even less range and being '''punishable on hit''' if 2 bars aren't spent for a super cancel. Any hope to use the high invincibility for anti-air is laughed at when compared to any other option, especially {{Hover|dp+A|623A}}.<br> | ||
| Line 670: | Line 672: | ||
|input= rdp + B/D | |input= rdp + B/D | ||
|input2= 421 B/D | |input2= 421 B/D | ||
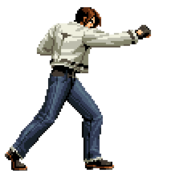
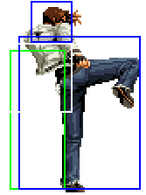
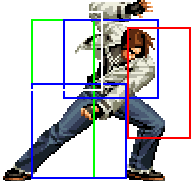
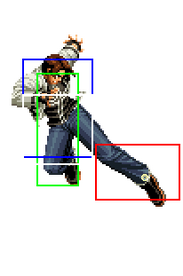
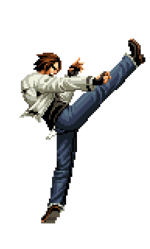
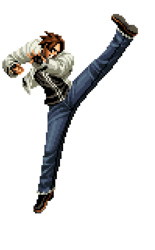
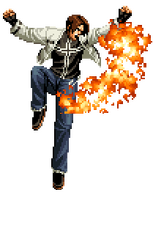
|image= 02UM_Kyo_rdp+B_4_ima.png | |||
|imageSize= 168x240px | |||
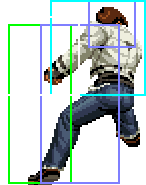
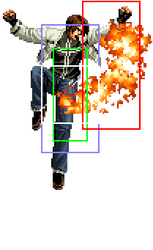
|hitbox= 02UM_Kyo_rdp+B_4.png | |||
|hitboxSize= 168x240px | |||
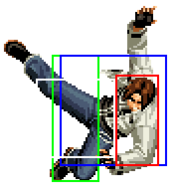
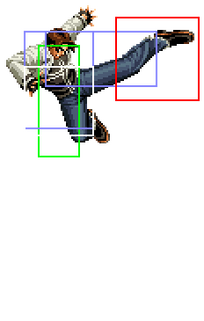
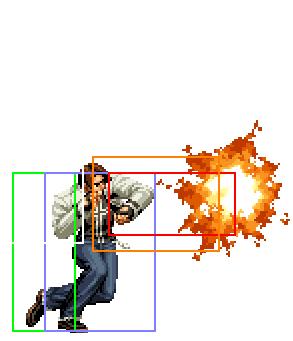
|hitbox2= 02UM_Kyo_rdp+D_4.png | |||
|hitboxSize2= 174x282px | |||
|description2= | |description2= | ||
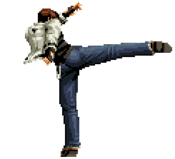
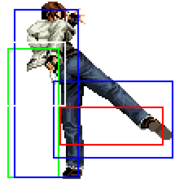
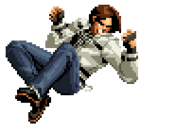
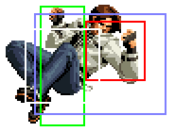
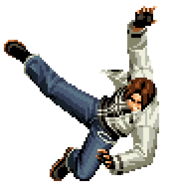
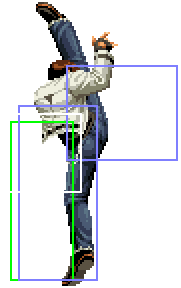
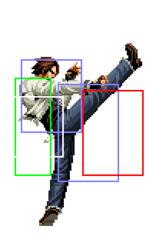
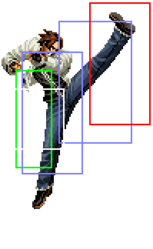
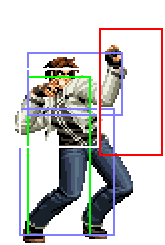
Kyo jumps and swings his leg down to kick the opponent on the head in a parabolic arc.<br> | Kyo jumps and swings his leg down to kick the opponent on the head in a parabolic arc.<br> | ||
| Line 701: | Line 709: | ||
===75 Shiki Kai=== | ===75 Shiki Kai=== | ||
{{FrameDataCargo-KOF02UM | {{FrameDataCargo-KOF02UM | ||
|moveId=kyo_qcf+B>K,kyo_qcf+D>K | |moveId=kyo_qcf+B>K,kyo_qcf+D>K | ||
| Line 722: | Line 729: | ||
File:02UM_Kyo_qcf+B_4.png|'''2nd hit''' | File:02UM_Kyo_qcf+B_4.png|'''2nd hit''' | ||
</gallery> | </gallery> | ||
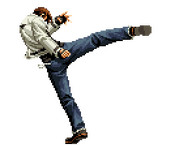
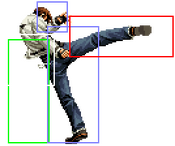
The only use for this worth mentioning is as an anti-air. As slow as it is it'd be very preemptive but the nice forward priority of the first kick, upward priority of the second and the extra conversion, albeit weak for this version, on a successful anti-air could warrant giving it a few tries at least to see if the opponent knows how to deal with it. Being faster than {{Hover|qcf+D>K|236D>K}} is a good point but without the conversion of the latter it still pales compared to Kyo's dp. | The only use for this worth mentioning is as an anti-air. As slow as it is it'd be very preemptive but the nice forward priority of the first kick, upward priority of the second and the extra conversion, albeit weak for this version, on a successful anti-air could warrant giving it a few tries at least to see if the opponent knows how to deal with it. Being faster than {{Hover/Alt|qcf+D>K|236D>K}} is a good point but without the conversion of the latter it still pales compared to Kyo's dp. | ||
|description2= | |description2= | ||
The strong version is slower but has a much better horizontal range, well able to land both hits after a cl.C without issue, something you'll be doing a lot as Kyo since this move is the core of his juggles. Arguably as crucial to his general game plan as his {{Hover|qcf+A rekka, qcf+D > K|236A rekka, 236D > K}} is a versatile launcher great in combos that can work just as well as a pressure tool threatening for hefty conversions against an opponent lacking a projectile.<br> | The strong version is slower but has a much better horizontal range, well able to land both hits after a cl.C without issue, something you'll be doing a lot as Kyo since this move is the core of his juggles. Arguably as crucial to his general game plan as his {{Hover|qcf+A rekka, qcf+D > K|236A rekka, 236D > K}} is a versatile launcher great in combos that can work just as well as a pressure tool threatening for hefty conversions against an opponent lacking a projectile.<br> | ||
| Line 741: | Line 748: | ||
File:02UM_Kyo_qcf+D_4.png|'''2nd hit''' | File:02UM_Kyo_qcf+D_4.png|'''2nd hit''' | ||
</gallery> | </gallery> | ||
Just like the previous version, {{Hover|qcf+D>K|236D>K}}'s priority makes it an interesting preemptive anti-air. Its slower speed hinders it but having a better conversion plus carry and doubling as a plus on block pressure tool against a grounded opponent keep it relevant, especially at lower level. | Just like the previous version, {{Hover/Alt|qcf+D>K|236D>K}}'s priority makes it an interesting preemptive anti-air. Its slower speed hinders it but having a better conversion plus carry and doubling as a plus on block pressure tool against a grounded opponent keep it relevant, especially at lower level. | ||
}} | }} | ||
| Line 765: | Line 772: | ||
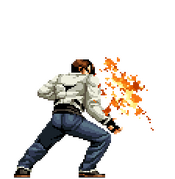
Interesting to note that {{Hover|qcf+A|236A}} has projectile collision on the first two frames of its hitbox, making it able to destroy projectiles. It's a short window although the range is decent, making it somewhat unreliable when responding to faster projectiles anywhere that isn't fullscreen away.<br> | Interesting to note that {{Hover|qcf+A|236A}} has projectile collision on the first two frames of its hitbox, making it able to destroy projectiles. It's a short window although the range is decent, making it somewhat unreliable when responding to faster projectiles anywhere that isn't fullscreen away.<br> | ||
<br> | <br> | ||
Over these few perks {{Hover|qcf+A|236A}} shows good priority retaining even after the hitbox is gone, added to its short recovery, meaning it's not so easy to whiff punish without risking at least a trade. | Over these few perks {{Hover/Alt|qcf+A|236A}} shows good priority retaining even after the hitbox is gone, added to its short recovery, meaning it's not so easy to whiff punish without risking at least a trade. | ||
}} | }} | ||
| Line 838: | Line 845: | ||
File:02UM_Kyo_qcf+C_2.png|'''Active''' | File:02UM_Kyo_qcf+C_2.png|'''Active''' | ||
</gallery> | </gallery> | ||
Disappointingly {{Hover|qcf+C|236C}}'s projectile collision on its hitbox is able to destroy projectiles but is much too slow with too much forward momentum to do it on reaction. A meager 3f of autoguard are good but not enough to help that. | Disappointingly {{Hover/Alt|qcf+C|236C}}'s projectile collision on its hitbox is able to destroy projectiles but is much too slow with too much forward momentum to do it on reaction. A meager 3f of autoguard are good but not enough to help that. | ||
}} | }} | ||
Latest revision as of 15:10, 27 July 2024
| The King of Fighters 2002 UM | |
Contents
- 1 Movelist
- 2 Quick Starter Combo Reference
- 3 Gameplay Overview
- 4 Basic Actions
- 5 Normals
- 6 Throws
- 7 Command Normals
- 8 Special Moves
- 8.1 100 Shiki Oniyaki
- 8.2 427 Shiki Hikigane
- 8.3 RED Kick
- 8.4 75 Shiki Kai
- 8.5 114 Shiki Aragami
- 8.6 128 Shiki Kono Kizu
- 8.7 127 Shiki Yano Sabi
- 8.8 125 Shiki Nana Se
- 8.9 212 Shiki Kototsuki You
- 8.10 Ge Shiki Migiri Ugachi
- 8.11 115 Shiki Doku Kami
- 8.12 401 Shiki Tumi Yomi
- 8.13 402 Shiki Batu Yomi
- 8.14 100 Shiki Oniyaki
- 9 Desperation Moves
- 10 Super Desperation Move
- 11 Hidden Super Desperation Move
- 12 Videos
- 13 External Links
- 14 Navigation
Movelist
Throws
Issetsu Seoi Swimming - close, ![]() /
/ ![]() +
+ ![]()
Command Moves
Ge Shiki Naraku Otoshi - in air, ![]() /
/ ![]() /
/ ![]() +
+ ![]()
Special Moves
Desperation Moves
Ura 108 Shiki Orochinagi - ![]()
![]()
![]() +
+ ![]() /
/ ![]() (Hold to charge)
(Hold to charge)
182 Shiki - ![]()
![]() +
+ ![]() /
/ ![]() (Hold to charge)
(Hold to charge)
Super Desperation Move
Ura 108 Shiki Orochinagi - ![]()
![]()
![]() +
+ ![]()
![]() (Hold to charge)
(Hold to charge)
Hidden Super Desperation Move
Gameplay Overview
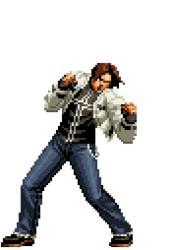
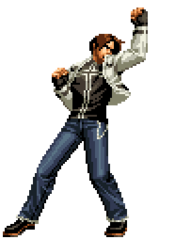
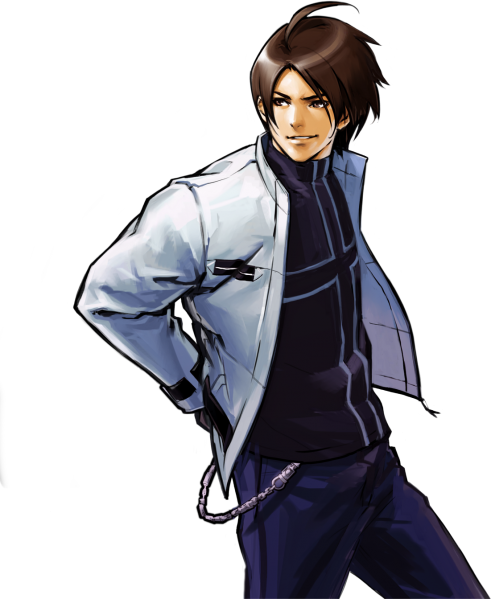
The main main protagonist is back with the same Nests rekka style but long time fans will surely notice and enjoy some welcomed improvements. With a limited but good set of mid range tools to keep the opponent pinned down (
st.B, qcf+A
B, 236A) Kyo then aims to force his way in (j.D/CD) to do what he's best at, pressuring and mixing up the opponent (
cr.B, j.B/d+C
2B, j.B/2C) until landing a solid cl.C for great meterless and meter conversions.
Although the main focus is on starting his own offense, Kyo does also have some good tools to protect his space and defend himself (nj.B,
dp+P
623P). With some nice match-up coverage tools sprinkled in (
st.D
D), Kyo proves to be a potentially very strong character with an answer to most midrange situations although still lacking when further away.
With great power comes great execution. With a number of simple and decent options to fall back on, a tough wall to break to master Kyo will be building up the execution for his optimal meter conversions that make him shine as an anchor.
Basic Actions
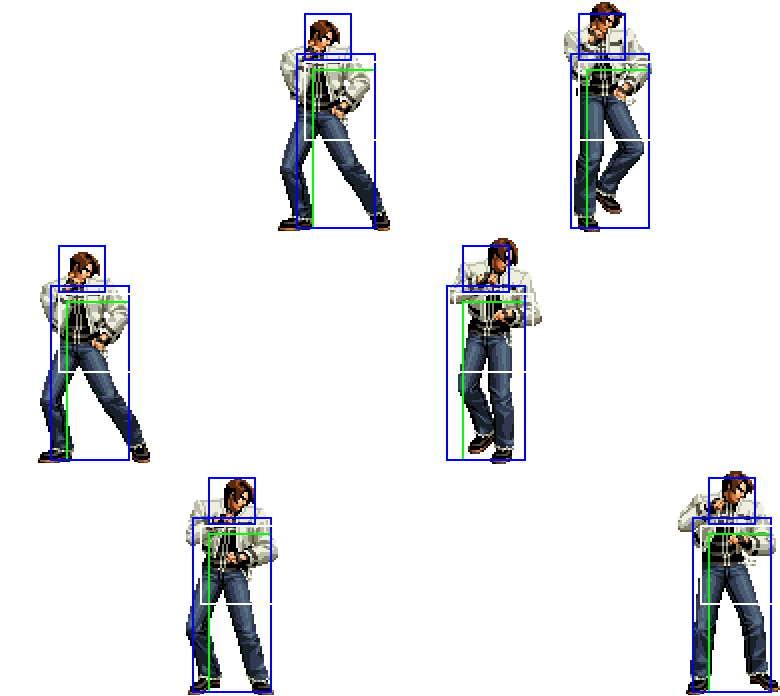
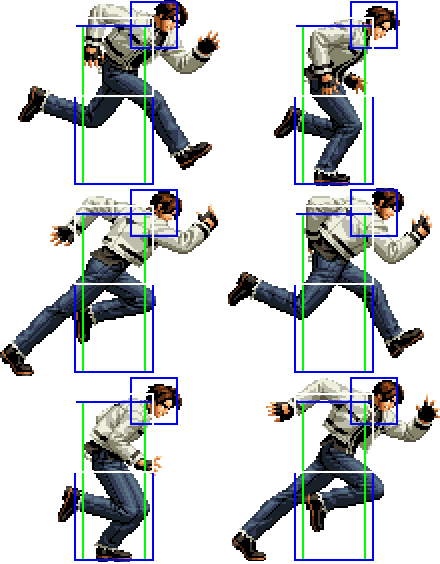
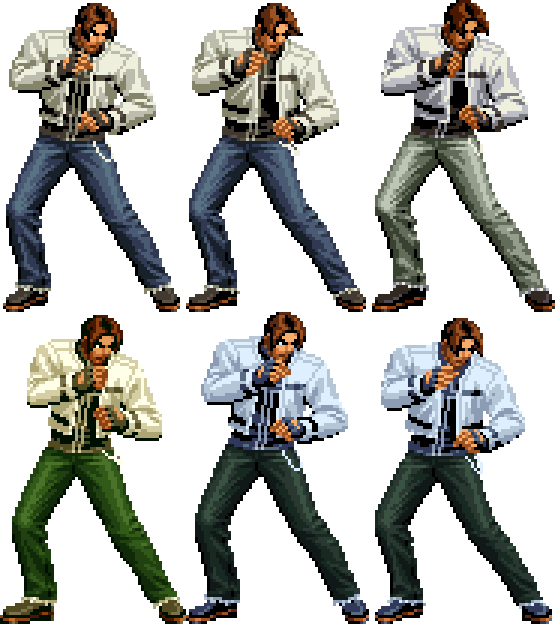
Idle, Jump, Dash, Wake-up
| |||||||||||||||||||||||||||||||||||||||||||||||||||||||||||||||||||||||||||||||||||||||||||||||||||||||||||||||||||||||||||||||||||||
|---|---|---|---|---|---|---|---|---|---|---|---|---|---|---|---|---|---|---|---|---|---|---|---|---|---|---|---|---|---|---|---|---|---|---|---|---|---|---|---|---|---|---|---|---|---|---|---|---|---|---|---|---|---|---|---|---|---|---|---|---|---|---|---|---|---|---|---|---|---|---|---|---|---|---|---|---|---|---|---|---|---|---|---|---|---|---|---|---|---|---|---|---|---|---|---|---|---|---|---|---|---|---|---|---|---|---|---|---|---|---|---|---|---|---|---|---|---|---|---|---|---|---|---|---|---|---|---|---|---|---|---|---|---|
| |||||||||||||||||||||||||||||||||||||||||||||||||||||||||||||||||||||||||||||||||||||||||||||||||||||||||||||||||||||||||||||||||||||
Normals
Far Standing Normals
| stand A
st.A
A |
| |||||||||||||||||||||||||||||
|---|---|---|---|---|---|---|---|---|---|---|---|---|---|---|---|---|---|---|---|---|---|---|---|---|---|---|---|---|---|---|
| stand B
st.B
B |
| |||||||||||||||||||||||||||||
|---|---|---|---|---|---|---|---|---|---|---|---|---|---|---|---|---|---|---|---|---|---|---|---|---|---|---|---|---|---|---|
| stand C
st.C
C |
| |||||||||||||||||||||||||||||
|---|---|---|---|---|---|---|---|---|---|---|---|---|---|---|---|---|---|---|---|---|---|---|---|---|---|---|---|---|---|---|
| stand D
st.D
D |
| |||||||||||||||||||||||||||||
|---|---|---|---|---|---|---|---|---|---|---|---|---|---|---|---|---|---|---|---|---|---|---|---|---|---|---|---|---|---|---|
Close Standing Normals
| close A
cl.A
cl.A |
| |||||||||||||||||||||||||||||
|---|---|---|---|---|---|---|---|---|---|---|---|---|---|---|---|---|---|---|---|---|---|---|---|---|---|---|---|---|---|---|
| close B
cl.B
cl.B |
| |||||||||||||||||||||||||||||
|---|---|---|---|---|---|---|---|---|---|---|---|---|---|---|---|---|---|---|---|---|---|---|---|---|---|---|---|---|---|---|
| close C
cl.C
cl.C |
| |||||||||||||||||||||||||||||
|---|---|---|---|---|---|---|---|---|---|---|---|---|---|---|---|---|---|---|---|---|---|---|---|---|---|---|---|---|---|---|
| close D
cl.D
cl.D |
| |||||||||||||||||||||||||||||
|---|---|---|---|---|---|---|---|---|---|---|---|---|---|---|---|---|---|---|---|---|---|---|---|---|---|---|---|---|---|---|
Crouch Normals
| crouch A
cr.A
2A |
| |||||||||||||||||||||||||||||
|---|---|---|---|---|---|---|---|---|---|---|---|---|---|---|---|---|---|---|---|---|---|---|---|---|---|---|---|---|---|---|
| crouch B
cr.B
2B |
| |||||||||||||||||||||||||||||
|---|---|---|---|---|---|---|---|---|---|---|---|---|---|---|---|---|---|---|---|---|---|---|---|---|---|---|---|---|---|---|
| crouch C
cr.C
2C |
| |||||||||||||||||||||||||||||
|---|---|---|---|---|---|---|---|---|---|---|---|---|---|---|---|---|---|---|---|---|---|---|---|---|---|---|---|---|---|---|
| crouch D
cr.D
2D |
| |||||||||||||||||||||||||||||
|---|---|---|---|---|---|---|---|---|---|---|---|---|---|---|---|---|---|---|---|---|---|---|---|---|---|---|---|---|---|---|
Jump Normals
| jump A
j.A
j.A |
| |||||||||||||||||||||||||||||||||||||||||||||||||||
|---|---|---|---|---|---|---|---|---|---|---|---|---|---|---|---|---|---|---|---|---|---|---|---|---|---|---|---|---|---|---|---|---|---|---|---|---|---|---|---|---|---|---|---|---|---|---|---|---|---|---|---|---|
| jump B
j.B
j.B |
| ||||||||||||||||||||||||||||||||||||||||||||||||||||||||||||||
|---|---|---|---|---|---|---|---|---|---|---|---|---|---|---|---|---|---|---|---|---|---|---|---|---|---|---|---|---|---|---|---|---|---|---|---|---|---|---|---|---|---|---|---|---|---|---|---|---|---|---|---|---|---|---|---|---|---|---|---|---|---|---|---|
| jump C
j.C
j.C |
| |||||||||||||||||||||||||||||||||||||||||
|---|---|---|---|---|---|---|---|---|---|---|---|---|---|---|---|---|---|---|---|---|---|---|---|---|---|---|---|---|---|---|---|---|---|---|---|---|---|---|---|---|---|---|
| jump D
j.D
j.D |
| ||||||||||||||||||||||||||||||||||||||||||||||||||||||||||||||
|---|---|---|---|---|---|---|---|---|---|---|---|---|---|---|---|---|---|---|---|---|---|---|---|---|---|---|---|---|---|---|---|---|---|---|---|---|---|---|---|---|---|---|---|---|---|---|---|---|---|---|---|---|---|---|---|---|---|---|---|---|---|---|---|
Blowback Normals
| stand CD
st.CD
CD |
| |||||||||||||||||||||||||||||
|---|---|---|---|---|---|---|---|---|---|---|---|---|---|---|---|---|---|---|---|---|---|---|---|---|---|---|---|---|---|---|
| jump CD
j.CD
j.CD |
| |||||||||||||||||||||||||||||||||||||||||
|---|---|---|---|---|---|---|---|---|---|---|---|---|---|---|---|---|---|---|---|---|---|---|---|---|---|---|---|---|---|---|---|---|---|---|---|---|---|---|---|---|---|---|
Throws
Hachi Tetsu
| Hachi Tetsu
Close, b/f+C
Close, 4/6C |
| |||||||||||||||||||||||||||||
|---|---|---|---|---|---|---|---|---|---|---|---|---|---|---|---|---|---|---|---|---|---|---|---|---|---|---|---|---|---|---|
Issetsu Seoi
| Issetsu Seoi
Close, b/f+D
Close, 4/6D |
| |||||||||||||||||||||||||||||
|---|---|---|---|---|---|---|---|---|---|---|---|---|---|---|---|---|---|---|---|---|---|---|---|---|---|---|---|---|---|---|
Command Normals
Ge Shiki Goufu You
| Ge Shiki Goufu You
f+B
6B |
| ||||||||||||||||||||||||||||||||||||||||||||||||||||||||||||||
|---|---|---|---|---|---|---|---|---|---|---|---|---|---|---|---|---|---|---|---|---|---|---|---|---|---|---|---|---|---|---|---|---|---|---|---|---|---|---|---|---|---|---|---|---|---|---|---|---|---|---|---|---|---|---|---|---|---|---|---|---|---|---|---|
Ge Shiki Naraku Otoshi
| Ge Shiki Naraku Otoshi
j.d+C
j.2C |
| |||||||||||||||||||||||||||||
|---|---|---|---|---|---|---|---|---|---|---|---|---|---|---|---|---|---|---|---|---|---|---|---|---|---|---|---|---|---|---|
88 Shiki
| 88 Shiki
df+D
3D |
| |||||||||||||||||||||||||||||
|---|---|---|---|---|---|---|---|---|---|---|---|---|---|---|---|---|---|---|---|---|---|---|---|---|---|---|---|---|---|---|
Special Moves
100 Shiki Oniyaki
| 100 Shiki Oniyaki
dp + A/C
623 A/C |
| ||||||||||||||||||||||||||||||||||||||||||||||||||||||||||||||
|---|---|---|---|---|---|---|---|---|---|---|---|---|---|---|---|---|---|---|---|---|---|---|---|---|---|---|---|---|---|---|---|---|---|---|---|---|---|---|---|---|---|---|---|---|---|---|---|---|---|---|---|---|---|---|---|---|---|---|---|---|---|---|---|
427 Shiki Hikigane
| 427 Shiki Hikigane
hcb + B/D
63214 B/D |
| ||||||||||||||||||||||||||||||||||||||||||||||||||||||||||||||
|---|---|---|---|---|---|---|---|---|---|---|---|---|---|---|---|---|---|---|---|---|---|---|---|---|---|---|---|---|---|---|---|---|---|---|---|---|---|---|---|---|---|---|---|---|---|---|---|---|---|---|---|---|---|---|---|---|---|---|---|---|---|---|---|
RED Kick
| RED Kick
rdp + B/D
421 B/D |
| |||||||||||||||||||||||||||||||||||||||||
|---|---|---|---|---|---|---|---|---|---|---|---|---|---|---|---|---|---|---|---|---|---|---|---|---|---|---|---|---|---|---|---|---|---|---|---|---|---|---|---|---|---|---|
75 Shiki Kai
| 75 Shiki Kai
qcf+B > K or qcf+D > K
236B > K or 236D > K |
| ||||||||||||||||||||||||||||||||||||||||||||||||||||||||||||||
|---|---|---|---|---|---|---|---|---|---|---|---|---|---|---|---|---|---|---|---|---|---|---|---|---|---|---|---|---|---|---|---|---|---|---|---|---|---|---|---|---|---|---|---|---|---|---|---|---|---|---|---|---|---|---|---|---|---|---|---|---|---|---|---|
114 Shiki Aragami
| 114 Shiki Aragami
qcf+A
236A |
| |||||||||||||||||||||||||||||
|---|---|---|---|---|---|---|---|---|---|---|---|---|---|---|---|---|---|---|---|---|---|---|---|---|---|---|---|---|---|---|
128 Shiki Kono Kizu
| 128 Shiki Kono Kizu
qcf+A > qcf+P
236A > 236P |
| |||||||||||||||||||||||||||||
|---|---|---|---|---|---|---|---|---|---|---|---|---|---|---|---|---|---|---|---|---|---|---|---|---|---|---|---|---|---|---|
127 Shiki Yano Sabi
| 127 Shiki Yano Sabi
qcf+A > qcf+P > P
236A > 236P > P |
| |||||||||||||||||||||||||||||||||||||||||
|---|---|---|---|---|---|---|---|---|---|---|---|---|---|---|---|---|---|---|---|---|---|---|---|---|---|---|---|---|---|---|---|---|---|---|---|---|---|---|---|---|---|---|
125 Shiki Nana Se
| 125 Shiki Nana Se
qcf+A > qcf+P > K
236A > 236P > K |
| |||||||||||||||||||||||||||||||||||||||||
|---|---|---|---|---|---|---|---|---|---|---|---|---|---|---|---|---|---|---|---|---|---|---|---|---|---|---|---|---|---|---|---|---|---|---|---|---|---|---|---|---|---|---|
212 Shiki Kototsuki You
| 212 Shiki Kototsuki You
qcf+A > hcb+P > hcb+K
236A > 63214P > 63214K |
| |||||||||||||||||||||||||||||
|---|---|---|---|---|---|---|---|---|---|---|---|---|---|---|---|---|---|---|---|---|---|---|---|---|---|---|---|---|---|---|
Ge Shiki Migiri Ugachi
| Ge Shiki Migiri Ugachi
qcf+A > hcb+P > P
236A > 63214P > P |
| |||||||||||||||||||||||||||||
|---|---|---|---|---|---|---|---|---|---|---|---|---|---|---|---|---|---|---|---|---|---|---|---|---|---|---|---|---|---|---|
115 Shiki Doku Kami
| 115 Shiki Doku Kami
qcf+C
236C |
| |||||||||||||||||||||||||||||
|---|---|---|---|---|---|---|---|---|---|---|---|---|---|---|---|---|---|---|---|---|---|---|---|---|---|---|---|---|---|---|
401 Shiki Tumi Yomi
| 401 Shiki Tumi Yomi
qcf+C > hcb+P
236C > 63214P |
| |||||||||||||||||||||||||||||
|---|---|---|---|---|---|---|---|---|---|---|---|---|---|---|---|---|---|---|---|---|---|---|---|---|---|---|---|---|---|---|
402 Shiki Batu Yomi
| 402 Shiki Batu Yomi
qcf+C > hcb+P > f+P
236C > 63214P > 6P |
| |||||||||||||||||||||||||||||
|---|---|---|---|---|---|---|---|---|---|---|---|---|---|---|---|---|---|---|---|---|---|---|---|---|---|---|---|---|---|---|
100 Shiki Oniyaki
| 100 Shiki Oniyaki
qcf+C > hcb+P > f+P > dp+P
236C > 63214P > 6P > 623P |
| |||||||||||||||||||||||||||||
|---|---|---|---|---|---|---|---|---|---|---|---|---|---|---|---|---|---|---|---|---|---|---|---|---|---|---|---|---|---|---|
Desperation Moves
Ura 108 Shiki Orochinagi
| Ura 108 Shiki Orochinagi
qcb,hcf + A/C, Hold to charge
2141236 A/C, Hold to charge |
| |||||||||||||||||||||||||||||||||||||||||
|---|---|---|---|---|---|---|---|---|---|---|---|---|---|---|---|---|---|---|---|---|---|---|---|---|---|---|---|---|---|---|---|---|---|---|---|---|---|---|---|---|---|---|
182 Shiki
| 182 Shiki
qcfx2 + A/C, Hold to charge
236236 A/C, Hold to charge |
| |||||||||||||||||||||||||||||||||||||||||||||||||||
|---|---|---|---|---|---|---|---|---|---|---|---|---|---|---|---|---|---|---|---|---|---|---|---|---|---|---|---|---|---|---|---|---|---|---|---|---|---|---|---|---|---|---|---|---|---|---|---|---|---|---|---|---|
Super Desperation Move
Ura 108 Shiki Orochinagi
| Ura 108 Shiki Orochinagi
qcb,hcf+AC (Hold)
2141236AC (Hold) |
| |||||||||||||||||||||||||||||
|---|---|---|---|---|---|---|---|---|---|---|---|---|---|---|---|---|---|---|---|---|---|---|---|---|---|---|---|---|---|---|
Hidden Super Desperation Move
524 Shiki Kamichiri
| 524 Shiki Kamichiri
hcbx2+AC
6321463214AC |
| |||||||||||||||||||||||||||||
|---|---|---|---|---|---|---|---|---|---|---|---|---|---|---|---|---|---|---|---|---|---|---|---|---|---|---|---|---|---|---|
Videos
External Links
Check Kyo Kusanagi's frame data
Discuss at 02UM Discord server
Discuss at Dream Cancel
Discuss at ON
| The King of Fighters 2002 UM | |
Navigation
| The King of Fighters 2002 Unlimited Match | |
| System |
FAQ • Controls • Movement • Offense • Defense • Gauges • Advanced Strategy • Miscellaneous |
| Characters |
|
| Bosses |
|

