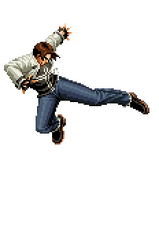
-Happy New Year 2025!
The King of Fighters 2002 UM/Kyo Kusanagi: Difference between revisions
Franck Frost (talk | contribs) No edit summary Tag: Manual revert |
Franck Frost (talk | contribs) No edit summary |
||
| Line 459: | Line 459: | ||
|description= | |description= | ||
<br> | <br> | ||
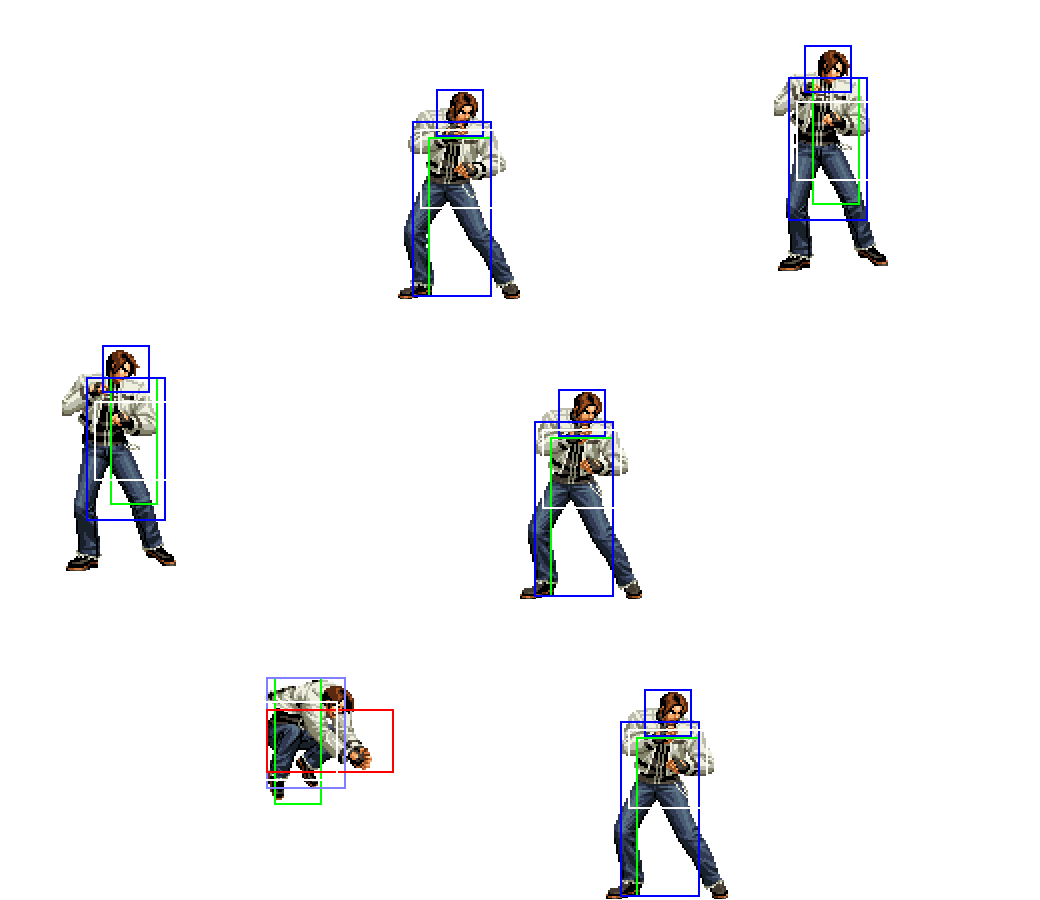
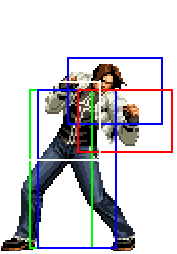
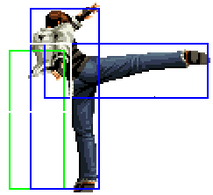
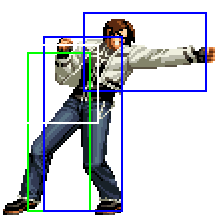
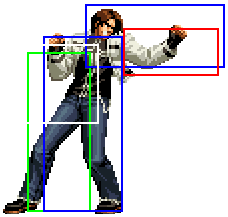
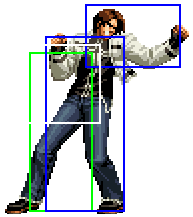
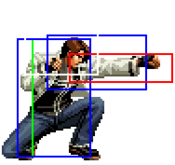
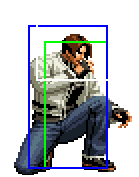
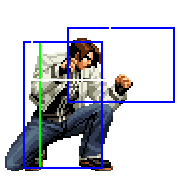
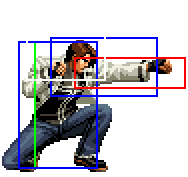
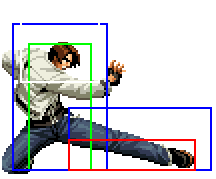
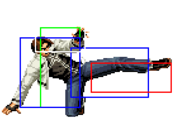
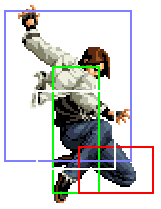
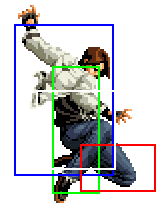
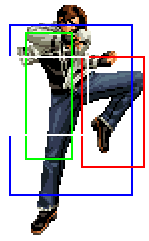
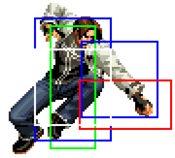
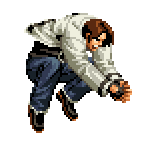
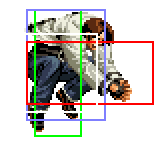
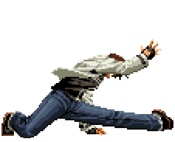
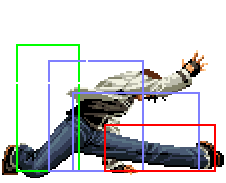
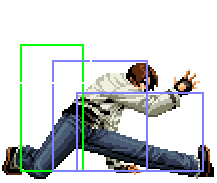
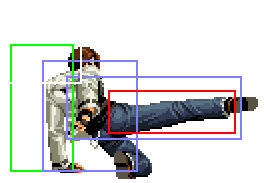
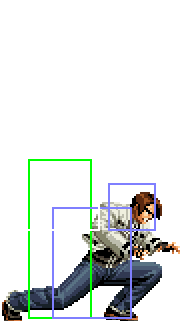
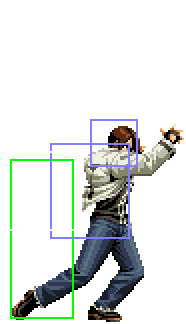
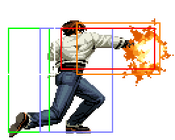
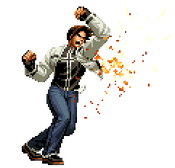
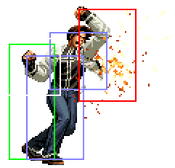
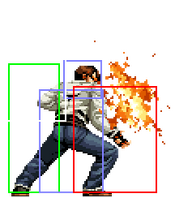
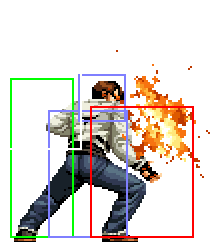
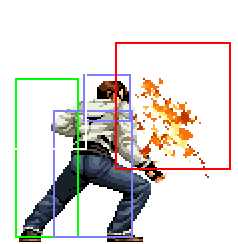
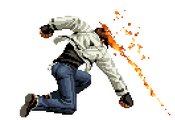
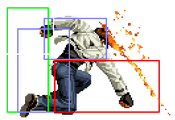
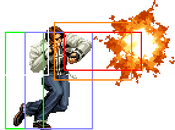
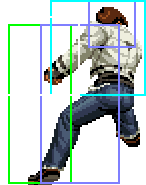
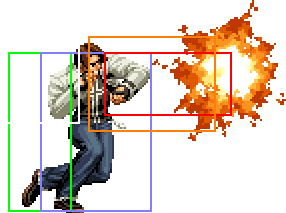
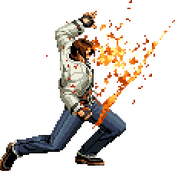
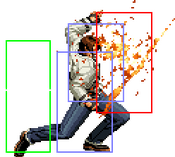
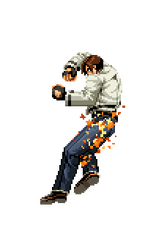
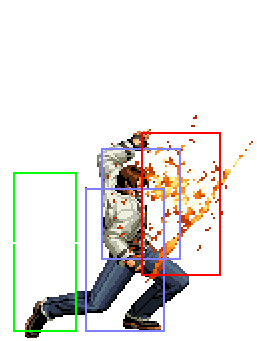
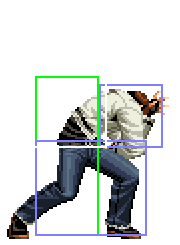
A cancelable shoulder charge with below average speed, range and active frames but good priority and great recovery. Mostly useful to be whiff canceled into a spaced {{Hover|qcf+A | A cancelable shoulder charge with below average speed, range and active frames but good priority and great recovery. Mostly useful to be whiff canceled into a spaced {{Hover|qcf+A to eventually beat an opposing poke meant to stuff said qcf+A|236A to eventually beat an opposing poke meant to stuff said 236A}}.<br> | ||
<br> | <br> | ||
* Cancelable on hit/whiff. | * Cancelable on hit/whiff. | ||
| Line 520: | Line 520: | ||
<br> | <br> | ||
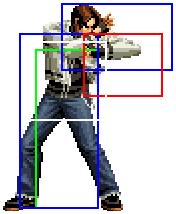
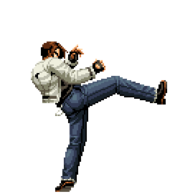
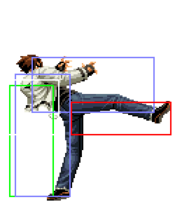
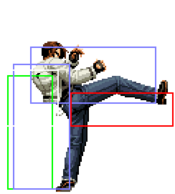
* [[The_King_of_Fighters_2002_UM/Offense#Standing_Overheads|Standing Overhead]]. | * [[The_King_of_Fighters_2002_UM/Offense#Standing_Overheads|Standing Overhead]]. | ||
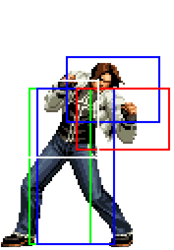
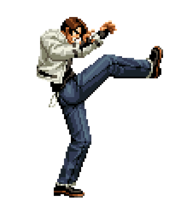
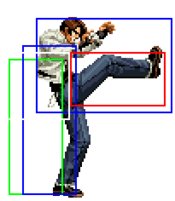
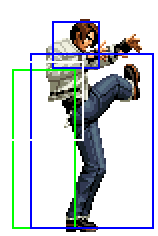
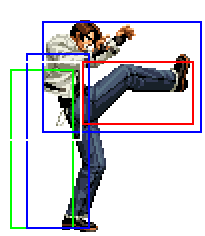
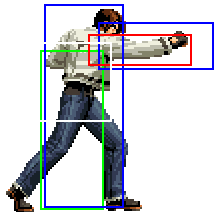
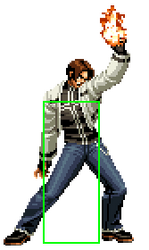
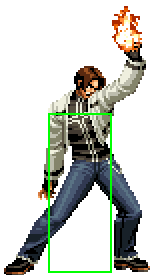
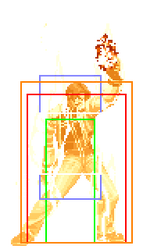
<ul><li> '''Mix-up Advice''': After {{Hover|cr.B/A, cr.A | <ul><li> '''Mix-up Advice''': After {{Hover|cr.B/A, cr.A you can delay cancel into f+B to get the raw f+B|2B/A, 2A you can delay cancel into 6B to get the raw 6B}} out faster than linking it. This gives you an overhead after {{Hover|cr.A versus just canceling into df+D|2A versus just canceling into 3D}} for a low.</li> | ||
<li> '''Combo Advice''': You can do '''BC run, cl.C''' to combo off a very close {{Hover|f+B | <li> '''Combo Advice''': You can do '''BC run, cl.C''' to combo off a very close {{Hover|f+B. Off the previous mix-up, you can max bypass f+B|6B. Off the previous mix-up, you can max bypass 6B}} into <b>{{Hover|qcf+BC, [(C)qcf+A, (C)qcf+C]x1~2 (SC) qcfx2+A|236BC, [(C)236A, (C)236C]x1~2 (SC) 236236A}}</b> or <b>{{Hover|qcf+BC, [(C)qcf+A, (C)qcf+C]x2 (SC) qcb,hcf+P|236BC, [(C)236A, (C)236C]x2 (SC) 2141236P}}[[The_King_of_Fighters_2002_UM/Kyo_Kusanagi/Combos#General_Notes|(Charge)]]</b> to spend 2 bars on a 36~41% conversion.</li></ul> | ||
|phases= | |phases= | ||
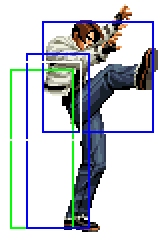
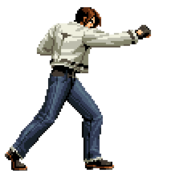
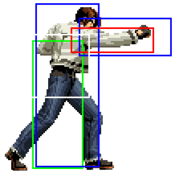
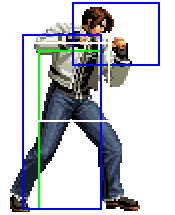
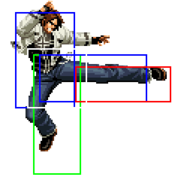
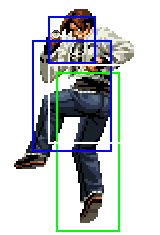
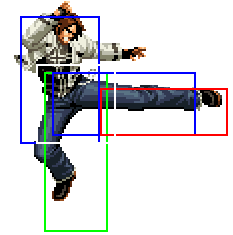
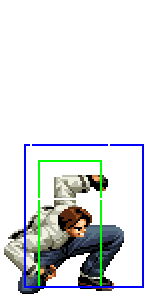
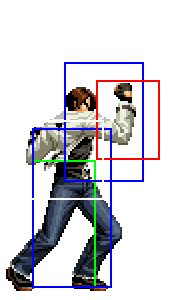
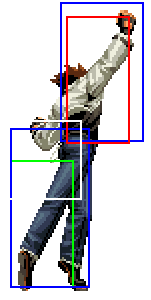
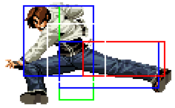
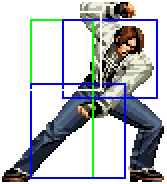
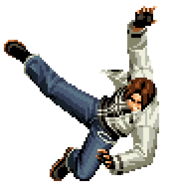
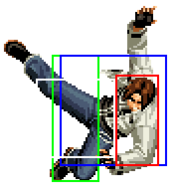
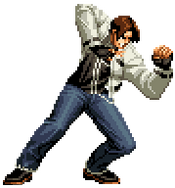
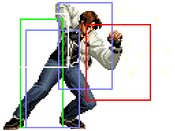
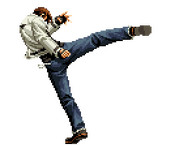
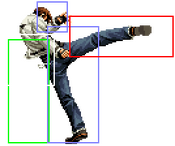
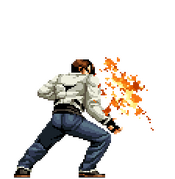
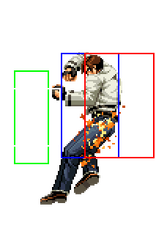
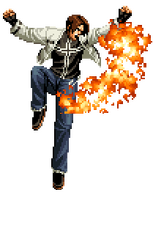
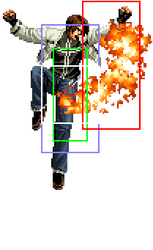
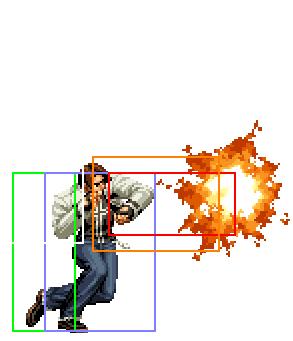
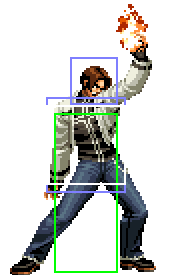
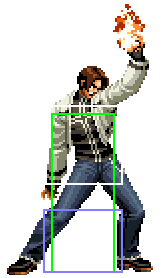
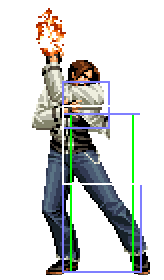
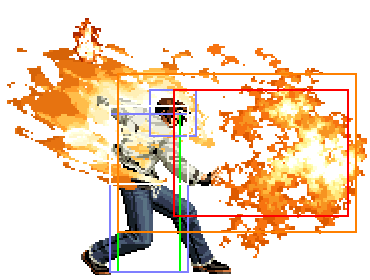
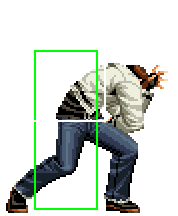
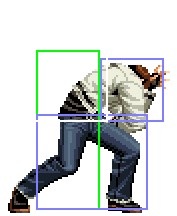
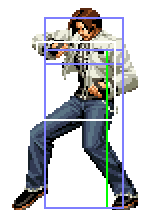
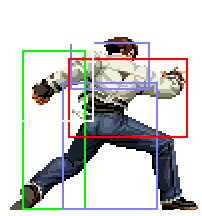
<gallery mode=packed-hover heights=214px> | <gallery mode=packed-hover heights=214px> | ||
| Line 529: | Line 529: | ||
</gallery> | </gallery> | ||
|description2=</div> | |description2=</div> | ||
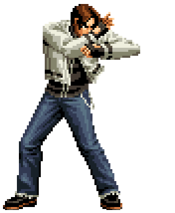
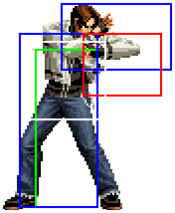
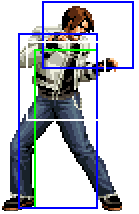
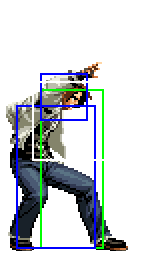
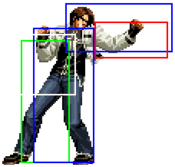
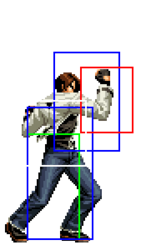
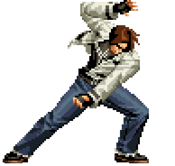
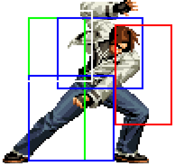
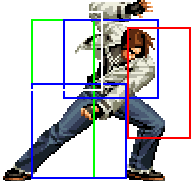
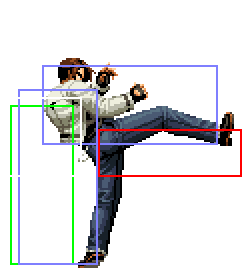
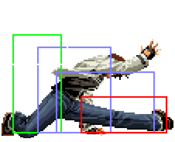
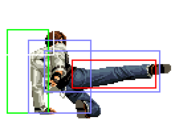
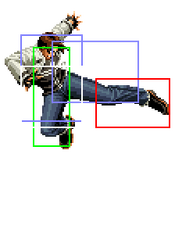
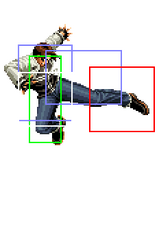
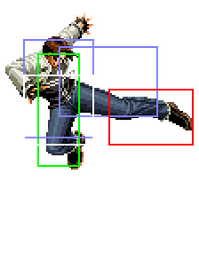
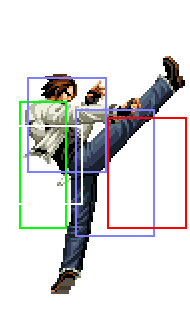
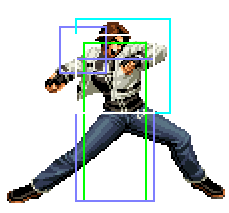
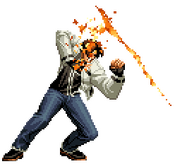
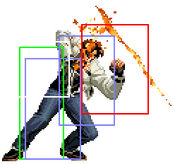
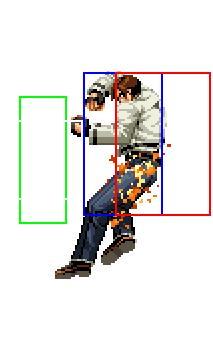
Like most standing overheads, canceling {{Hover|f+B | Like most standing overheads, canceling {{Hover|f+B out of a normal on hit/block makes it faster and cancelable although they usually don't change animation like Kyo's f+B|6B out of a normal on hit/block makes it faster and cancelable although they usually don't change animation like Kyo's 6B}} that then looks like his 98 Goufu You instead for some reason. It is faster but the first hit's range is tiny, whiffing on almost every non-backturned character for only the second hit to connect, although it only combos off cl.C/D on hit.<br> | ||
It is mostly safe if it gets blocked but falls short of being a true blockstring in the first place, it's still a good frametrap but shouldn't be too relied on since the opponent can OS it with a fast invincible reversal.<br> | It is mostly safe if it gets blocked but falls short of being a true blockstring in the first place, it's still a good frametrap but shouldn't be too relied on since the opponent can OS it with a fast invincible reversal.<br> | ||
<br> | <br> | ||
| Line 610: | Line 610: | ||
</gallery> | </gallery> | ||
|description2= | |description2= | ||
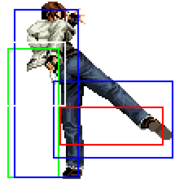
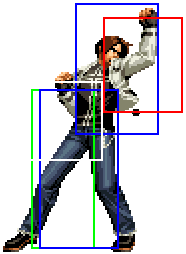
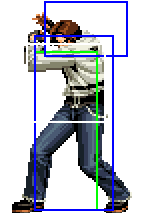
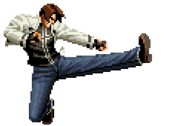
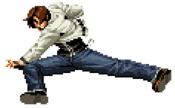
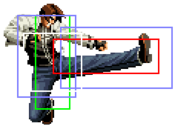
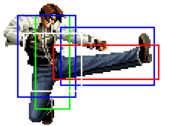
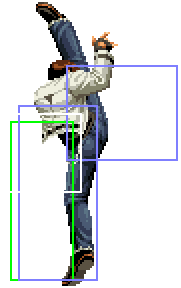
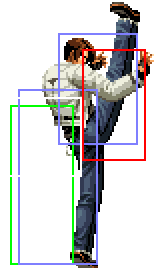
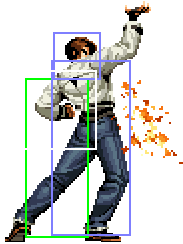
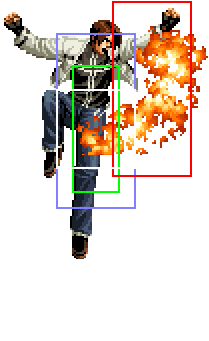
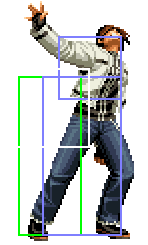
With the same reversal qualities as {{Hover|dp+A | With the same reversal qualities as {{Hover|dp+A but being worse on block, dp+C|623A but being worse on block, 623C}} is typically left aside although having better vertical range and priority is useful for anti-airing some jump arcs. Having the same speed and properties otherwise, using {{Hover|dp+C over dp+A|623C over 623A}} in neutral mostly comes down to how sure you are you'll connect since {{Hover|dp+C|623C}} has poor pushback an is much easier to punish.<br> | ||
<br> | <br> | ||
{{Hover|dp+C|623C}} shines most for its combo usage. Its solid damage and speed make it a decent combo ender and it giving [[The_King_of_Fighters_2002_UM/Miscellaneous#Juggle_States|full juggle]] means you can also spend meter to super cancel into {{Hover|qcb,hcf+P|2141236P}} for some extra damage. That ability comes particularly handy in max combos where {{Hover|dp+C|623C}} can support a juggle or end it with a fast and damaging super cancel.<br> | {{Hover|dp+C|623C}} shines most for its combo usage. Its solid damage and speed make it a decent combo ender and it giving [[The_King_of_Fighters_2002_UM/Miscellaneous#Juggle_States|full juggle]] means you can also spend meter to super cancel into {{Hover|qcb,hcf+P|2141236P}} for some extra damage. That ability comes particularly handy in max combos where {{Hover|dp+C|623C}} can support a juggle or end it with a fast and damaging super cancel.<br> | ||
| Line 632: | Line 632: | ||
The weak version makes Kyo do a low invincible spin jump to a punch that launches the opponent in the air. {{Hover|hcb+B|63214B}}'s mediocre damage and deceptively short range would be a minor issue if not for being so slow that any hope to use it as a low reversal is lost. Just about any low would recover in time to block.<br> | The weak version makes Kyo do a low invincible spin jump to a punch that launches the opponent in the air. {{Hover|hcb+B|63214B}}'s mediocre damage and deceptively short range would be a minor issue if not for being so slow that any hope to use it as a low reversal is lost. Just about any low would recover in time to block.<br> | ||
<br> | <br> | ||
{{Hover|Hcb+B|63214B}} makes up for all its flaws by being Kyo's main juggle tool. A launcher with [[The_King_of_Fighters_2002_UM/Miscellaneous#Juggle_States|full juggle]] but without being limited to one use per combo like his {{Hover|qcf+D>K|236D>K}} that it instead complements really well. Almost every juggle combo Kyo has relies on {{Hover|hcb+B | {{Hover|Hcb+B|63214B}} makes up for all its flaws by being Kyo's main juggle tool. A launcher with [[The_King_of_Fighters_2002_UM/Miscellaneous#Juggle_States|full juggle]] but without being limited to one use per combo like his {{Hover|qcf+D>K|236D>K}} that it instead complements really well. Almost every juggle combo Kyo has relies on {{Hover|hcb+B launching the opponent up for conversion at least once, always with the option to super cancel it into qcb,hcf+P|63214B launching the opponent up for conversion at least once, always with the option to super cancel it into 2141236P}} to dump damage.<br> | ||
<br> | <br> | ||
<ul><li> '''Combo Advice''': When canceling {{Hover|hcb+B into qcb,hcf+P|63214B into 2141236P}} you have to charge it slightly to avoid whiffing.</li></ul> | <ul><li> '''Combo Advice''': When canceling {{Hover|hcb+B into qcb,hcf+P|63214B into 2141236P}} you have to charge it slightly to avoid whiffing.</li></ul> | ||
| Line 671: | Line 671: | ||
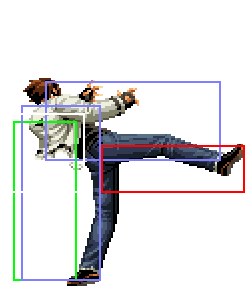
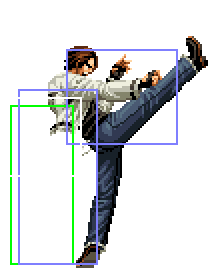
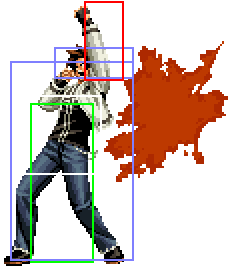
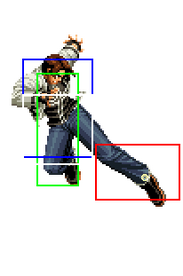
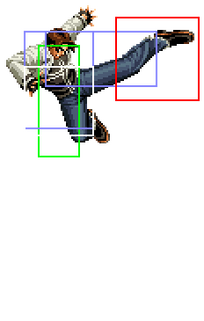
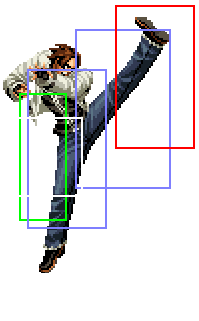
The same logic applies to {{Hover|rdp+D|421D}} being '''-4''' at worst because even the tallest characters can't reach the first hitbox. A bad consequence of being so high is that it whiffs against a lot of characters crouching in the corner if Kyo is too close.<br> | The same logic applies to {{Hover|rdp+D|421D}} being '''-4''' at worst because even the tallest characters can't reach the first hitbox. A bad consequence of being so high is that it whiffs against a lot of characters crouching in the corner if Kyo is too close.<br> | ||
<br> | <br> | ||
Neither of them are all that combo friendly although {{Hover|rdp+B | Neither of them are all that combo friendly although {{Hover|rdp+B can be used after qcf+D>K|421B can be used after 236D>K}} for a solid hard knockdown ender when away from the corner where you'd use rekka instead.<br> | ||
<br> | <br> | ||
<ul><li> '''Mix-up Advice''': {{Hover|rdp+B | <ul><li> '''Mix-up Advice''': {{Hover|rdp+B is Kyo's best hard knockdown to setup a j.d+C|421B is Kyo's best hard knockdown to setup a j.2C}} cross-up off of. Variable wake-up timings make it tedious but it's certainly worth practising.</li></ul> | ||
|phases2= | |phases2= | ||
<gallery mode=packed-hover heights=185px> | <gallery mode=packed-hover heights=185px> | ||
| Line 703: | Line 703: | ||
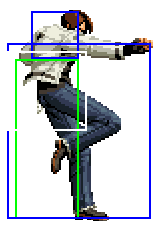
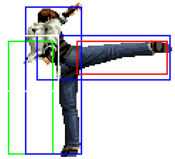
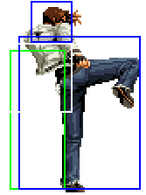
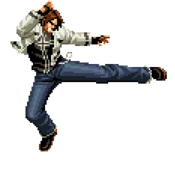
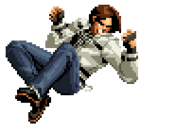
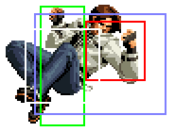
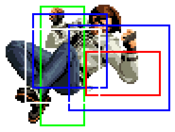
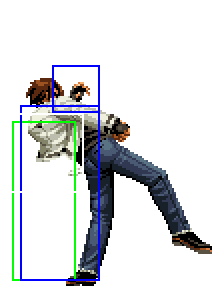
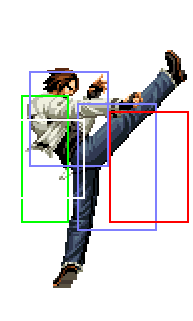
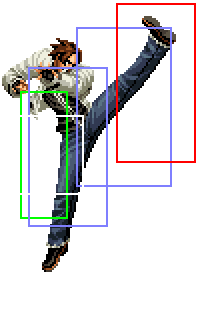
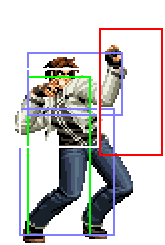
It only launches on the second hit, lifting the opponent fairly high but only in a [[The_King_of_Fighters_2002_UM/Miscellaneous#Juggle_States|half juggle]] state, thus generally limiting the possible conversions to an early jump-in or a {{Hover|dp+C|623C}}. Worse than that, the fact the first kick doesn't knockdown coupled with the second's hitbox being fairly high as Kyo is in the air is why {{Hover|qcf+B > K|236B > K}} will fail to combo on almost every crouching character making the already hard to land move also punishable on hit.<br> | It only launches on the second hit, lifting the opponent fairly high but only in a [[The_King_of_Fighters_2002_UM/Miscellaneous#Juggle_States|half juggle]] state, thus generally limiting the possible conversions to an early jump-in or a {{Hover|dp+C|623C}}. Worse than that, the fact the first kick doesn't knockdown coupled with the second's hitbox being fairly high as Kyo is in the air is why {{Hover|qcf+B > K|236B > K}} will fail to combo on almost every crouching character making the already hard to land move also punishable on hit.<br> | ||
<br> | <br> | ||
All these reasons only serve to highlight how much better {{Hover|qcf+D > K | All these reasons only serve to highlight how much better {{Hover|qcf+D > K is combowise and why you should never really use qcf+B > K in comparison. However qcf+B>K|236D > K is combowise and why you should never really use 236B > K in comparison. However 236B>K}} can still be an okay pre-emptive anti-air as described with its phases. | ||
<br> | <br> | ||
<br> | <br> | ||
| Line 822: | Line 822: | ||
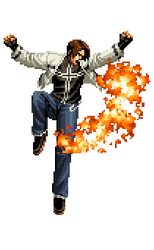
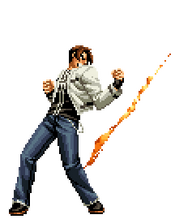
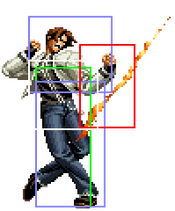
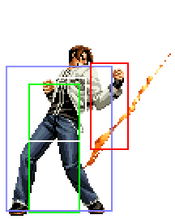
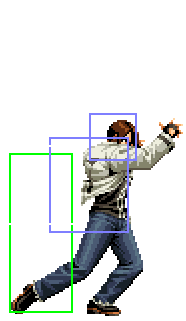
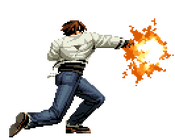
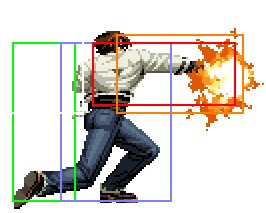
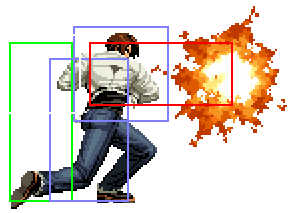
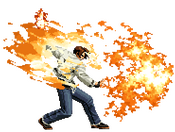
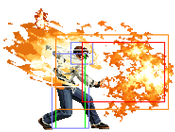
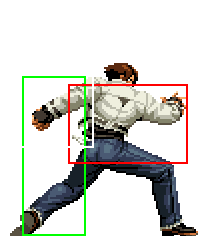
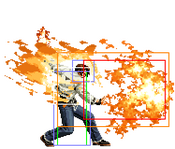
Kyo throws out a heavy flame imbued haymaker. This is the start to his Doku Kami rekka, a singular route as opposed to Aragami. By itself its very impressive range for being a rekka is somewhat impaired by a rather slow start-up. Similar to {{Hover|qcf+A|236A}}, its start-up is vulnerable despite 3f of autoguard and limits its usage as it'll be proned to being stuffed by quick pokes pre-emptively on the move's path.<br> | Kyo throws out a heavy flame imbued haymaker. This is the start to his Doku Kami rekka, a singular route as opposed to Aragami. By itself its very impressive range for being a rekka is somewhat impaired by a rather slow start-up. Similar to {{Hover|qcf+A|236A}}, its start-up is vulnerable despite 3f of autoguard and limits its usage as it'll be proned to being stuffed by quick pokes pre-emptively on the move's path.<br> | ||
<br> | <br> | ||
Although a bit less safe than {{Hover|qcf+A | Although a bit less safe than {{Hover|qcf+A for having more recovery and less pushback, spacing qcf+C|236A for having more recovery and less pushback, spacing 236C}} out can still leave Kyo in a very safe position. Issue being the lack of knockdown and conversion at said spacing. All this makes {{Hover|qcf+C in neutral a slower and less damaging qcf+A|236C in neutral a slower and less damaging 236A}} with more range but overall worse as a mid-range poke.<br> | ||
<br> | <br> | ||
<ul><li> '''Combo Advice''': It's best to use this move during a combo, its rekka line is more suited for midscreen conversion off a jump-in and a bit safer than {{Hover|qcf+D>K|236D>K}} on block. Its lesser pushback is also helpful in some max combos.</li></ul><br> | <ul><li> '''Combo Advice''': It's best to use this move during a combo, its rekka line is more suited for midscreen conversion off a jump-in and a bit safer than {{Hover|qcf+D>K|236D>K}} on block. Its lesser pushback is also helpful in some max combos.</li></ul><br> | ||
| Line 853: | Line 853: | ||
|moveId=kyo_qcf+c>hcb+p>f+p>dp+p | |moveId=kyo_qcf+c>hcb+p>f+p>dp+p | ||
|description= | |description= | ||
Kyo performs his {{Hover|dp+P | Kyo performs his {{Hover|dp+P (the A version comes out) to end the Doku Kami (qcf+C)|623P (the A version comes out) to end the Doku Kami (236C)}} rekka line. It's always best to end with this finisher rather than just Tumi Yomi (which looks like its proper finisher but isn't) to maximize its damage.<br> | ||
<br> | <br> | ||
An important thing to note is that while the other follow-ups allow for some leniency, this ender needs to be done asap after Batu Yomi or it won't come out. The only issue with this is the resulting soft knockdown offers decent oki only if the opponent doesn't tech it.<br> | An important thing to note is that while the other follow-ups allow for some leniency, this ender needs to be done asap after Batu Yomi or it won't come out. The only issue with this is the resulting soft knockdown offers decent oki only if the opponent doesn't tech it.<br> | ||
However, for some reason inputting | However, for some reason inputting {{Hover|<b>qcf+K</b> after f+P makes you able to then delay dp+P|<b>236K</b> after 6P makes you able to then delay 623P}}. While this doesn't offer much help on block, the delay on hit gives you much better frame advantage on the soft knockdown.<br> | ||
<br> | <br> | ||
<ul><li> '''Combo Advice''': Lacking the ability to juggle for the most part, it's best to use this rekka chain after a jump-in, cl.C for a fairly solid midscreen conversion. Note however that it's very unsafe on block at every point past {{Hover|qcf+C|236C}} so confirming the hit is vital.</li></ul> | <ul><li> '''Combo Advice''': Lacking the ability to juggle for the most part, it's best to use this rekka chain after a jump-in, cl.C for a fairly solid midscreen conversion. Note however that it's very unsafe on block at every point past {{Hover|qcf+C|236C}} so confirming the hit is vital.</li></ul> | ||
| Line 884: | Line 884: | ||
Orochinagi is normally too slow to combo off anything on the ground but if you charge it to get the speed boost and let go in time to fit the hitstun window, you can then combo into it. Learning to time this is very useful but {{Hover|qcfx2+A|236236A}} can make for a nice and easy substitute in some cases.<br> | Orochinagi is normally too slow to combo off anything on the ground but if you charge it to get the speed boost and let go in time to fit the hitstun window, you can then combo into it. Learning to time this is very useful but {{Hover|qcfx2+A|236236A}} can make for a nice and easy substitute in some cases.<br> | ||
<br> | <br> | ||
<ul><li> '''Combo Advice''': Orochinagi after {{Hover|qcf+D>K|236D>K | <ul><li> '''Combo Advice''': Orochinagi after {{Hover|qcf+D>K is decent damage for 1 bar midscreen. Charging it slightly after canceling from his qcf+C|236D>K is decent damage for 1 bar midscreen. Charging it slightly after canceling from his 236C}} will end his grounded max combo. Read more about the timing in the combo section.</li></ul> | ||
|phases2= | |phases2= | ||
<gallery mode=packed-hover heights=232px> | <gallery mode=packed-hover heights=232px> | ||
| Line 907: | Line 907: | ||
Although it lacks speed to be a good combo filler, the heavy version's range and full invincibility up to hit make it a fairly decent reversal or simply a tool to win a trade. {{Hover|qcfx2+A|236236A}} is however preferred when its shorter full invincibility is enough.<br> | Although it lacks speed to be a good combo filler, the heavy version's range and full invincibility up to hit make it a fairly decent reversal or simply a tool to win a trade. {{Hover|qcfx2+A|236236A}} is however preferred when its shorter full invincibility is enough.<br> | ||
<br> | <br> | ||
It has 4 levels of charge that respectively do 22%, 28%, 42% and the full charge where the move becomes unblockable, doing 57%. The damage is appealing but the charge phase being fully vulnerable, getting anything past the level 2 damage is hardly realistic. The charge phase for {{Hover|qcfx2+A | It has 4 levels of charge that respectively do 22%, 28%, 42% and the full charge where the move becomes unblockable, doing 57%. The damage is appealing but the charge phase being fully vulnerable, getting anything past the level 2 damage is hardly realistic. The charge phase for {{Hover|qcfx2+A starts at frame 6, after its normal full invuln while the one for qcfx2+C|236236A starts at frame 6, after its normal full invuln while the one for 236236C}} starts at frame 7, interrupting the move's full invuln, to charge before being full invuln up to hit again.<br> | ||
<br> | <br> | ||
On hit the super's soft knockdown is fairly bad for keeping pressure but the damage is decent. On block, both versions of the move are fairly unsafe on block, weighing on the decision to use {{Hover|qcfx2+C|236236C}} as reversal as despite its good full invuln, it's slow enough to miss a punish window and get blocked.<br> | On hit the super's soft knockdown is fairly bad for keeping pressure but the damage is decent. On block, both versions of the move are fairly unsafe on block, weighing on the decision to use {{Hover|qcfx2+C|236236C}} as reversal as despite its good full invuln, it's slow enough to miss a punish window and get blocked.<br> | ||
Revision as of 19:29, 27 August 2022
Movelist
Throws
Issetsu Seoi Swimming - close, ![]() /
/ ![]() +
+ ![]()
Command Moves
Ge Shiki Naraku Otoshi - in air, ![]() /
/ ![]() /
/ ![]() +
+ ![]()
Special Moves
Desperation Moves
Ura 108 Shiki Orochinagi - ![]()
![]()
![]() +
+ ![]() /
/ ![]() (Hold to charge)
(Hold to charge)
182 Shiki - ![]()
![]() +
+ ![]() /
/ ![]() (Hold to charge)
(Hold to charge)
Super Desperation Move
Ura 108 Shiki Orochinagi - ![]()
![]()
![]() +
+ ![]()
![]() (Hold to charge)
(Hold to charge)
Hidden Super Desperation Move
| 0 Bar |
Low Anywhere Very Close Corner Only |
cr.B, cr.A, df+D
2B, 2A, 236D = 17% (jump-in), cl.C,
qcf+C > hcb+P > f+P > dp+P
236C > 63214P > 6P > 623P = 21% (optional cross-up), cl.C,
qcf+D>K, hcb+B, qcf+A/st.D
236D>K, 63214B, 236A/5D = 22-27% (jump-in), cl.C,
qcf+D>K, hcb+B, qcf+A > hcb+P > hcb+K
236D>K, 63214B, 236A > 63214P > 63214K = 33% |
| 1 Bar |
Low
|
cr.B, st.A/cr.A, qcfx2+A
2B, 5A/2A, 236236A = 27% (optional cross-up), cl.C,
qcf+D>K, qcb,hcf+P
236D>K, 2141236P = 34% |
| 2 Bar |
Anywhere Very Close |
(jump-in), cl.C,
df+D(1), qcf+BC, [(C)qcf+A, (C)qcf+C]x2 (SC) qcfx2+A
3D(1), 236BC, [(C)236A, (C)236C]x2 (SC) 236236A = 43% (optional cross-up), cl.C,
qcf+D>K, hcb+B (SC) qcb,hcf+P
236D>K, 63214B (SC) 2141236P = 40% |
| 3 Bar |
Very Close |
(optional cross-up), cl.C,
qcf+D>K, qcb,hcf+AC
236D>K, 2141236AC = 45% |
Gameplay Overview
The main main protagonist is back with the same Nests rekka style but long time fans will surely notice and enjoy some welcomed improvements. With a limited but good set of mid range tools to keep the opponent pinned down (
st.B, qcf+A
B, 236A) Kyo then aims to force his way in (j.D/CD) to do what he's best at, pressuring and mixing up the opponent (
cr.B
2B, j.B/d+C) until landing a solid cl.C for great meterless and meter conversions.
Although the main focus is on starting his own offense, Kyo does also have some good tools to protect his space and defend himself (nj.B,
dp+P
623P). With some nice match-up coverage tools sprinkled in (
st.D
D), Kyo proves to be a potentially very strong character with an answer to most midrange situations although still lacking when further away.
As the saying goes, with great power comes great execution. With a number of simple and decent options to fall back on, the first wall to break to become a better Kyo will be building up the execution for his optimal meter conversions that make him shine as an anchor.
Basic Actions
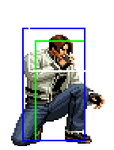
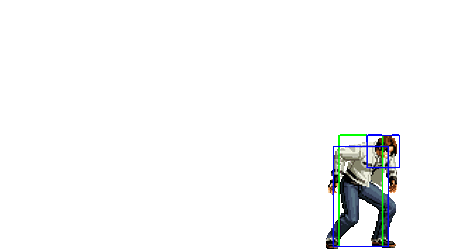
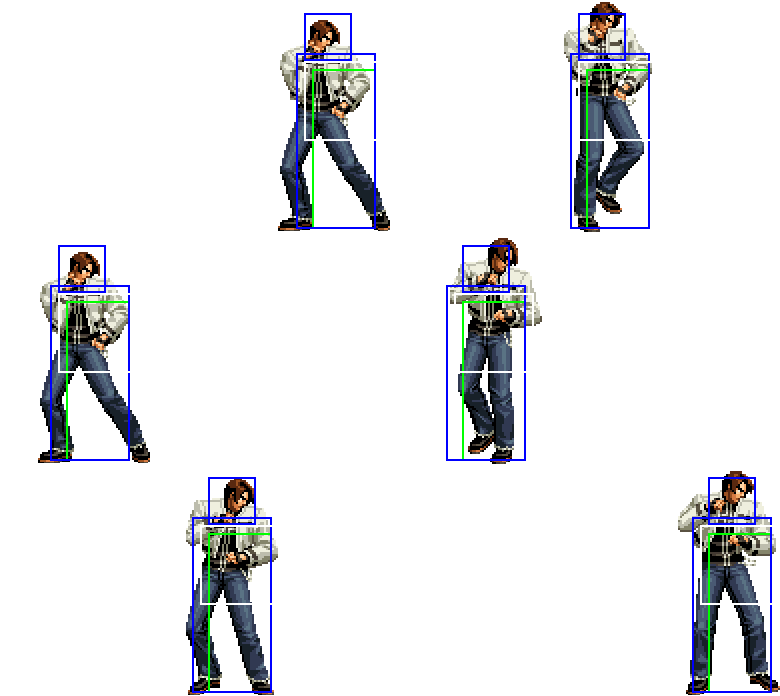
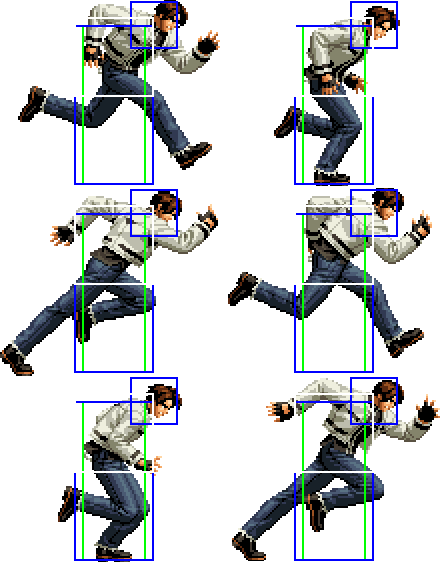
Idle, Jump, Dash, Wake-up
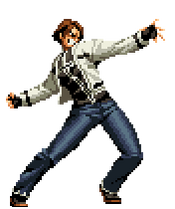
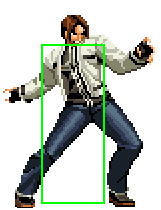
| ||||||||||
|---|---|---|---|---|---|---|---|---|---|---|
Idle
Hop/Jump
Walk/Run
Backdash
Wake-up/Recovery Roll
|
Normals
Close Standing Normals
| close A
cl.A
cl.A |
|---|
| close B
cl.B
cl.B |
|---|
| close C
cl.C
cl.C |
|---|
| close D
cl.D
cl.D |
|---|
Far Standing Normals
| stand A
st.A
A |
|---|
| stand B
st.B
B |
|---|
| stand C
st.C
C |
|---|
| stand D
st.D
D |
|---|
Crouch Normals
| crouch A
cr.A
2A |
|---|
| crouch B
cr.B
2B |
|---|
| crouch C
cr.C
2C |
|---|
| crouch D
cr.D
2D |
|---|
Jump Normals
| jump A
j.A
j.A |
|---|
| jump B
j.B
j.B |
|---|
| jump C
j.C
j.C |
|---|
| jump D
j.D
j.D |
|---|
Blowback Normals
| stand CD
st.CD
CD |
|---|
| jump CD
j.CD
j.CD |
|---|
Throws
Hachi Tetsu
| Hachi Tetsu
Close, b/f+C
Close, 4/6C |
|---|
Issetsu Seoi
| Issetsu Seoi
Close, b/f+D
Close, 4/6D |
|---|
Command Normals
Ge Shiki Goufu You
| Ge Shiki Goufu You
f+B
6B |
|---|
Ge Shiki Naraku Otoshi
| Ge Shiki Naraku Otoshi
j.d+C
j.2C |
|---|
88 Shiki
| 88 Shiki
df+D
3D |
|---|
Special Moves
100 Shiki Oniyaki
| 100 Shiki Oniyaki
dp + A/C
623 A/C |
|---|
427 Shiki Hikigane
| 427 Shiki Hikigane
hcb + B/D
63214 B/D |
|---|
RED Kick
| RED Kick
rdp + B/D
421 B/D |
|---|
75 Shiki Kai
| 75 Shiki Kai
qcf+B > K or qcf+D > K
236B > K or 236D > K |
|---|
114 Shiki Aragami
| 114 Shiki Aragami
qcf+A
236A |
|---|
128 Shiki Kono Kizu
| 128 Shiki Kono Kizu
qcf+A > qcf+P
236A > 236P |
|---|
127 Shiki Yano Sabi
| 127 Shiki Yano Sabi
qcf+A > qcf+P > P
236A > 236P > P |
|---|
125 Shiki Nana Se
| 125 Shiki Nana Se
qcf+A > qcf+P > K
236A > 236P > K |
|---|
212 Shiki Kototsuki You
| 212 Shiki Kototsuki You
qcf+A > hcb+P > hcb+K
236A > 63214P > 63214K |
|---|
Ge Shiki Migiri Ugachi
| Ge Shiki Migiri Ugachi
qcf+A > hcb+P > P
236A > 63214P > P |
|---|
115 Shiki Doku Kami
| 115 Shiki Doku Kami
qcf+C
236C |
|---|
401 Shiki Tumi Yomi
| 401 Shiki Tumi Yomi
qcf+C > hcb+P
236C > 63214P |
|---|
402 Shiki Batu Yomi
| 402 Shiki Batu Yomi
qcf+C > hcb+P > f+P
236C > 63214P > 6P |
|---|
100 Shiki Oniyaki
| 100 Shiki Oniyaki
qcf+C > hcb+P > f+P > dp+P
236C > 63214P > 6P > 623P |
|---|
Desperation Moves
Ura 108 Shiki Orochinagi
| Ura 108 Shiki Orochinagi
qcb,hcf + A/C, Hold to charge
2141236 A/C, Hold to charge |
|---|
182 Shiki
| 182 Shiki
qcfx2 + A/C, Hold to charge
236236 A/C, Hold to charge |
|---|
Super Desperation Move
Ura 108 Shiki Orochinagi
| Ura 108 Shiki Orochinagi
qcb,hcf+AC (Hold)
2141236AC (Hold) |
|---|
Hidden Super Desperation Move
524 Shiki Kamichiri
| 524 Shiki Kamichiri
hcbx2+AC
6321463214AC |
|---|
Videos
External Links
Check Kyo Kusanagi's frame data
Discuss at 02UM Discord server
Discuss at Dream Cancel
Discuss at ON

